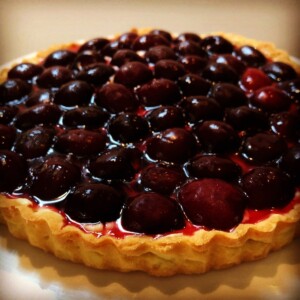
This Fresh Cherry Tart Recipe is beautiful and delicious and perfect for your next party or special occasion. You won't regret making this impressive and tasty treat!
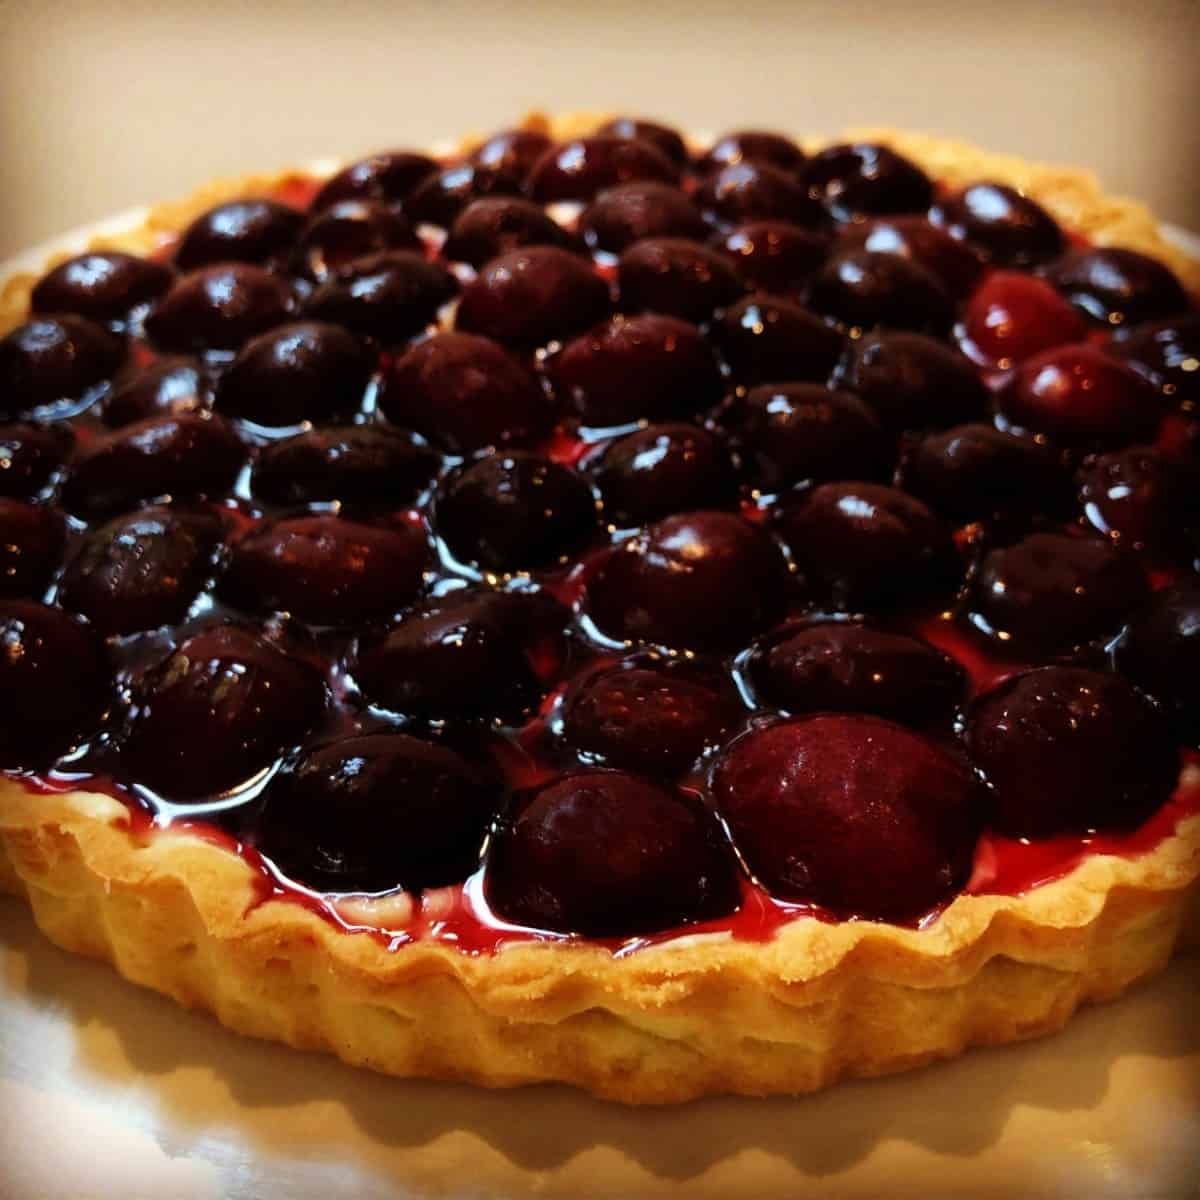
So by now, you have probably heard me talk about the copious amounts of cherries we purchase every summer and I was determined to use them all. But, to be honest, I had no idea what to make until I started seeing cherry tart recipes.
I adapted this recipe from Martha Stewart, and the result was pretty impressive if I do say so myself. This recipe does take some time and has quite a few steps, but the result is worth it, I promise!
Why I Love This Recipe
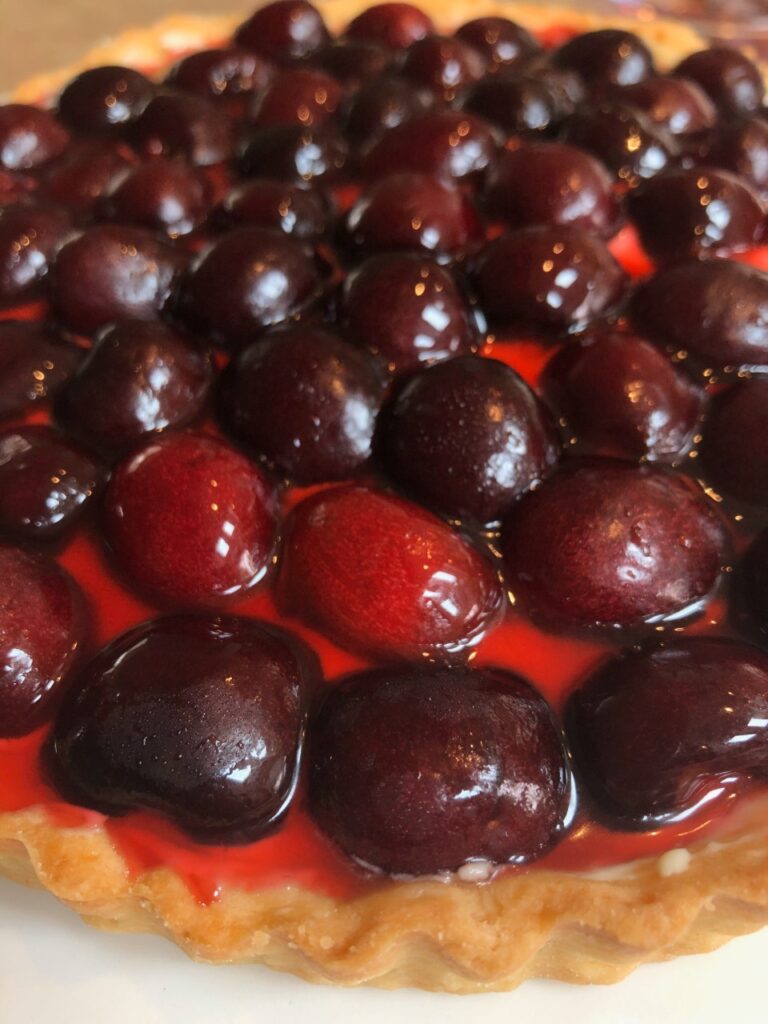
I love this recipe for its vibrant color and perfect balance of sweet and tart flavors just like my Pink Grapefruit Dessert Bars. Fresh cherries pair perfectly with the sweet pastry cream and flaky crust.
Preparing this recipe is a true culinary experience right at home. The result of the steps in this recipe creates a stunning dessert that impresses both guests and loved ones, like my Strawberry Ice Cream Cheesecake, making it a cherished go-to option for any occasion.
This Fresh Cherry Tart Recipe will make you feel like you can make anything in the kitchen! There are several steps in this cherry tart recipe but they flow pretty easily.
Jump to:
What Steps Can Be Done Ahead of Time?
This Fresh Cherry Tart Recipe has quite a few steps and takes some time, but don't run away yet. Most of the time in this recipe is spent chilling things in the fridge or freezer.
Here are a few things you can do the day before or even a few days before so it won't be so overwhelming (or you can be like me and do it all in one day!).
- Make the crust dough ahead of time and store it in the refrigerator until you are ready to roll it out.
- You could also make and bake the crust, leave it in the fridge, and have it ready for the next day.
- Make the pastry cream and/or the whipped cream ahead of time and chill in the fridge.
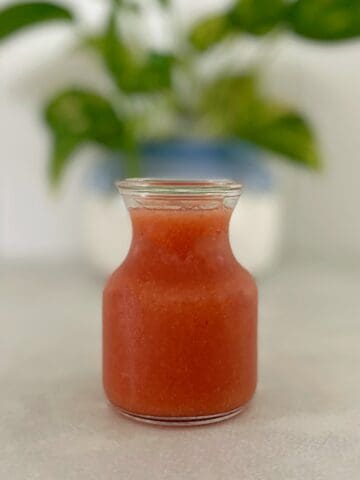
- Make the cherry syrup ahead of time. Not only is this the easiest step, but you can also use the cherry syrup for other things like desserts and cocktails!
How to Make a Cherry Tart
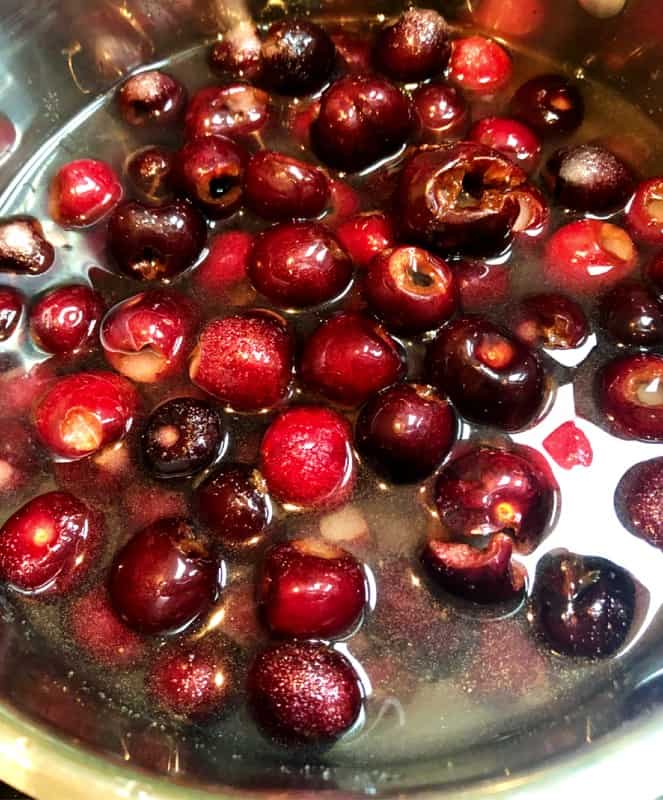
Step 1: Cook the syrup ingredients over medium heat, mashing the cherries until boiling. Boil for 1 minute, mash again, then cool. Strain and refrigerate until needed.
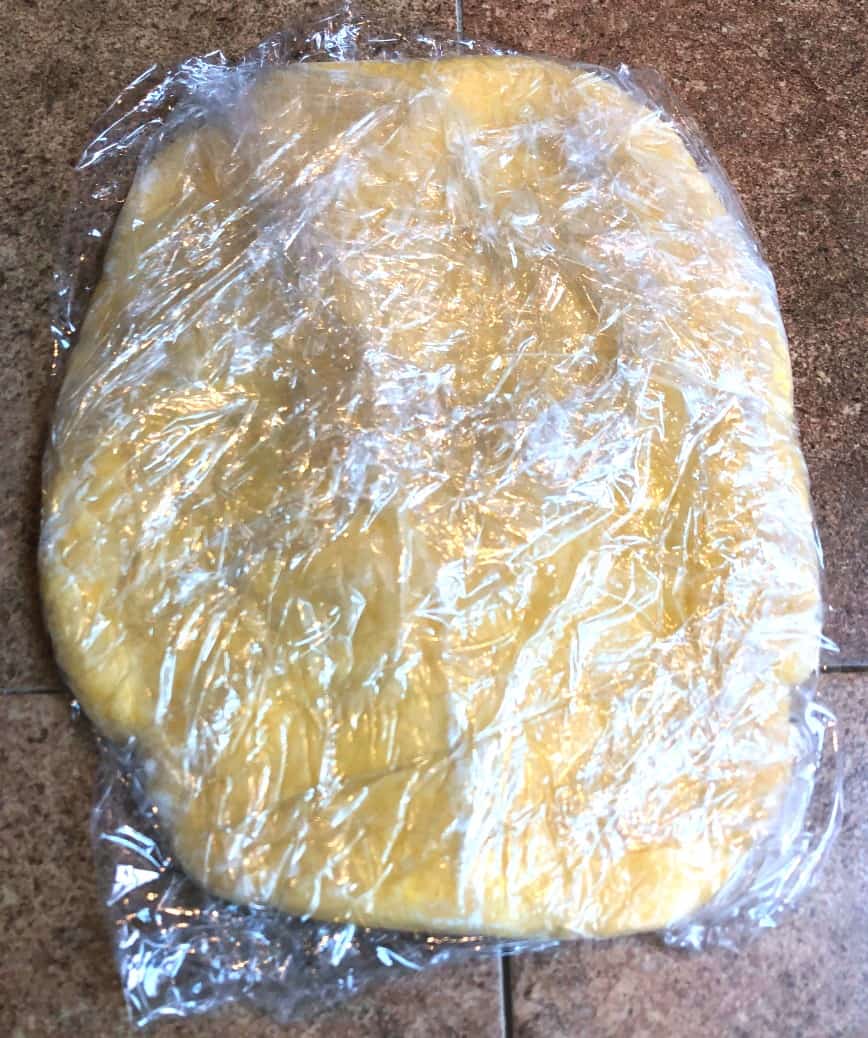
Step 2: Mix flour, sugar, and salt, then cut in butter until crumbly. Add ice water and egg yolks to form a sticky dough. Roll into a ball, divide in half, shape into discs, wrap, and chill for 1 hour.
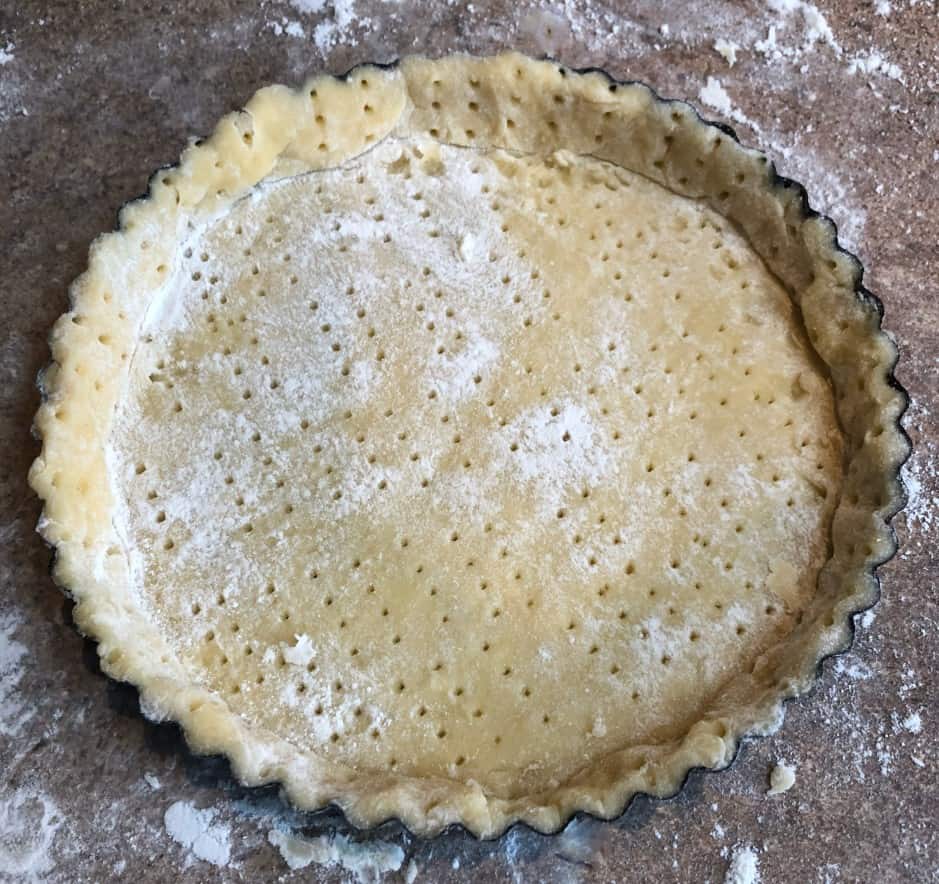
Step 3: Roll the dough to a 12-inch round, ¼ inch thick, and press it into a tart pan. Freeze for 15 minutes. Preheat the oven to 375°F (190°C). Pierce the crust with a fork before baking.

Step 4: Place parchment paper on the crust, then add pie weights or something heavy. Bake for 20 minutes, remove the paper and weights, and bake for another 10-12 minutes. Cool on a wire rack.

Step 5: Whisk sugar, cornstarch, and salt in a saucepan. In another bowl, whisk milk and egg yolks, then add to the saucepan. Cook over medium heat until boiling, then remove from heat and stir in butter and vanilla.

Step 6: Place the pastry cream in a bowl and cover it with plastic wrap, pressing it directly onto the surface of the pastry cream to prevent skin from forming. Refrigerate for a minimum of 2 hours.

Step 7: Beat cold whipping cream until stiff peaks form, about 4-5 minutes. Fold into the pastry cream and refrigerate again until ready to assemble the tart.
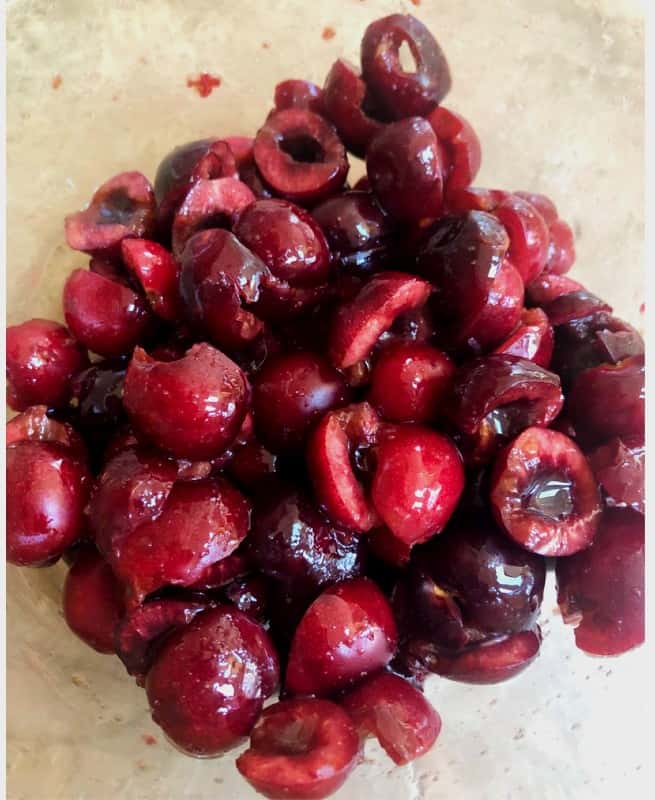
Step 8: Remove the pits from each of the rinsed fresh cherries using a cherry pitter or straw. Cut each cherry in half until you have enough to fill the top of the tart (about 40-50 cherries).
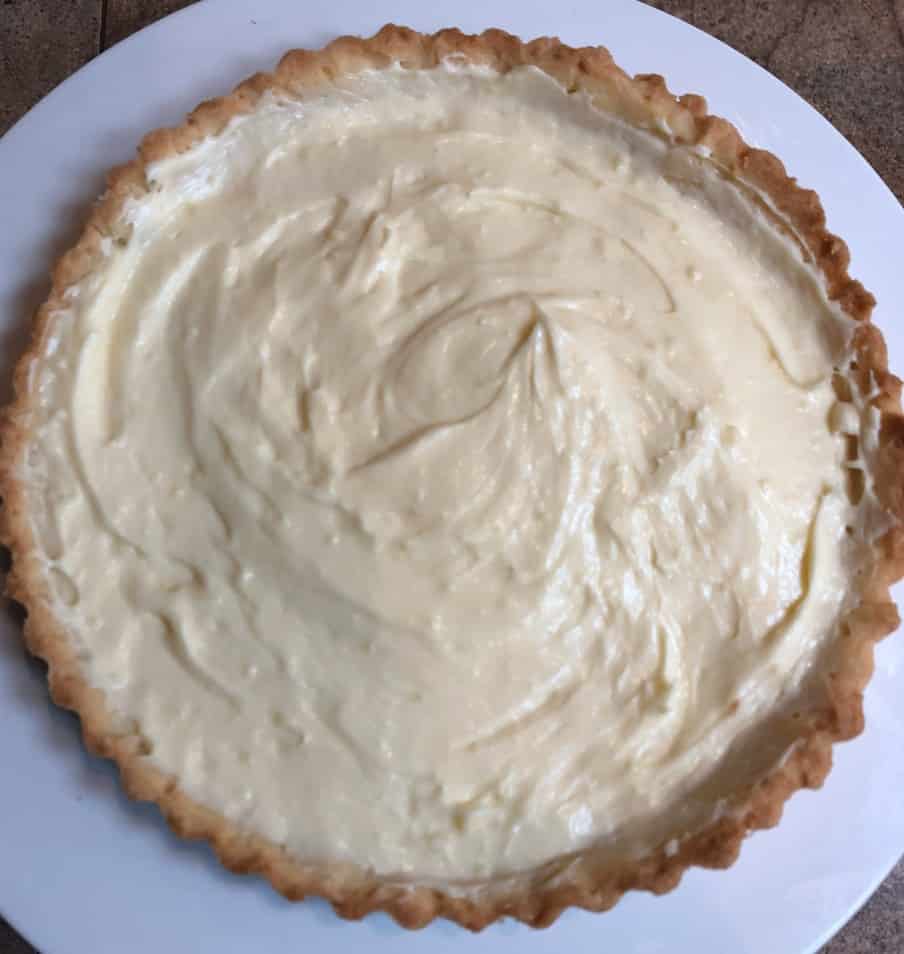
Step 9: Remove the tart shell and pastry cream from the fridge and fill the crust with the cream just to the top edge of the shell.

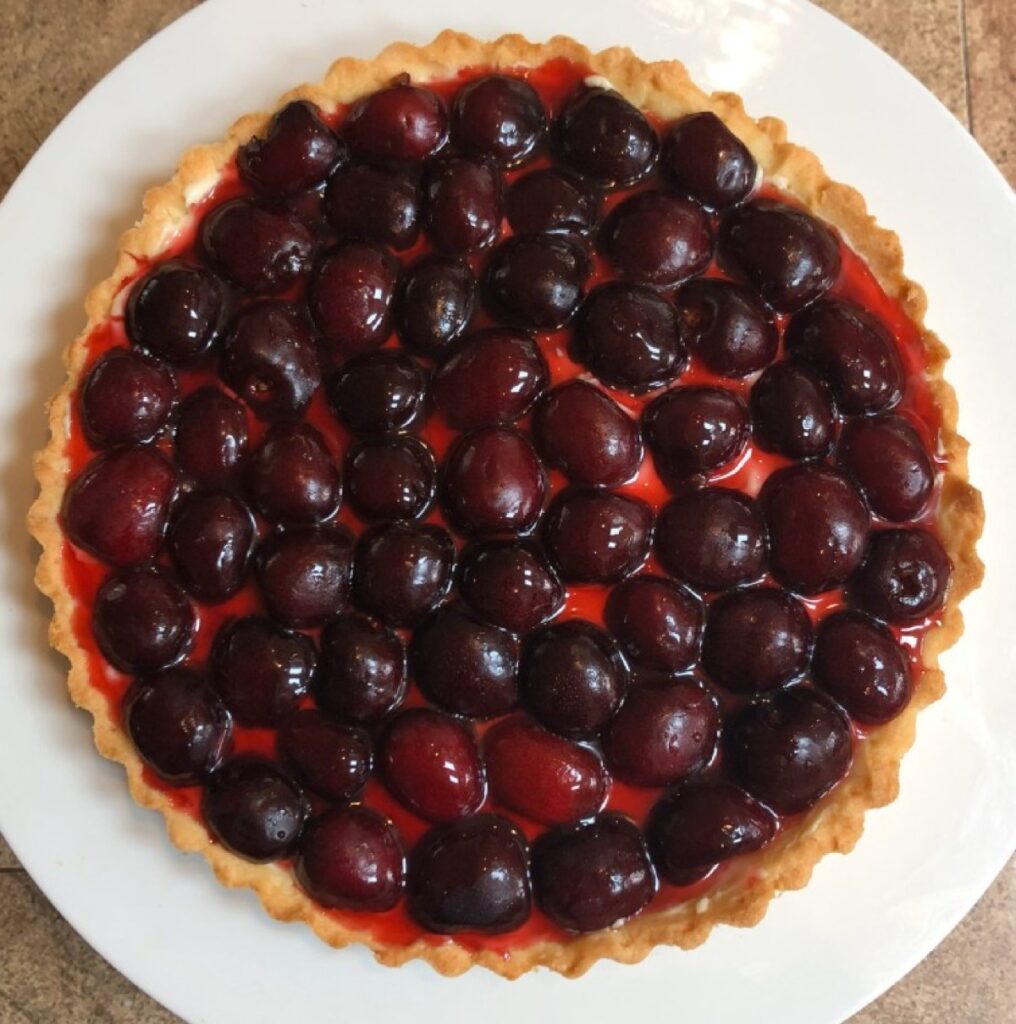
Step 10: Arrange the cherries on top and then carefully pour the cherry syrup on top. Chill one more time for at least an hour before serving.
Expert Tips For This Recipe
- Arrange cherries creatively: When placing the cherries on the tart, consider arranging them in a pattern or concentric circles to create an appealing and eye-catching presentation.
- Serve chilled: For the best taste and texture, serve the pastry cream tart with cherries chilled. Refrigerate the assembled tart for at least an hour before serving.
- Add a garnish: Before serving, consider adding a few fresh mint leaves as a garnish. The bright green color and refreshing flavor of the mint complement the cherries and pastry cream beautifully.
- This recipe makes quite a bit of syrup, but don't worry, there are so many options on how to use it including adding it to cocktails, drizzling over ice cream, or adding a punch to waffles or pancakes.
- The tart crust is versatile-use it for tarts filled with chocolate ganache, mousse, or cut-out shapes to make buttery cookies.
Recipe FAQs
Absolutely! If you don't have cherries, you could always use blueberries or raspberries or whatever fruit you like. That's what's great about fruit recipes, they are usually pretty versatile.
It wouldn't be my first choice and the presentation would not be the same if you used canned or frozen cherries. Using fresh cherries ensures they are full of flavor and nice and firm.
Canned cherries don't have the same structure. However, if you want to make this beautiful dessert for the holidays or don't have fresh cherries, frozen or canned cherries will work in a pinch.
Store any leftover cherry tart tightly covered with plastic wrap or in a sealable container in the fridge for 1-2 days.
If you get a chance to make this Cherry Tart Recipe, tag me on Instagram or Facebook and show me, or leave a review below! You can also follow me on Pinterest and sign up for my e-mail list to receive more fun and delicious recipes in your inbox.
Fresh Cherry Tart Recipe
Equipment
Ingredients
Cherry Syrup
- 1 cup water
- 1 cup sugar
- 2 cups cherries, pitted
Sweet Shortcrust Pastry Crust
- 2 ½ cups all-purpose flour
- ⅓ cup sugar
- 1 pinch kosher salt
- 1 cup unsalted butter, cold and cut into small pieces (2 sticks)
- ¼ cup ice-cold water
- 3 large egg yolks, beaten
Pastry Cream and Cherry Topping
- ½ cup sugar
- ¼ cup cornstarch
- 1 pinch kosher salt
- 2 cups whole milk
- 4 large egg yolks
- 2 tablespoon unsalted butter
- 1 teaspoon vanilla extract
- ½ cup heavy whipping cream, cold
- 3 cups cherries, pitted and cut in half
Instructions
Cherry Syrup
- Add water, sugar, and cherries into a medium saucepan. Cook over medium heat, stirring and smashing cherries until boiling. Boil for 1 minute and then remove the pan from the heat.
- Smash the cherries a little more to release the juices and then allow the mixture to cool completely. Once cooled, strain the cherries from the syrup place the syrup into the refrigerator until ready to use.
Crust
- Place the flour, sugar, and salt into a bowl and stir to combine. Add butter pieces and incorporate them with a pastry cutter until the mixture becomes crumbly. Add the ice water a little at a time, mixing in each time until all of the water is incorporated. Add the egg yolks last, and mix in until you have a wet, sticky dough.
- Place the dough on a floured surface and roll it into a ball. Divide the dough in half and pat each half into round discs. Wrap in plastic and chill for at least 1 hour.
- Once chilled, place the dough onto a lightly floured work surface. Roll it out to about a 12-inch round that is about ¼ inch thick (it doesn't have to be perfect because you will cut off the excess).
- Gently place the rolled-out dough onto your tart pan and pat it into place using your fingers. Form around the edges and use your fingers to push the excess dough off using the sharp edges.
- Place the tart pan in the freezer for 15 minutes. While the crust is in the freezer, preheat the oven to 375°F. After 15 minutes, remove the crust from the freezer and pierce it all over with a fork to ensure the crust doesn't bubble while cooking.
- Place a piece of parchment paper on top of the crust (about 2-3 inches overhang all around). Fill the bottom with pie weights or something heavy. I do not have pie weights so I used some beans that had been in my pantry forever (do not eat after using them as weights).
- Bake for 20 minutes. Remove the parchment paper and weights and bake for an additional 10 to 12 minutes. Place the tart pan with the crust on a wire rack to cool.
Pastry Cream
- Place the sugar, cornstarch, and salt in a medium saucepan and whisk together. Add the milk and the egg yolks into another bowl and whisk together and then add to the saucepan.
- Turn on the heat to medium and add the butter to the saucepan. Continue cooking and whisking until the mixture comes to a boil. This happens very quickly and turns into a thick cream.
- Remove the pan from the heat and stir in the vanilla. Place the pastry cream in a bowl and cover it with plastic wrap, pressing it directly onto the surface of the pastry cream to prevent skin from forming. Refrigerate for a minimum of 2 hours.
- Pour cold whipping cream into a mixing bowl and beat with a hand mixer until you get stiff peaks, about 4-5 minutes. Once the pastry cream has cooled, whisk it one more time to get the mixture nice and creamy, and then fold the whipped cream in with a spatula.
- Add the pastry cream to the tart shell, leaving about ¼" of space to the top of the crust edge.
- Slice the remaining cherries and place them on top of pastry cream until the entire surface is covered.
- Carefully spoon the chilled cherry syrup on top of the sliced cherries. Be careful not to overfill and create a spill over the edge.
- Place the tart in the refrigerator for 45-60 minutes so everything is fully chilled and set. Enjoy!
Notes
- Store any leftover cherry tart covered in the fridge for 1-2 days.
- I have also used a little maraschino liqueur syrup from my recipe for Homemade Luxardo Cherries for an extra pizzazz but the regular cherry syrup from the recipe above works perfectly, especially if you are serving to kids!
- Arrange Cherries Creatively: When placing the cherries on the tart, consider arranging them in a pattern or concentric circles to create an appealing and eye-catching presentation
- Serve Chilled: For the best taste and texture, serve the pastry cream tart with cherries chilled. Refrigerate the assembled tart for at least an hour before serving
- Garnish with Fresh Mint: Before serving, consider adding a few fresh mint leaves as a garnish. The bright green color and refreshing flavor of the mint complement the cherries and pastry cream beautifully
- This recipe makes quite a bit of syrup, but don't worry, there are so many options on how to use it including adding it to cocktails, drizzling over ice cream, or adding a punch to waffles or pancakes.
Nutrition
Any nutrition calculations are only estimates using online calculators. Please verify using your own data.




Brenda Matthews says
THE BEST! My grandson never ate cherries, but loved them in this recipe. I’m making a blueberry tart based on this recipe for Christmas dinner now. EXCELLENT and well worth the work involved.
Emily says
Thanks, Brenda, I'm so glad you enjoyed this recipe. Happy Holidays!
Bethany says
I love the basic idea and will make it again with some changes (less sugar, less syrup).
I ended up with close to a cup of left over syrup (juicy cherries?). It seemed like a waste of cherrys to make far more syrup than I needed and also not to use cherry mash from the syrup process in the tart. I guess I am not someone likely to use cherry syrup for anything, nor eat cherry sugar mash. I found the syrup too sweet but that is just my taste.
The pastry turned out well. I was a bit confused about splitting the dough in two. I used both for one tart but was it supposed to make 2?
I also had a good cup of leftover custard cream even though I used a slightly bigger tart dish. Better than not enough! The custard was perfect consistency for a tart.
Portobello says
I followed the recipe for the cherry syrup and pastry cream topping. I used an already made pie crust that I rolled out in a 9" tart part with removable bottom. IMO, the 1 cup of sugar was too sweet for the syrup. It also was think but running which I ended up not using it as the pastry cream would have been more runny than it already was. There was way too much of the pastry cream for the tart pan. I must have had about 1 cup extra. The pastry cream was soft but not firm so cutting a slice was more like have a pudding mess. I followed the recipe and didn't make any changes. I love to bake and I think I'm pretty good baker but this recipe was a thumbs down.
Emily says
Sorry it didn't work out for you, but thanks for checking it out and giving it a try.😊
missy says
I had no problems if your pastry cream was that runny it wasn't cooked long enough. Did you add the stifffly whipped cream with pastry cream before filling? The stiff cream helps firm up the pastry cream as well
Emily says
Hi Missy, Yes, the whipped cream gets folding in after the pastry cream chills. The chilling process also helps it firm up. After you fold in teh whipped cream it gets added to the shell. Hope that helps!
Mihaela says
Hi there! Great recipe! Am I reading right that it makes two different doughs? Save the extra in the freezer to make more? What else can you make with this type of dough?
Emily says
You can use the extra dough for any tart-like desserts. You could fill the crust with chocolate ganache or a mousse. You can also use this dough to cut out cookie shapes and make buttery cookies!
Begum says
Can we use frozen cherries?
Emily says
Hi Begum, you can use frozen cherries, however, you probably won't be able to achieve the same presentation since frozen fruit tends to lose its shape. I highly recommend fresh cherries, but if it's not possible, let me know how frozen cherries turn out!