


This Easy Ciabatta Roll Recipe can be made in one day and takes about 4 hours from start to finish. With only 4 ingredients, these ciabatta rolls can be made whenever you need a roll or bun for burgers, sandwiches, and more!

Jump to:
- Why You Will Love This Recipe
- What is Ciabatta Bread?
- Ingredients Needed to Make This Recipe
- How to Make Ciabatta Rolls
- Expert Tips For This Recipe
- What to Use These Rolls For
- Recipe FAQs
- Tools Needed For This Ciabatta Bun Recipe
- Ciabatta vs. Sourdough: What's the Difference?
- More Bread Recipes To Check Out
- Easy Ciabatta Bread Rolls Recipe
Why You Will Love This Recipe
If you need rolls or buns for your meal, make this Easy Ciabatta Bread Recipe. This is a great recipe for beginner bread makers, similar to my No-Knead Rosemary Bread and my Dutch Oven Sourdough Bread, and the only hard part is waiting for the dough to rise. Instant yeast does most of the work to create bubbly and delicious bread, just like in my Greek Pita Bread.
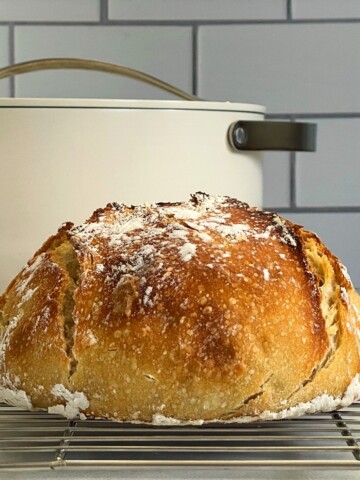
What is Ciabatta Bread?
Ciabatta bread is an Italian bread known for its distinctive shape, airy texture, and crispy crust. It originated in the northern regions of Italy, particularly in the area surrounding Lake Como.
Ciabatta starts with sticky and wet dough and turns into a bubbly creation once it's been folded a few times and stretched to a rectangle. I'll walk you through the steps and you'll be enjoying your fresh, homemade ciabatta rolls in no time!

Ingredients Needed to Make This Recipe
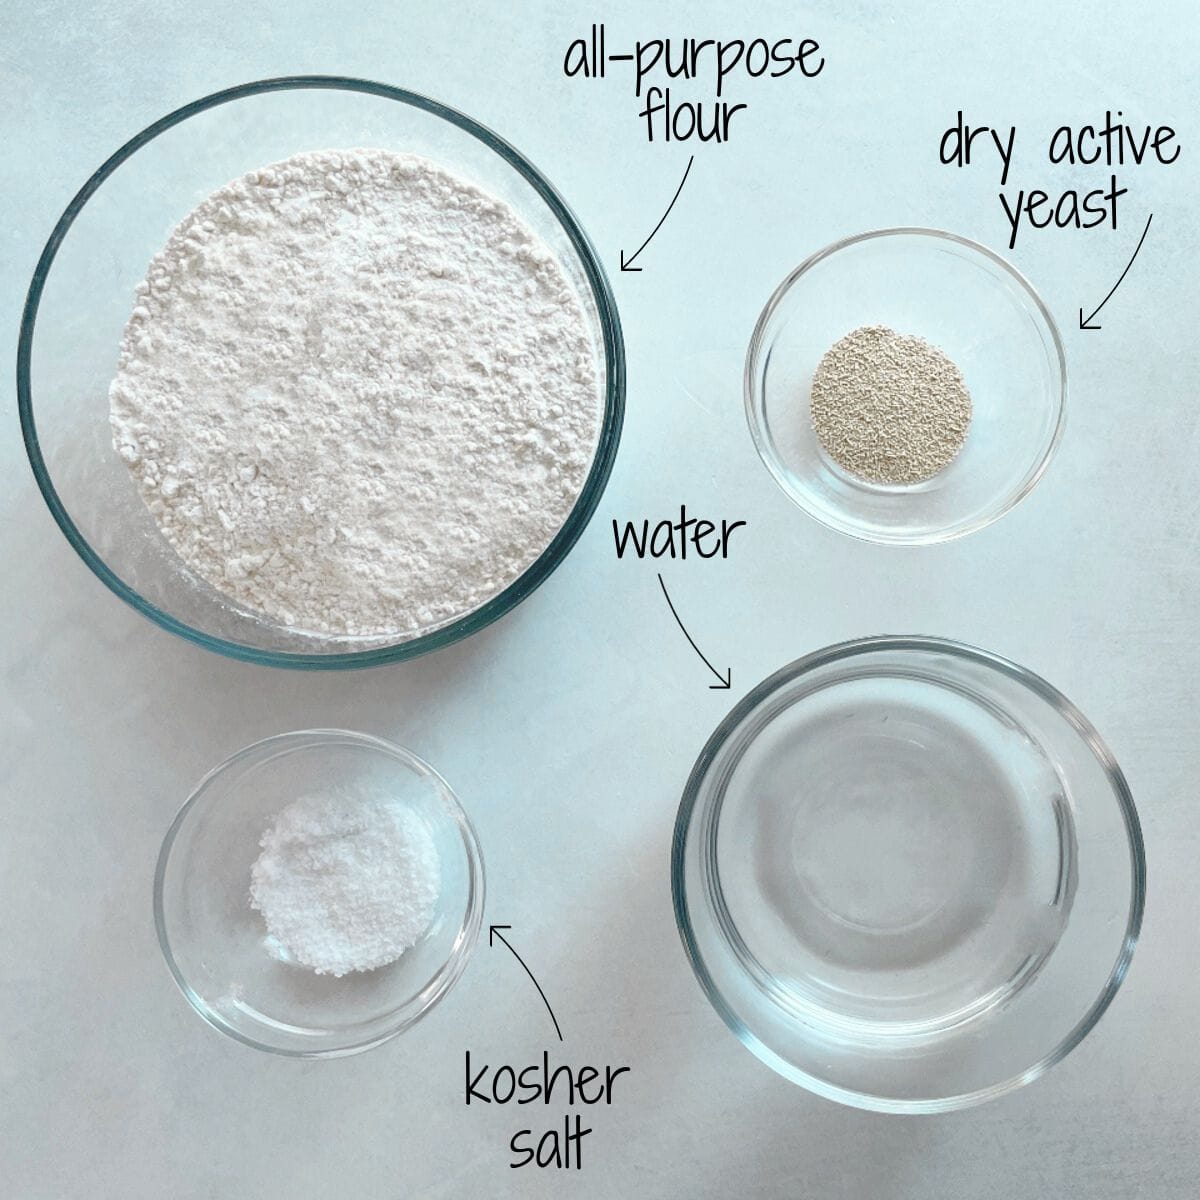
- Water: Water provides hydration to the flour, allowing the gluten strands to develop and resulting in a soft and elastic texture. Water also contributes to the formation of steam during baking, which helps create a crispy crust.
- Instant Yeast: Instant yeast, also known as rapid-rise or bread machine yeast, provides leavening to the dough, causing it to rise and develop air pockets, resulting in the characteristic open crumb of ciabatta bread.
- Flour: All-purpose flour is used in this recipe to provide structure and strength to the dough. The protein in the flour helps develop gluten, which contributes to the bread's texture and chewiness. You can also use bread flour.
- Salt: Kosher salt adds flavor to the bread and also helps regulate the fermentation process. It strengthens the gluten structure, improving the texture and overall quality of the bread.
*See the recipe card for the complete list of ingredients and quantities.
How to Make Ciabatta Rolls
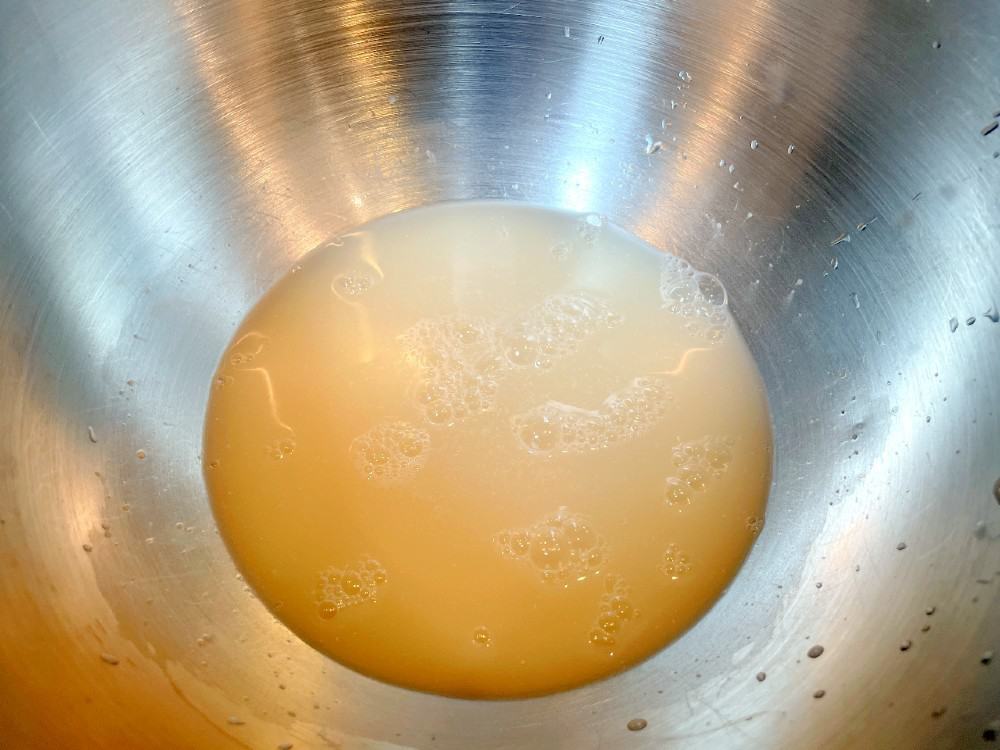
Step 1: Activate the Yeast - Mix the warm water and yeast in a large mixing bowl and let the mixture sit for 8-10 minutes to activate the yeast.
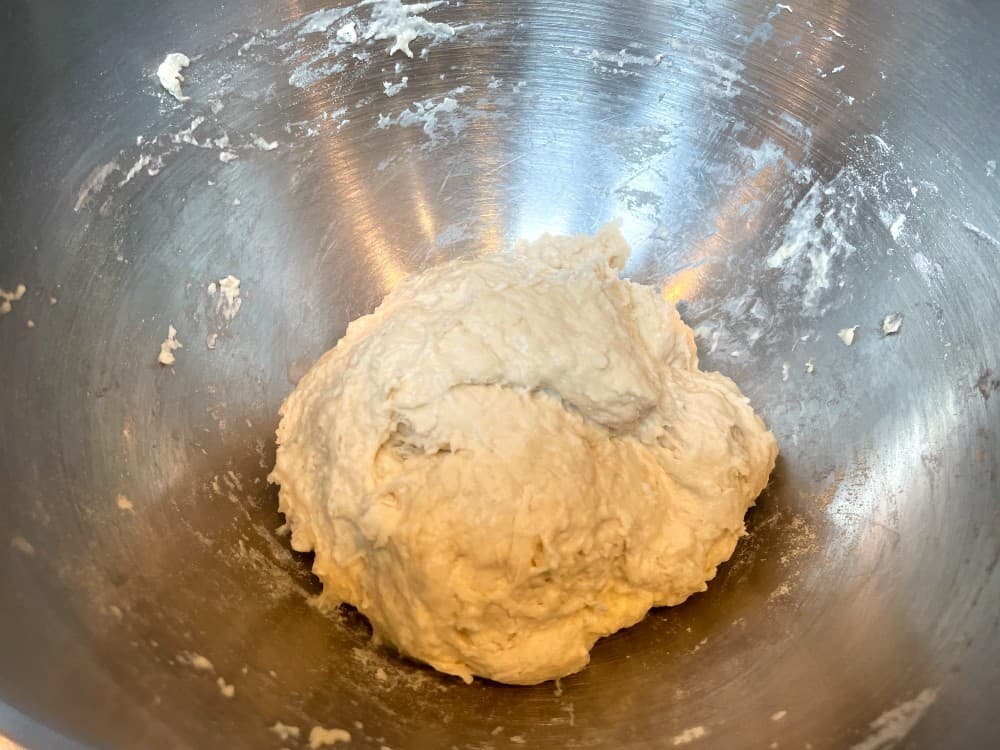
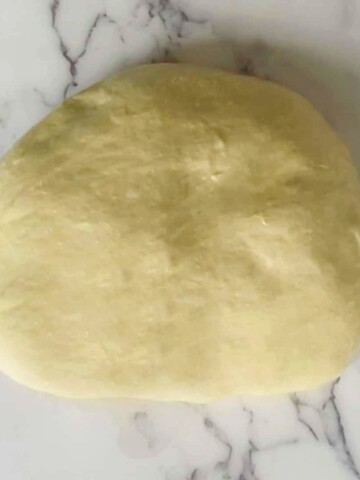
Step 2: Create a Shaggy Dough - Add the flour and salt and stir everything together. Cover the bowl with plastic wrap and allow it to sit for 1 hour.
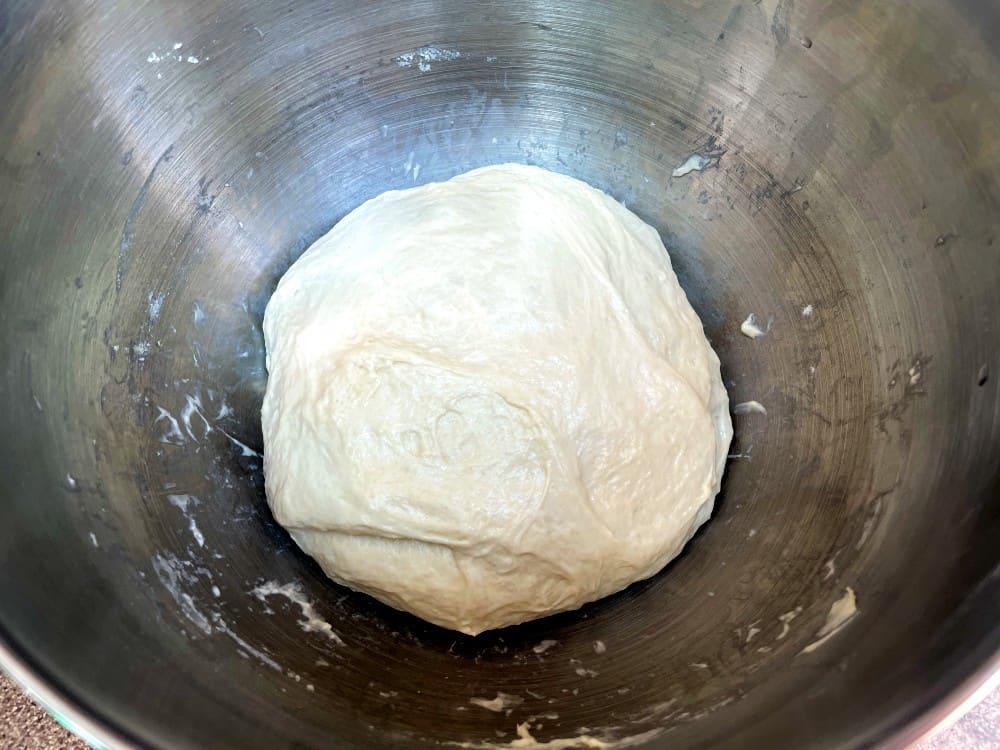
Step 3: Fold and Stretch the Dough - Wet your hands and fold and stretch the dough four times. Cover the bowl with plastic wrap and rest for 30 minutes. Repeat this step 2 more times.
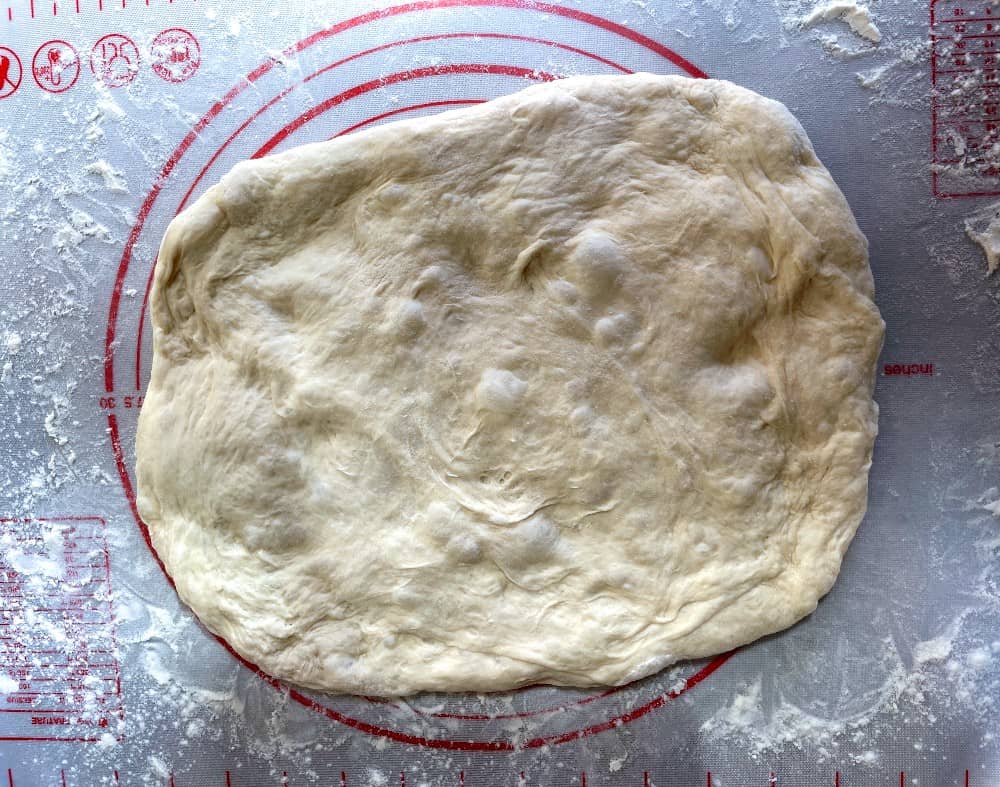
Step 4: Stretch the Dough - Gently remove the dough from the bowl onto a lightly floured surface. Carefully stretch the edges of the dough ball out to make a rectangle about ¾" thick or so.
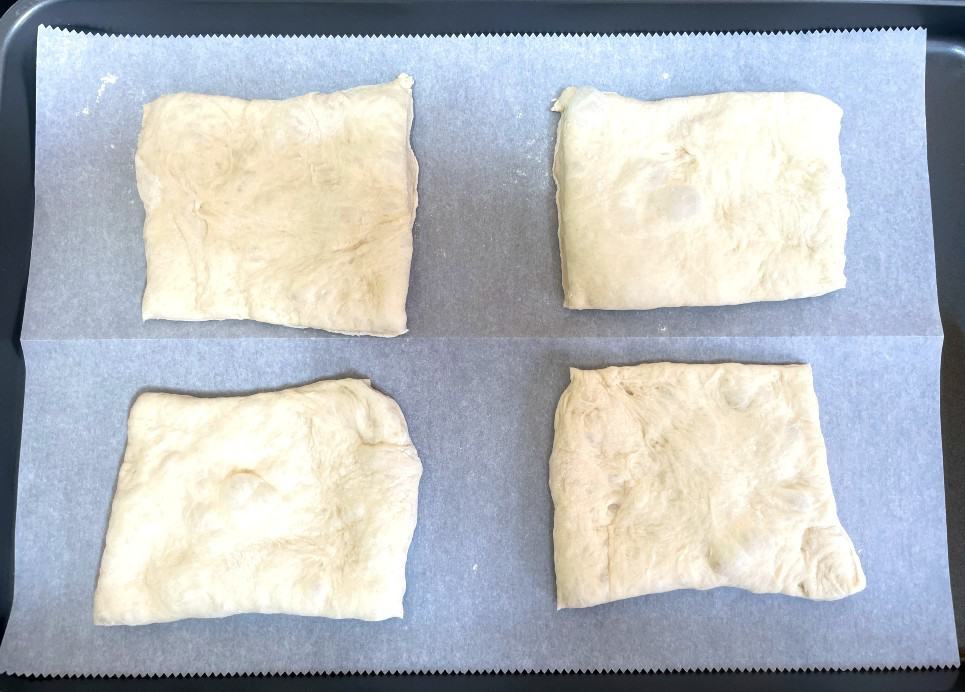
Step 5: Create Smaller Rectangles - Using a scraper/chopper or a sharp knife, cut the rectangle into 5-6 even-sized squares. Place the squares on a piece of parchment paper, cover them with a towel or plastic wrap, and allow to rest one more time for 40 minutes.
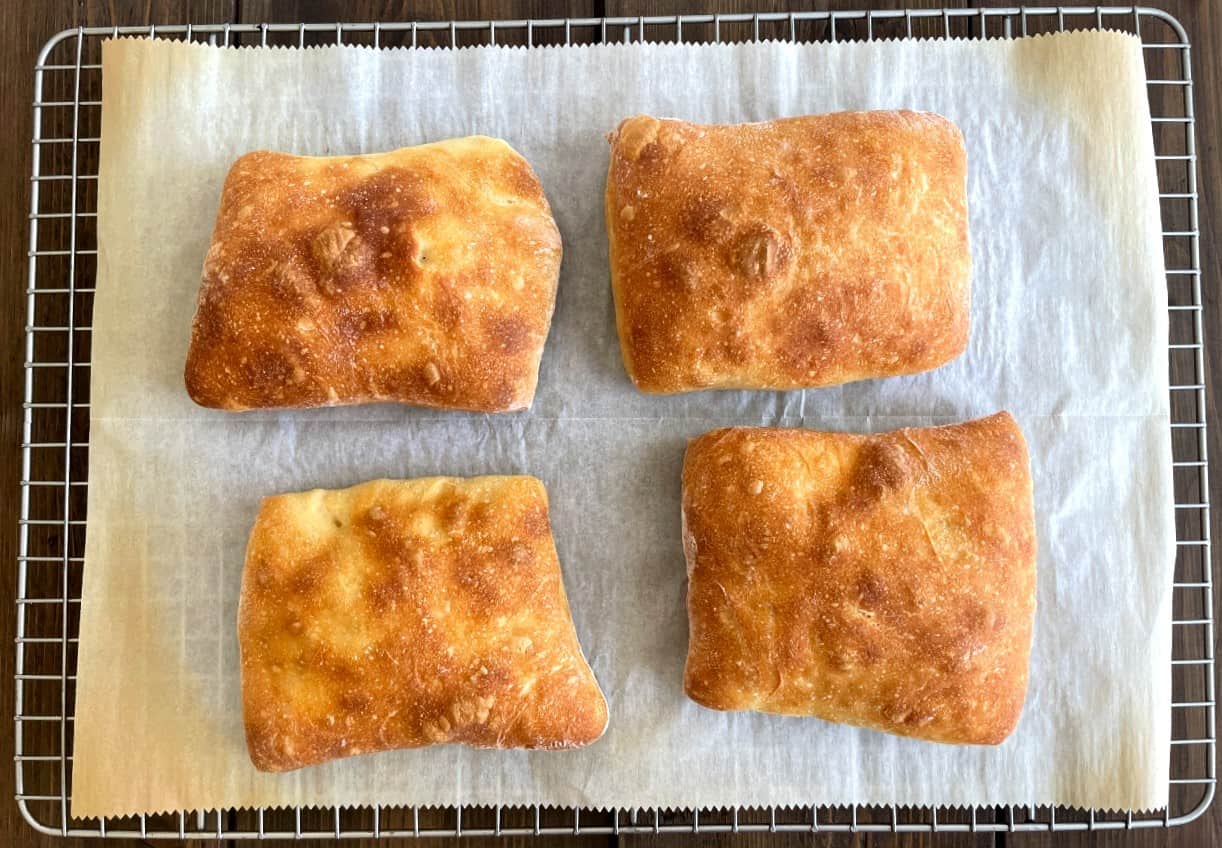
Step 6: Bake the Rolls on a Baking Stone - Preheat the oven and the baking stone at 420°F. Boil 2 cups of water and place a pan or bowl with the boiling water at the bottom of the oven to create steam. Bake the rolls for 20 minutes and then remove them to cool on a rack.
Expert Tips For This Recipe
- High Hydration Dough: Ciabatta dough is a high-hydration dough. This helps develop those classic holes in the bread. Don't panic if your dough is sticky and wet in the beginning.
- Wet Hands: Keep your hands wet when handling the sticky dough during the folding process. This prevents excessive sticking and keeps the dough moist.
- Parchment Paper: Parchment paper helps prevent the dough from sticking during baking. You can place the parchment paper right on the baking stone to prevent sticking.
- Steam in the Oven: Adding a bowl or pan of boiling water is a key step in the baking process. This creates steam in the oven to keep the ciabatta rolls chewy but crispy on the outside. It also helps create a beautiful brown color.
- Cooling Properly: Ensure you allow the ciabatta rolls to cool completely on a wire rack. This will help maintain the texture and avoid a gummy center.
- Dry Climate: If you live in a dry climate, you may need to add a little more water in step 2 to ensure the dough is wet, sticky, and shaggy-looking. Add 1 tablespoon at a time until you are satisfied with the texture.
What to Use These Rolls For
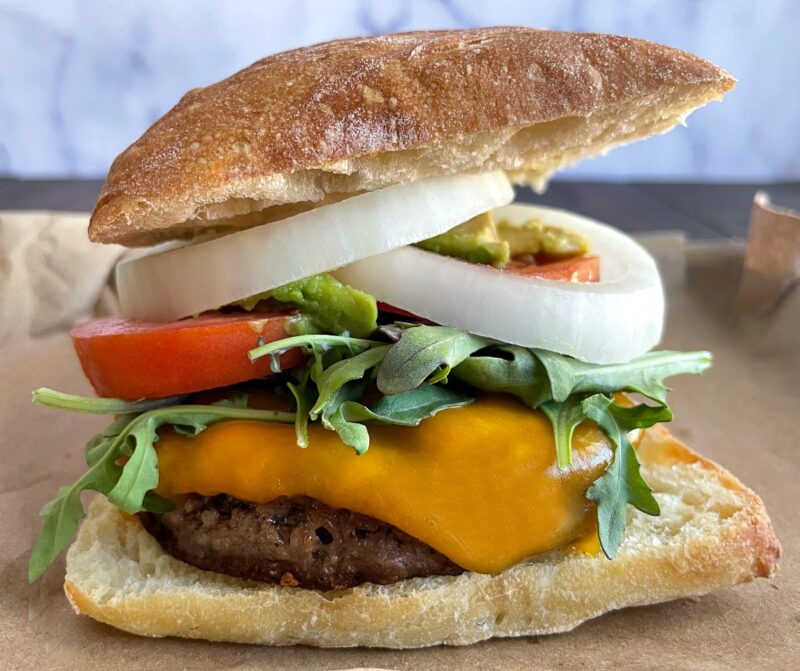
Because of the airy interior and lightly crunchy exterior of these rolls, ciabatta can be used for many things. Due to its versatility and light texture, ciabatta bread is commonly used for sandwiches, particularly paninis, as its structure allows it to hold fillings without becoming too dense or overwhelming the flavors. Here are some other ideas:
- Burgers (shown below)
- French Toast or French Toast Casserole
- Toast for breakfast
- Dip in olive oil and balsamic vinegar
- Croutons
- Bread for soup, like my Roasted Heirloom Tomato Soup
Recipe FAQs
The best way to bake ciabatta rolls is on a baking stone in the oven, lined with parchment paper.
If you don't have a baking stone, you could use a cast-iron skillet, a Dutch oven, or a heavy-duty baking sheet. If you use a cast-iron skillet or Dutch oven, you will have to bake the rolls in batches.
Yes, these ciabatta rolls can be frozen. Ensure they have fully cooled before wrapping them in plastic wrap and placing them in a freezer-safe sealable bag or container. They will last in the freezer for up to 3 months. Enjoy!
Tools Needed For This Ciabatta Bun Recipe
A baking stone is a must-have to get a good, crunchy crust on your ciabatta rolls. I use the round version because I also like to make pizza on it, and the rectangle version is nice because it's a little larger and easier to maneuver bread on.
The other tool I highly recommend is a bench scraper to help with forming the bread and cutting your rolls.
Ciabatta vs. Sourdough: What's the Difference?
Both are rustic, chewy, hole-filled breads with crispy crusts, but they're not the same thing.
Leavening: Ciabatta uses commercial instant yeast, so you can make it the same day (this recipe takes about 4 hours). Sourdough uses a live fermented starter and typically ferments overnight or longer. See my Dutch Oven Sourdough Bread for comparison.
Flavor: Ciabatta is mild and versatile - it won't fight your sandwich fillings. Sourdough has a tangy, complex flavor from the long fermentation.
Texture: Both are light and airy inside with a crispy crust, but sourdough is denser and chewier overall.
Bottom line: Ciabatta is beginner-friendly, done in less time, and mild enough for any sandwich. Sourdough takes 24-48 hours and rewards the wait with serious tangy flavor. Want bread today? Make ciabatta. Have a free weekend? Make sourdough.
More Bread Recipes To Check Out
If you get a chance to make these Easy Ciabatta Rolls, tag me on Instagram or Facebook and show me, or leave a review below! You can also follow me on Pinterest and sign up for my e-mail list to receive more fun and delicious recipes in your inbox.

Easy Ciabatta Bread Rolls Recipe
Equipment
- baking stone
- cast-iron pan or oven-safe pan/bowl
- scraper/chopper
- plastic wrap
Ingredients
- 1 cup warm water 240 grams, (room temp, not too hot)
- 1 teaspoon instant yeast 3 grams
- 2½ cups all-purpose flour 300 grams, (properly measured)
- 1 teaspoon kosher salt 6 grams
Instructions
- Place the warm water and yeast in a large mixing bowl and mix together. Let the mixture sit for 8-10 minutes until there is some nice bubble action happening.
- Once the yeast is active, add the flour and salt and stir everything together. I use a silicone spatula which made scraping the sides and bottom of the bowl easier. The dough will be wet and sticky and a little shaggy.
- Cover the bowl with plastic wrap and allow it to rest for 1 hour. TIP: I placed mine in the oven with a bowl of hot water, but you can also leave it on the counter if it's warm enough in your house.
- After an hour, wet your hands and fold and stretch the dough four times all the way around the dough (see video). Pull up two corners, stretch lightly, and fold over the top of the dough ball.
- Cover the bowl again with the plastic wrap and rest for 30 minutes. Repeat this step 2 more times for a total of 3 stretch and fold sessions and an hour and a half of additional resting time.
- By now, the dough should have doubled in size and be nice and bubbly. Carefully remove the dough from the bowl onto a lightly floured surface. TIP: Lightly flour the top of the dough and your hands for easier transfer.
- Carefully stretch the edges of the dough ball out to make a rectangle about ¾" thick or so. Try not to squish the dough or all of that air you worked so hard to create inside will get out.
- Using a scraper or a sharp knife, cut the rectangle into 5-6 even-sized squares. Place the squares on a piece of parchment paper, cover with a towel or plastic wrap, and allow to rest one more time for 40 minutes.
- While the dough is proofing a final time, preheat the oven and baking stone at 420°F. You can preheat the oven for the full 40 minutes to ensure your oven is nice and hot. About 15 minutes before the end of final proofing, boil 2 cups of water and place an oven-safe pan or bowl with the boiling water at the bottom of the oven and to the side so the steam has a chance to reach the bread.
- Once the dough has rested for 40 minutes, carefully transfer the parchment paper with the dough squares onto the baking stone. You can also have the paper and dough on a baking sheet and place the baking sheet right on top of the baking stone. Bake for 20 minutes and then remove the rolls and place them on a cooling rack to cool.
Video
Notes
- Ciabatta dough is a high-hydration dough. This helps develop those classic holes in the bread. Don't panic if your dough is sticky and wet in the beginning.
- Keep your hands wet when handling the sticky dough during the folding process. This prevents excessive sticking and keeps the dough moist.
- Parchment paper helps prevent the dough from sticking during baking. You can place the parchment paper right on the baking stone to prevent sticking.
- Adding a bowl or pan of boiling water is a key step in the baking process. This creates steam in the oven to keep the ciabatta rolls chewy but crispy on the outside. It also helps create a beautiful brown color.
- Ensure you allow the ciabatta rolls to cool completely on a wire rack. This will help maintain the texture and avoid a gummy center.
- If you live in a dry climate, you may need to add a little more water in step 2 to ensure the dough is wet, sticky, and shaggy-looking. Add 1 tablespoon at a time until you are satisfied with the texture.
Nutrition
Any nutrition calculations are only estimates using online calculators. Please verify using your own data.


Angela says
Can these be stored in the freezer?
Emily says
Yes, these ciabatta rolls can be frozen. Ensure they have fully cooled before wrapping them in plastic wrap and placing them in a freezer-safe sealable bag or container. They will last in the freezer for up to 3 months. Enjoy!
Shannon says
Hey! I was wondering if you have made these with freshly milled flour?
Emily says
Hi Shannon, I have note used freshly milled flour personally. You can use freshly milled flour in these ciabatta rolls, but it works best when blended with bread flour since fresh flour absorbs more water and affects gluten strength. Expect a slightly tighter crumb with more flavor, and use extra hydration plus stretch-and-folds for the best results. Enjoy!
Kelly says
I'm not much of a baker so was really happy when these turned out. I added 50g of whole wheat flour (the rest the all purpose) and they turned out ok. I didn't add anymore water as I wasn't sure how much. If I did add some extra water, should it make the crumb more open or is that something you lose when you use whole wheat? I also no longer have a baking stone so I just put in on a baking sheet with parchment. Does that change baking time at all? Thanks!! These are delicious.
Emily says
Hi Kelly, I'm so glad they turned out good! Yes, the whole wheat flour will change the crumb, but it sounds like it was still ok. It may have made them a little chewier, which I think is ok with ciabatta. A pan vs stone will change the baking time slightly, but so will different ovens so just keep your eye on them and make sure you have water for moisture. Enjoy!
Kelly says
Thanks Emily - this time while the buns had their final rest, I covered them with plastic and the dough stuck hard to them. I had to pull both on the plastic and the dough to separate them. They turned out OK but I was worried after trying to not lose bubbles to have 3-4 inch pulls in both directions! I'm guessing I should just use a cloth instead or would there be another reason for this?
Emily says
Hi Kelly, there are a few things you can do:
1. a lightweight clean towel
2.plastic wrap sprayed with a little oil
3.a very light dusting the top of the rolls with flour before resting.
Enjoy!