
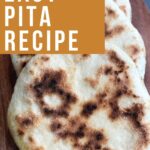

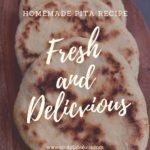
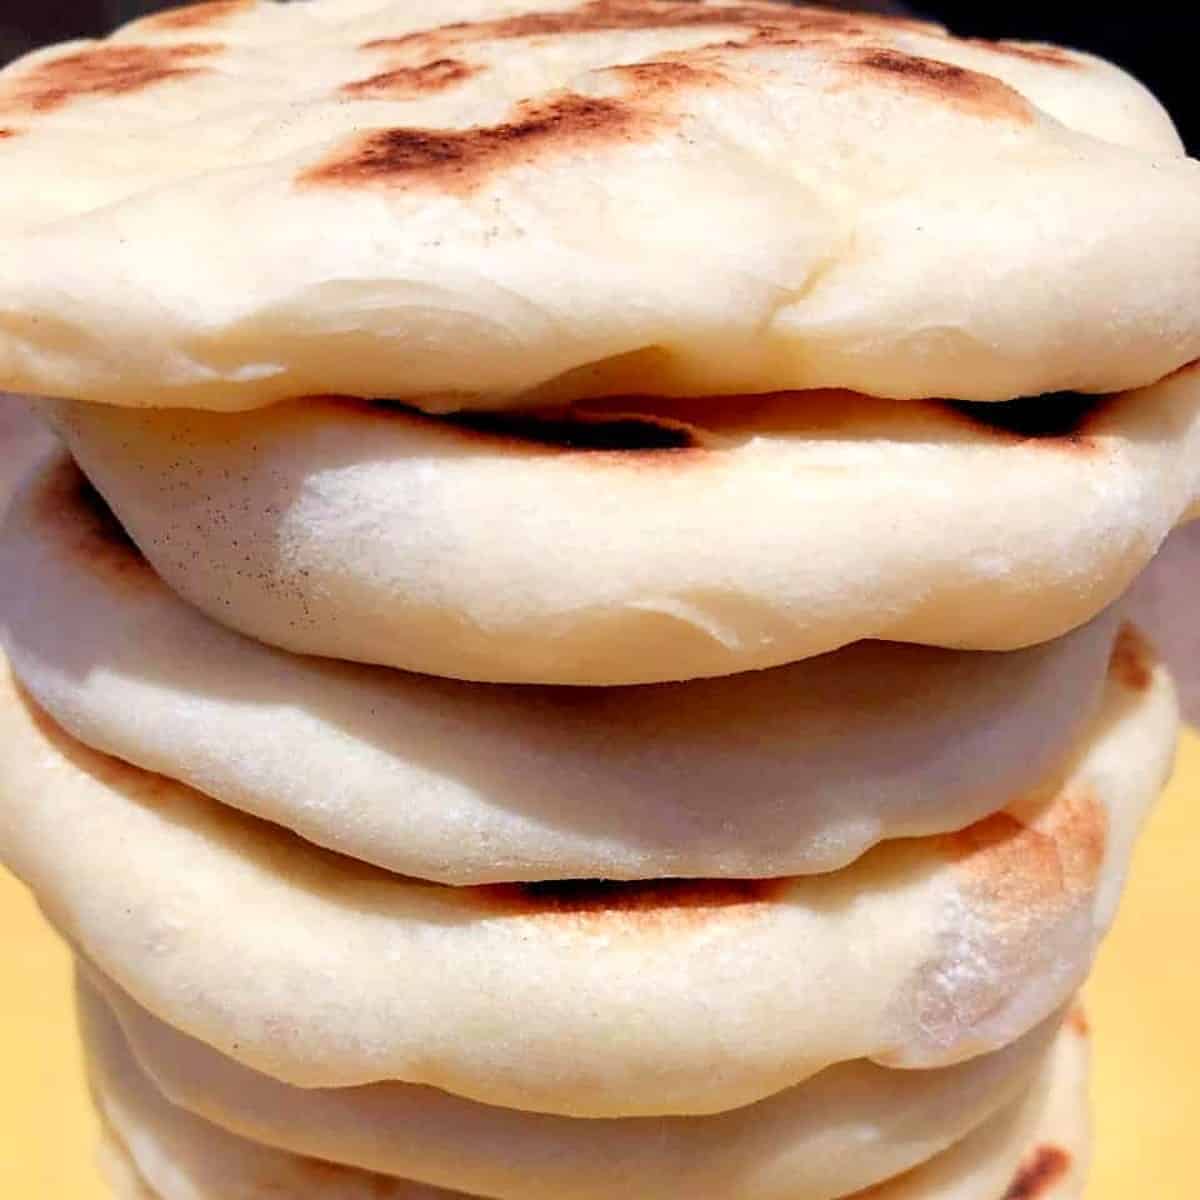
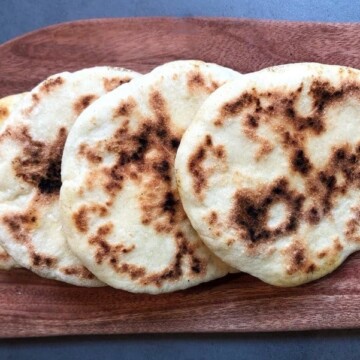
A Quick Greek Pita Bread Recipe that is so easy and you probably have all of the ingredients in your pantry already. Once you make these puffy rounds of deliciousness, you will want them all the time.
Jump to:
Why I Love This Recipe
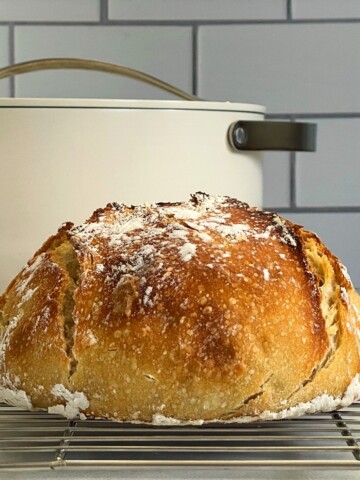
There is nothing better than homemade bread. Your house smells good, it's better for you, and the first bite of warm bread fresh out of the oven, or in this case off the pan, is probably one of the best things in life just like my No-Knead Rosemary Bread or my Dutch Oven Sourdough Bread.
This is a recipe that is very easy to execute, but you have to make time for the dough to rest around 2.5 hours, so plan for that. It's worth it, I promise, similar to my Easy Ciabatta Rolls Recipe.
Ingredients Needed to Make Greek Pita Bread
There are only 5 ingredients needed to make this Quick Pita Bread Recipe and you most likely have them in your pantry. You will need active dry yeast, warm water, all-purpose flour, olive oil, and salt.
Those small packets of yeast you bought in a pack of 3 and only used once could be lurking in the back somewhere. If not, they are inexpensive and have a lot of uses. Just make sure they haven't expired.
How to Make This Recipe

Step 1: Place the yeast, warm water, and 1 cup of flour into the bowl of a mixer, whisk together by hand, and let it stand for 15 to 20 minutes.
Step 2: Add olive oil, salt, and the rest of the flour.
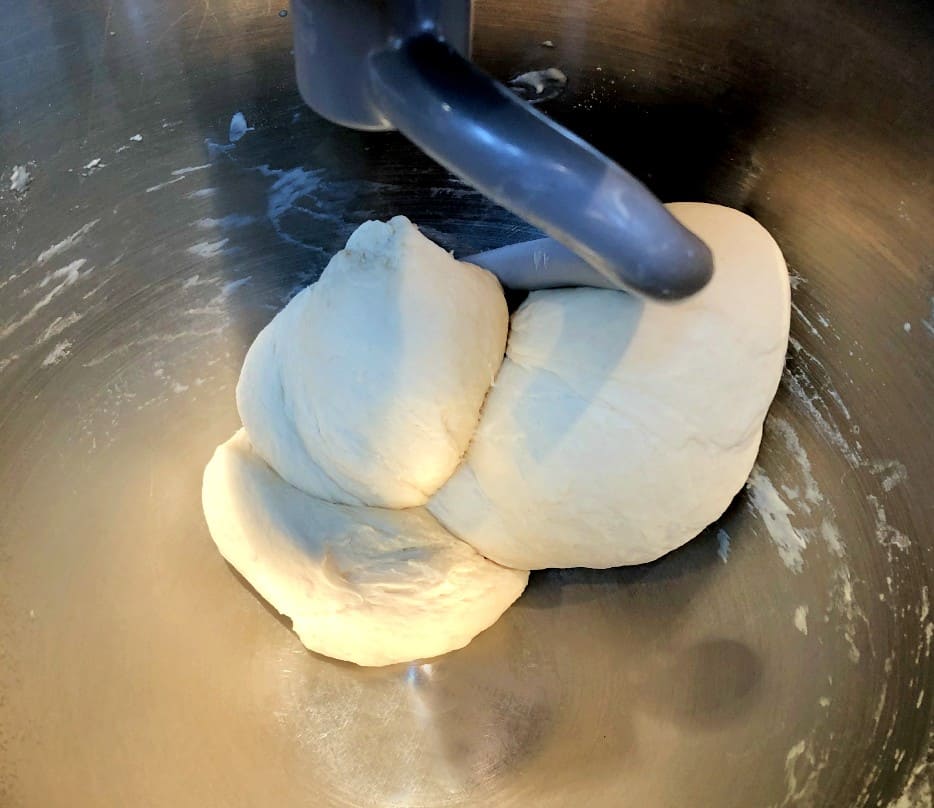
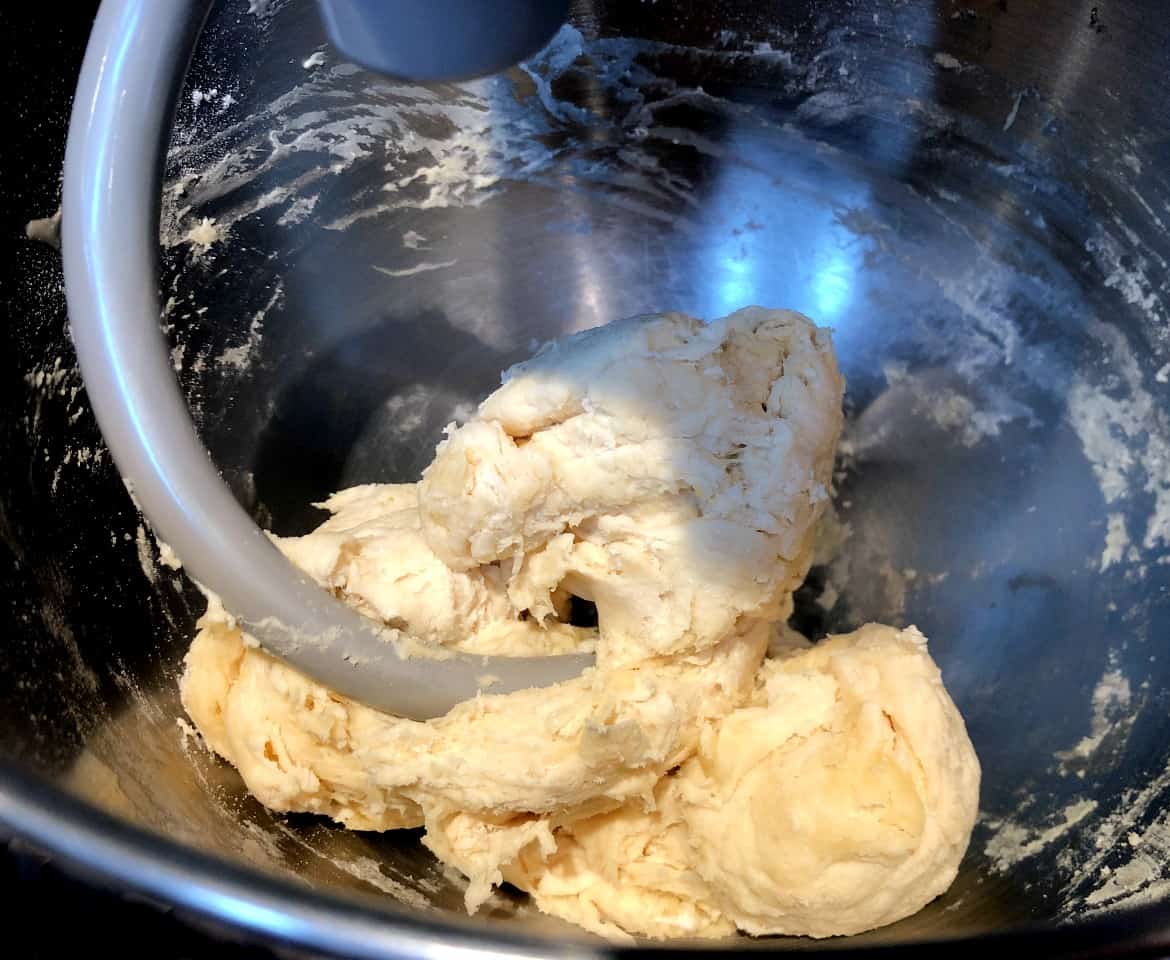
Step 3: Use the dough hook attachment and mix at low speed for about 5 minutes until the dough is soft and slightly sticky.
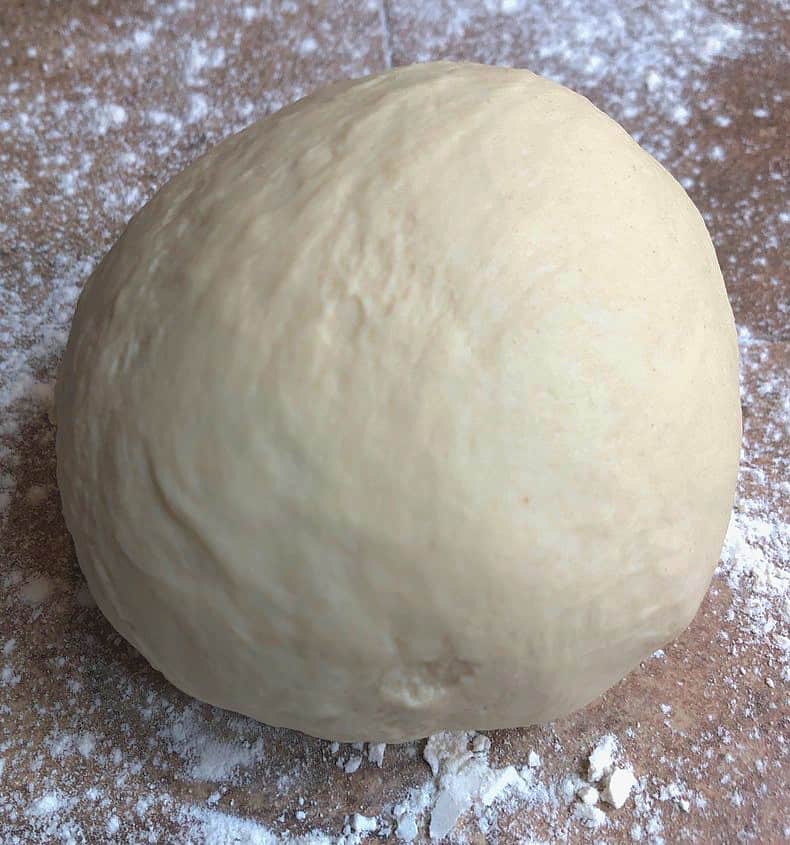
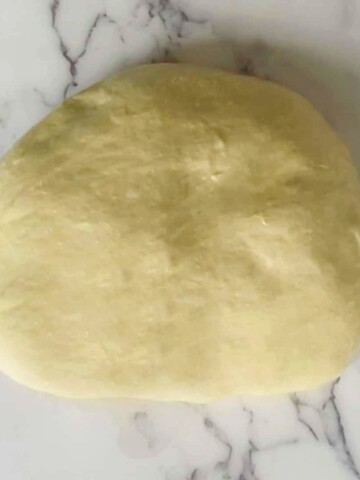
Step 4: Place the dough onto a floured work surface and form into a ball. Place the dough ball inside a large bowl that has been wiped with olive oil, cover the bowl with clear wrap, and let the dough rest until it has doubled in size, about 2 hours.
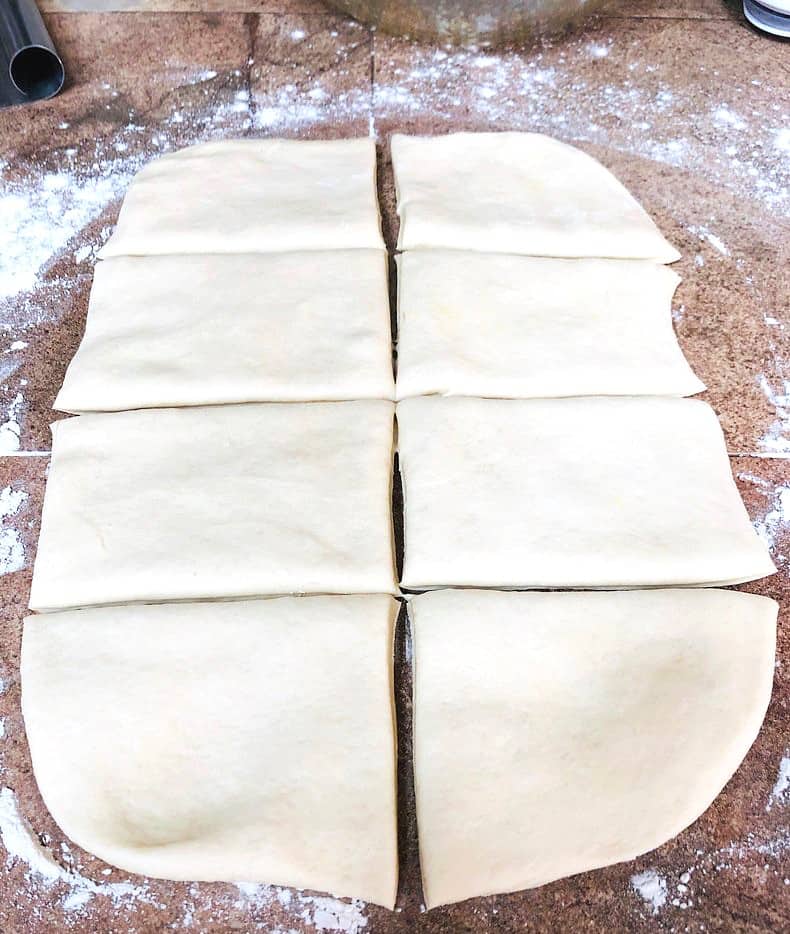
Step 6: Remove the dough from the bowl and place it onto a floured work surface. Lightly pat the dough into a flat rectangle shape about ½ inch thick. Cut the dough into 8 pieces.
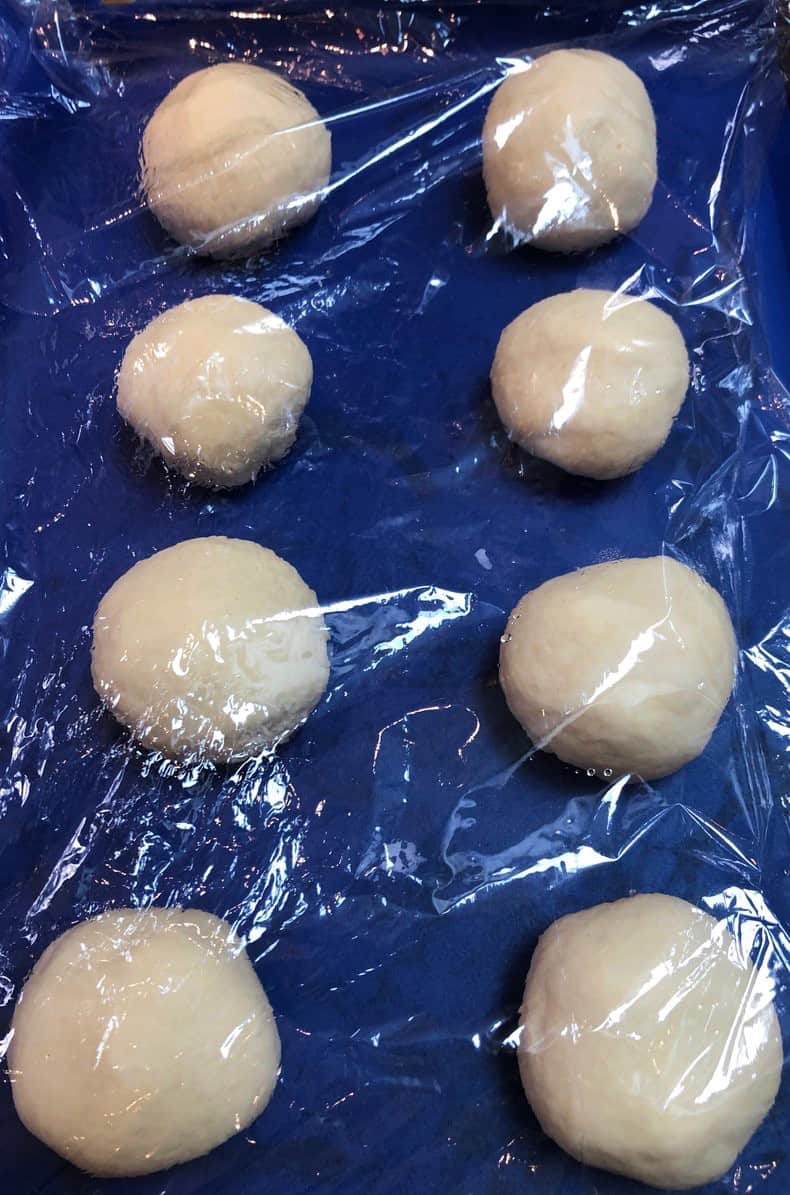
Step 7: Form each piece into a small round ball by tucking the ends underneath a few times to make it nice, tight, and smooth. Cover the balls with lightly oiled plastic wrap and let them rest for 30 minutes.
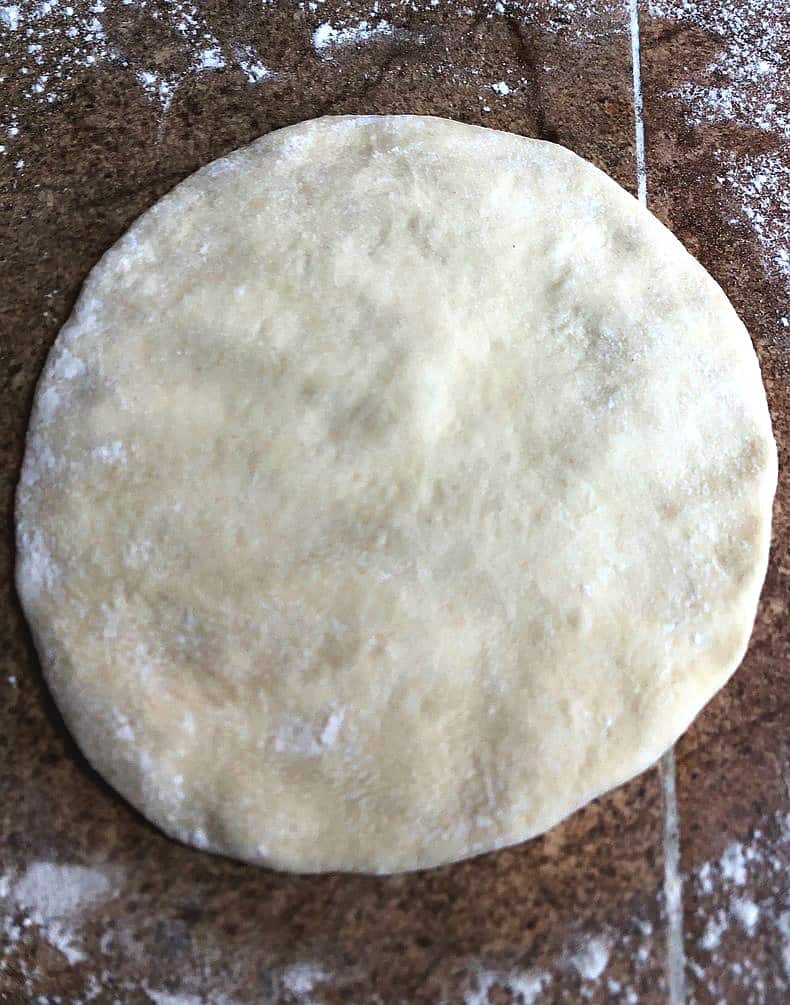
Step 7: After resting, gently pat each dough ball flat with your fingers. You can also use a rolling pin, but be careful not to push too hard and remove all the air.
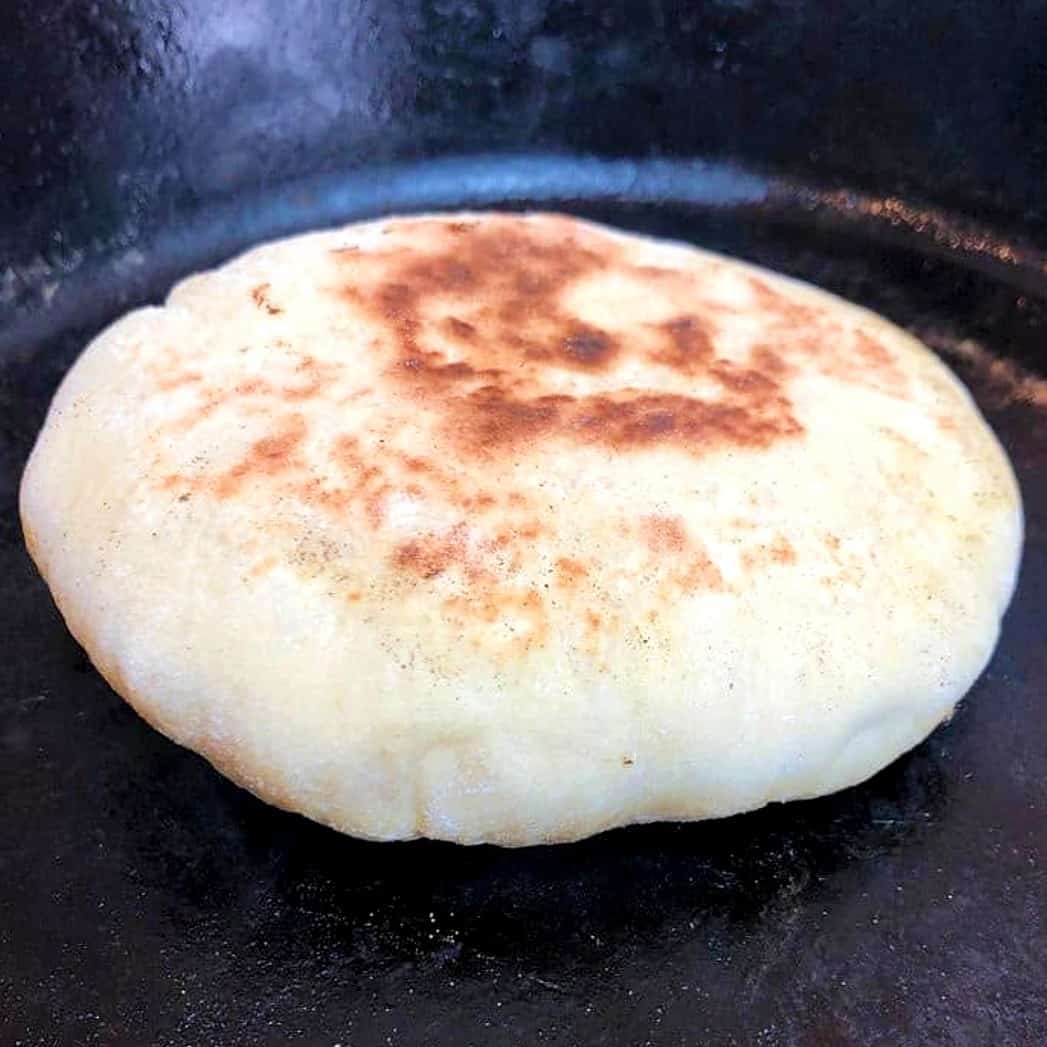
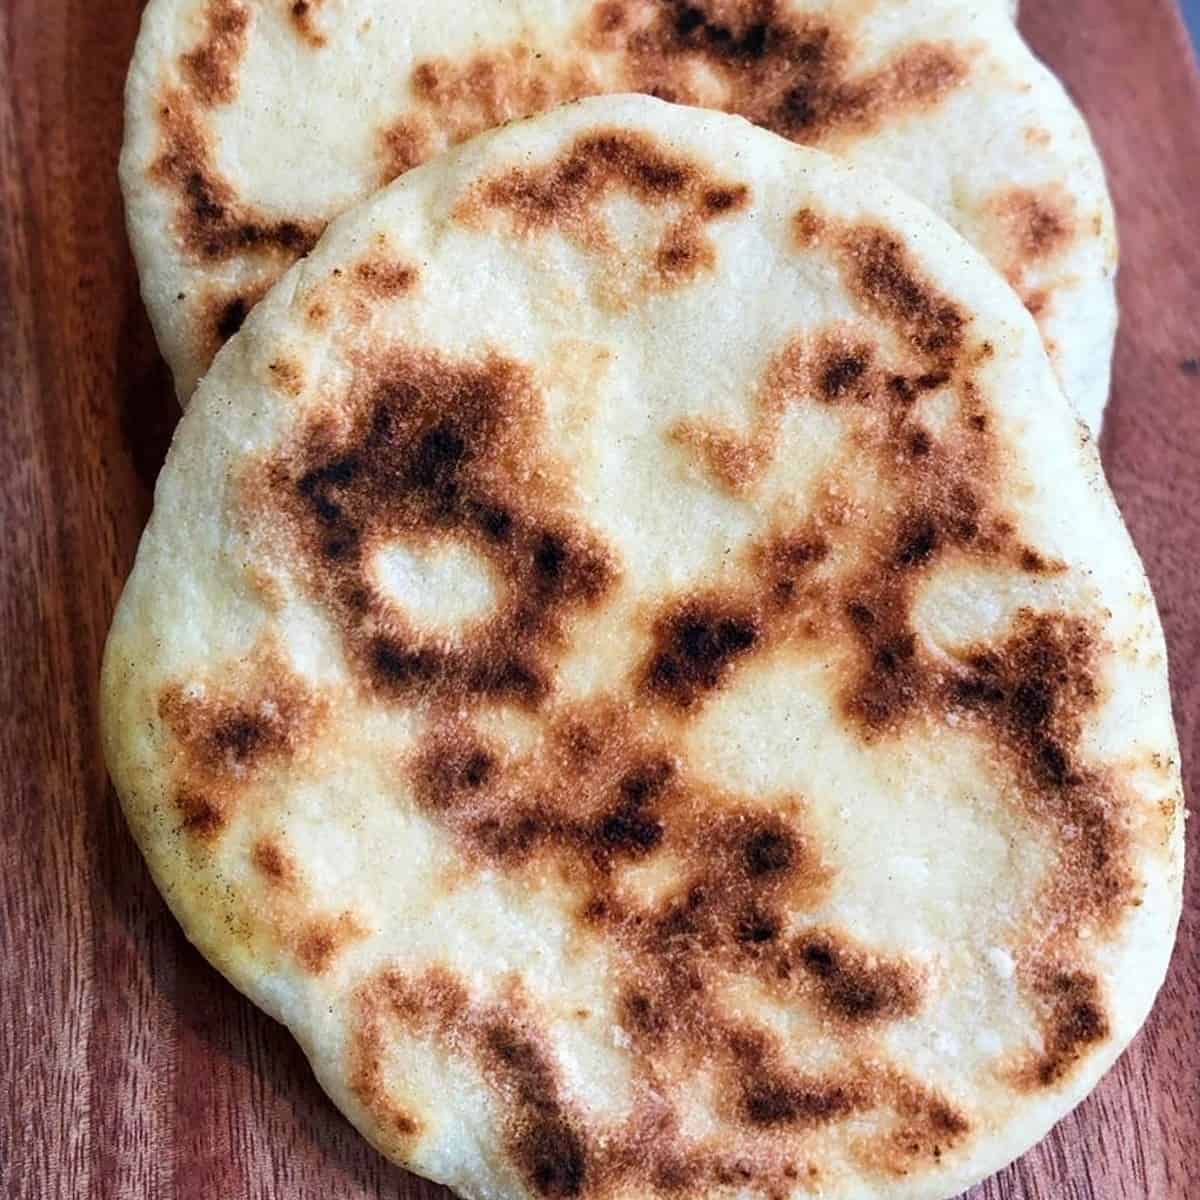
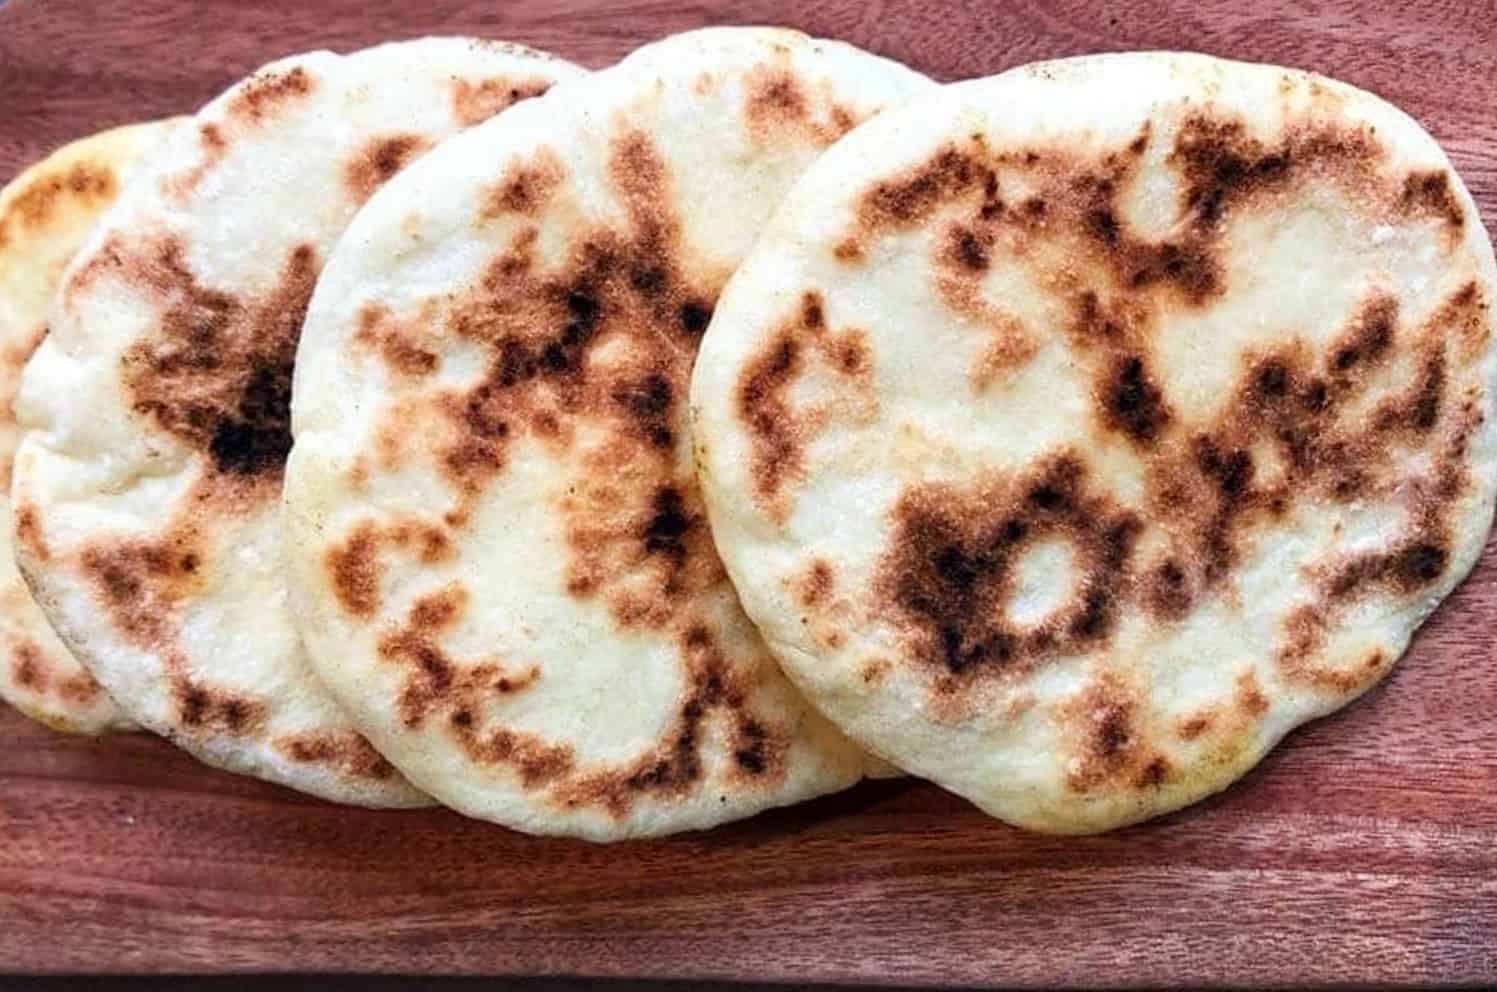
Step 8: Brush a cast-iron skillet with olive oil and place it over medium-high heat. Cook for 1-2 minutes on each side. Repeat for all of the pitas.
Expert Tips
-
Use high heat: Whether you're cooking on the stove or baking pitas, ensure your surface is hot (450°F-500°F). This helps the pita puff up and cook evenly.
-
Roll evenly: Roll the dough evenly to about ¼-inch thick. Uneven or thick spots can prevent puffing.
-
Don't over-flour: Use just enough flour to prevent sticking. Too much can dry out the dough or create a burnt flour taste.
-
Rest the dough: After shaping, let the dough rest to relax the gluten, this helps with puffing.
-
Cover after baking: Stack baked pitas and cover with a clean towel to keep them soft and pliable.
-
Wait for the pita to puff up: If the pita didn't puff up, the oven or pan likely wasn't hot enough. Make sure it's fully preheated and the dough is rolled evenly-not too thick.
Recipes That Use Homemade Pita Bread
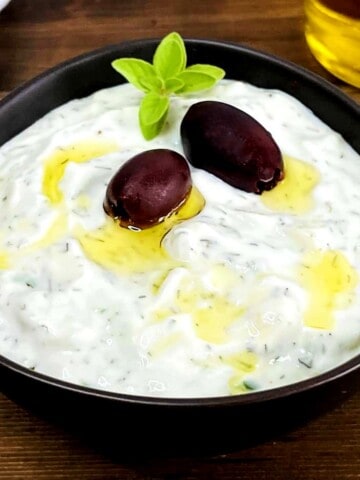
Once all of the pitas are cooked, they are ready to go! I must warn you they are really good right after cooking while they are still warm and are delicious all by themselves or dipped in Mediterranean Hummus.
Or, you can cut them open and stuff them with your favorite goodies or use them as a wrap like my Greek Pita Wraps with Chicken or my Shawarma Chicken Wraps.

Recipe FAQs
Yes, you can bake pita bread in the oven for a nice, puffed-up pocket. Preheat the oven to 450°F-500°F, use a hot baking stone or baking sheet, and bake the rolled-out dough until it puffs and turns lightly golden, about 2-3 minutes. Flip the pitas and bake for another minute or until lightly golden.
Homemade pita bread will last 2-3 days in a sealed container or bag.
Yes, you can substitute whole wheat flour for some or all of the all-purpose flour. Just know that the texture may be a bit denser.
You can freeze pita bread for longer storage. Ensure the pitas have cooled completely. Wrap them tightly with plastic wrap and place them in a freezer-safe bag or container.
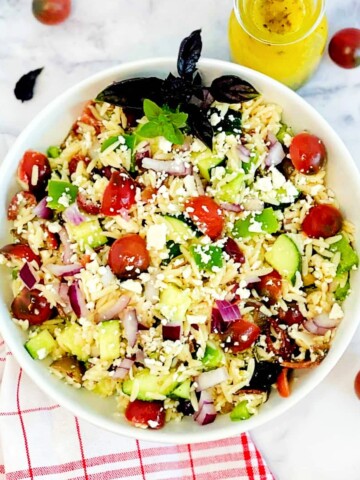
More Mediterranean-Inspired Recipes


If you get a chance to make this Easy Homemade Greek Pita Recipe, tag me on Instagram or Facebook and show me, or leave a review below! You can also follow me on Pinterest and sign up for my e-mail list to receive more fun and delicious recipes right in your inbox.
Easy Homemade Greek Pita Bread
Equipment
- cast iron pan
- stand mixer with dough attachment
Ingredients
- 1 package active dry yeast (2¼ tsp)
- 1 cup warm water
- 2¾ cups all-purpose flour
- 1½ tablespoon olive oil (plus a little more for bowl and pan)
- 1¾ teaspoon kosher salt
Instructions
- Place the yeast, warm water, and 1 cup of flour into the bowl of a mixer. Whisk together by hand and let it stand 15 to 20 minutes until the mixture is bubbly.
- Add 1½ tablespoons olive oil, 1¾ teaspoon salt, and the rest of the flour into the mixture. Use the dough hook attachment and mix at low speed, until the dough is soft and just slightly sticky. If the dough is sticking to the sides of the bowl too much, add a little more flour, but no more than another ¼ cup.
- Continue to mix/knead the dough on low speed for about 5 minutes. It should all combine together nicely and be stretchy and smooth.
- Place the dough onto a floured work surface and form into a ball, tucking under to create a smooth surface.
- Wipe the inside of a bowl with olive oil and place the dough ball inside. Cover the bowl with clear wrap sprayed with cooking spray and let the dough rest until it has doubled in size, about 2 hours.
- Remove the dough from the bowl and place it onto a floured work surface. Lightly pat the dough into a flat rectangle shape about ½ inch thick. Use a knife to cut the dough into 8 pieces.
- Form each piece into a small round ball by tucking the ends underneath a few times to make it nice and tight and smooth. Place each ball on a surface you can cover, I used a baking sheet with a silicone mat.
- Cover the balls with lightly oiled plastic wrap and let them rest for 30 minutes.
- Sprinkle a small amount of flour on your work surface and gently pat each dough ball flat with your fingers, forming a flat round disc about ¼ inch thick.
- Brush a cast-iron skillet with olive oil and place it over medium-high heat. Place the dough round into the hot skillet and cook until bread begins to puff up and the bottom has brown spots, about 1-2 minutes. Flip and cook for 1-2 more minutes. Flip again onto each side for 30 more seconds each. Your pitas will start to bubble and fill with air (some more than others). Once evenly cooked on both sides, remove the pita from the skillet and place it on a plate for cooling.
- Brush a little more olive oil in the skillet when needed and repeat cooking the rest of the dough rounds. Watch your heat as you are cooking, if the oil starts smoking or the pitas burn, turn down the heat and wait a few minutes before continuing to cook the rest of the pitas.
Notes
- You can bake pita bread in the oven at 450°F-500°F on a hot baking stone or sheet. It puffs up and turns lightly golden in about 2-3 minutes per side.
- Homemade pita bread stays fresh for 2-3 days when stored in a sealed container or bag.
- Whole wheat flour can be used in place of all-purpose flour, though it may create a denser texture.
- Cooled pita bread can be tightly wrapped and frozen for longer storage.
- If your pita didn't puff up, the oven or pan likely wasn't hot enough. Make sure it's fully preheated and the dough is rolled evenly-not too thick.
Nutrition
Any nutrition calculations are only estimates using online calculators. Please verify using your own data.


Dea Dea says
This recipe looks delicious and I'd love to try it but I'm wondering if I can bake them in an oven?
Emily says
Yes, you can bake pita bread in the oven for a nice, puffed-up pocket. Preheat the oven to 450°F–500°F, use a hot baking stone or baking sheet, and bake the rolled-out dough until it puffs and turns lightly golden, about 2-3 minutes. Flip the pitas and bake for another minute or until lightly golden.
Ange says
Thank you for the recipe! I want to try this so badly, but don't have a skillet...is a regular hot pan acceptable?
Emily says
Hi Ange. Yes! You should be able to cook these in a very hot skillet, non-stick would prob be best if you have it. I hope you enjoy this recipe!
Swathi says
haomeade pita bread is always best
Emily says
I totally agree, Swathi!
Cindy Mom the Lunch Lady says
I am so excited for this recipe. I've made naan but never pita. This looks awesome!
Emily says
So funny, I've made pita but never naan...we need to compare notes on a new cooking challenge!