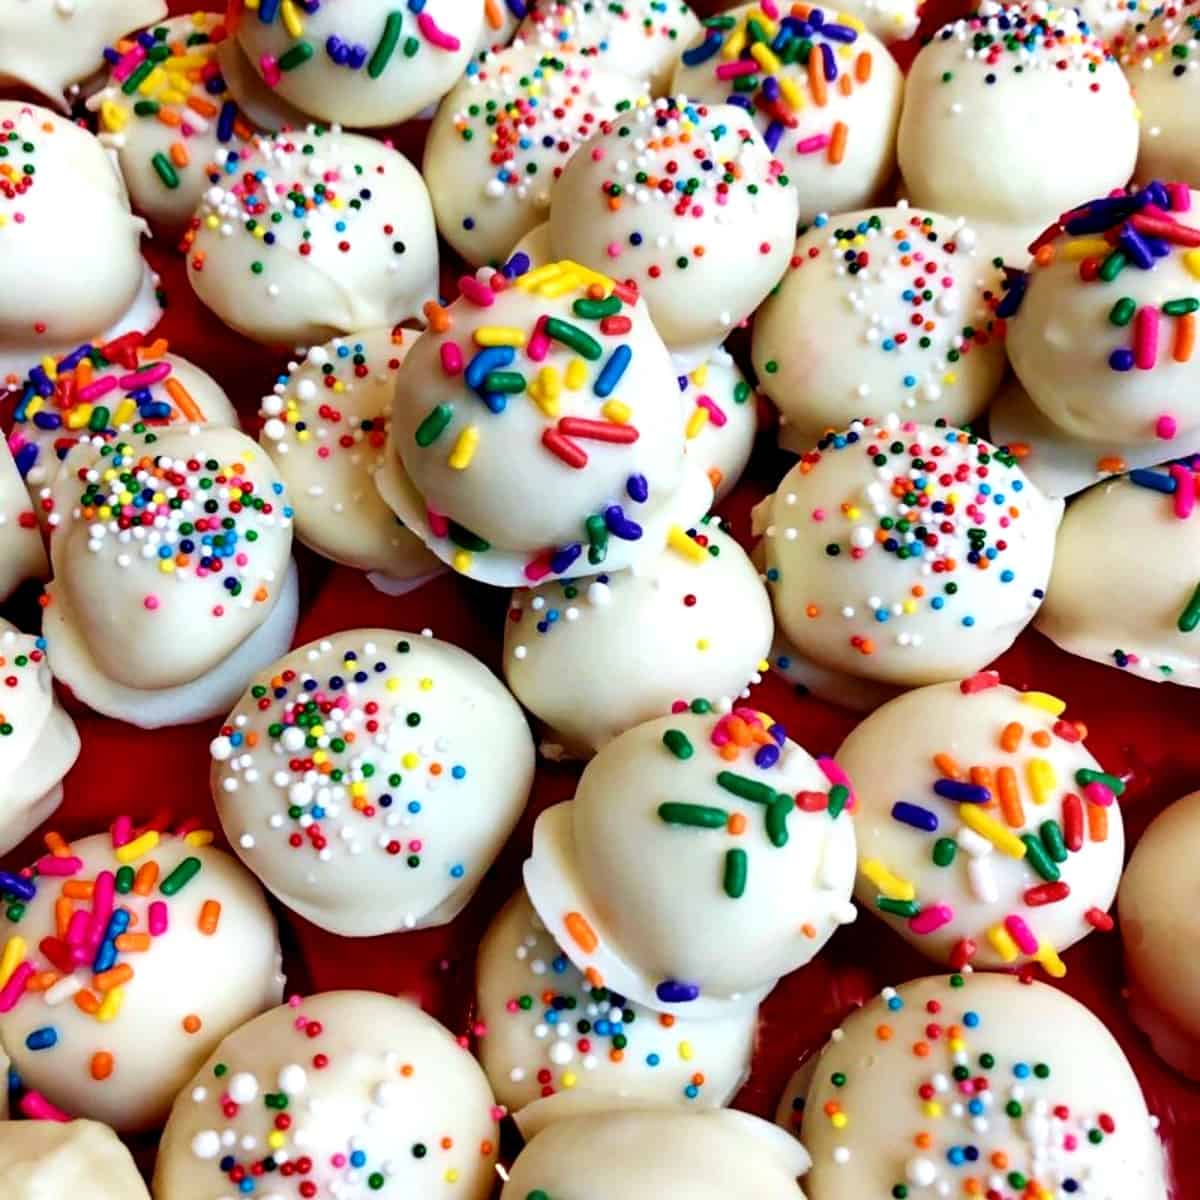
If you need an easy and tasty dessert for any occasion, this Easy Cake Balls recipe will be your new go-to! They are so delicious and everyone will love them. The flavor possibilities are endless, which makes this easy recipe work for any celebration.
Jump to:
Why I Love This Recipe
I first started making Cake Balls, sometimes called Cake Bites or Cake Pops without a stick, over 10 years ago right when Cake Pops became a thing. Anytime I make these little bites of heaven, they disappear. I get requests all the time to bring these whenever I get an invitation.
What are Cake Balls?
These Cake Balls are exactly what they sound like, only better! They are almost like a truffle because they are dense and moist and with the sprinkles, they remind me a little of a frosted animal cookie.
Instead of just cake in the middle like a cake pop, these cake balls have frosting inside and a candy coating outside.
Key Ingredients For This Recipe
- boxed cake mix
- frosting in a can
- candy coating
- colored sprinkles
*See the recipe card for the complete list of ingredients and quantities.
Different Cake Ball Flavor Combinations to Try
Here are some ideas for different flavor combinations to try when making Cake Balls. I'm telling you, you can't mess up this recipe.
- Spiced Cake and Cream Cheese Frosting
- Strawberry Cake and Strawberry Frosting
- Funfetti Cake and Funfetti Frosting
- Chocolate Cake and Chocolate Frosting
- Chocolate Cake and Coconut Pecan Frosting
- Gingerbread Cake and Vanilla Frosting
- Carrot Cake and Cream Cheese Frosting
I've done different variations of these using spiced cake mix, vanilla, yellow, gingerbread, chocolate, etc. You can also use your choice of frosting or add a little extra flavor to the cake mix or frosting.
I have also made these using homemade cake and frosting. Truthfully, I like the store-bought version better.
How to Make Easy Cake Balls
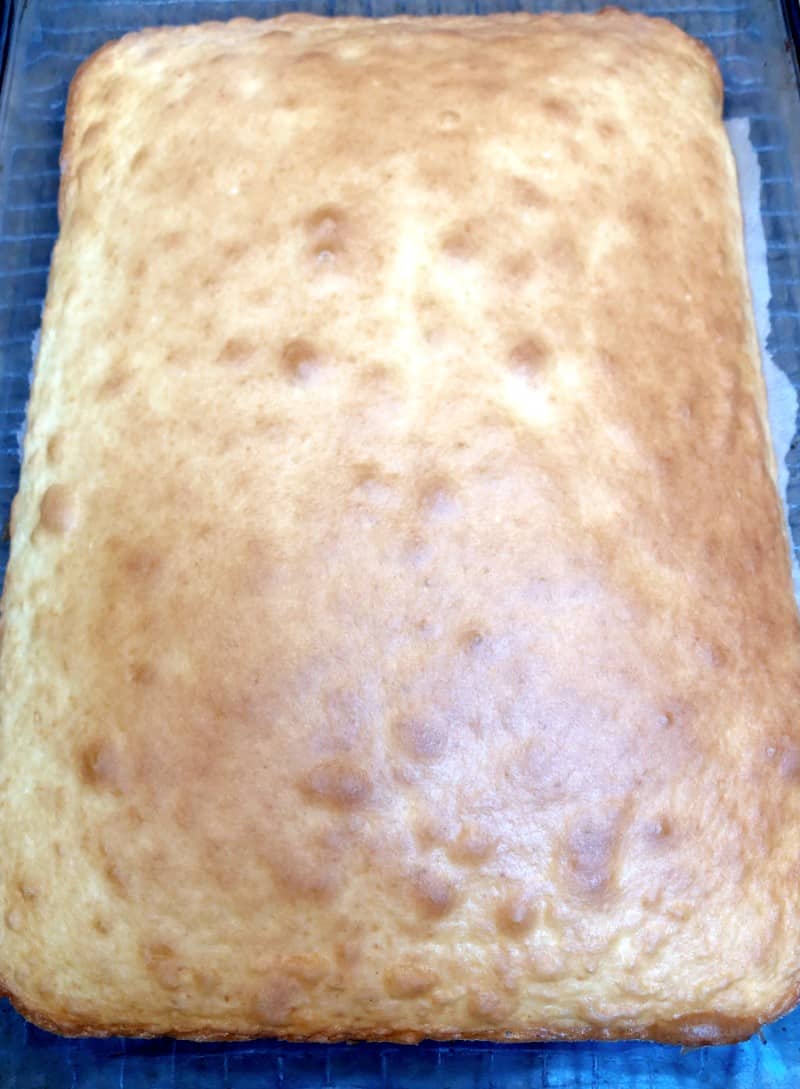
Step 1: Make a boxed cake as directed on the box and allow it to cool completely.
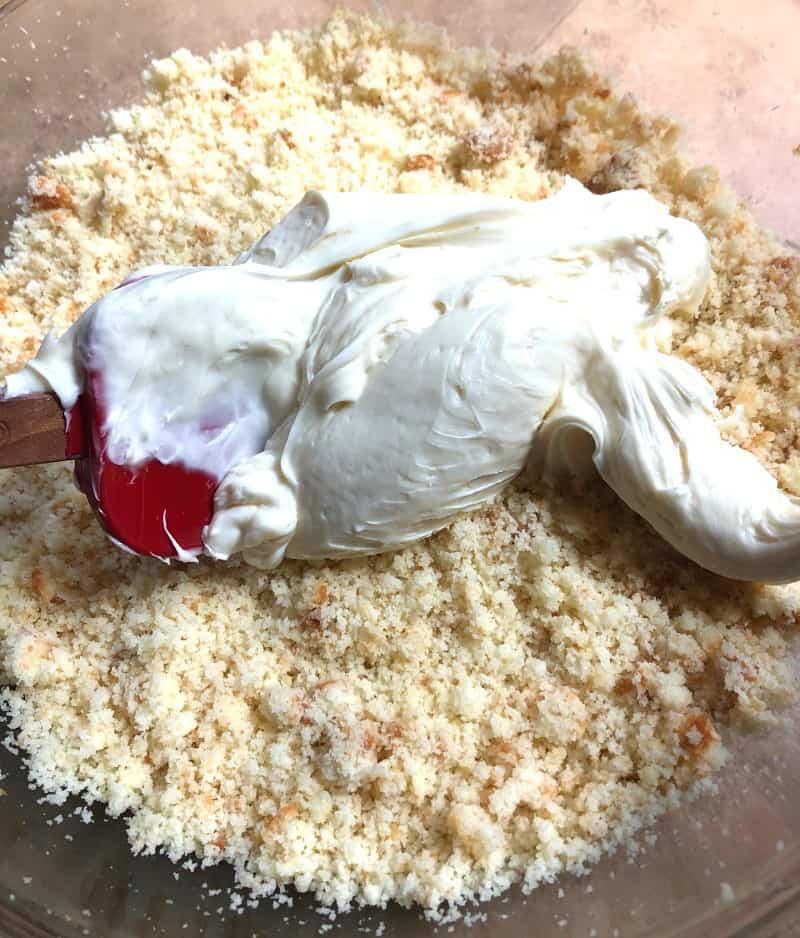
Step 2: Once the cake has cooled, break it into pieces in a large mixing bowl and crumble it with your hands. Take the container of frosting and mix it into the crumble mixture with a rubber spatula or large spoon.
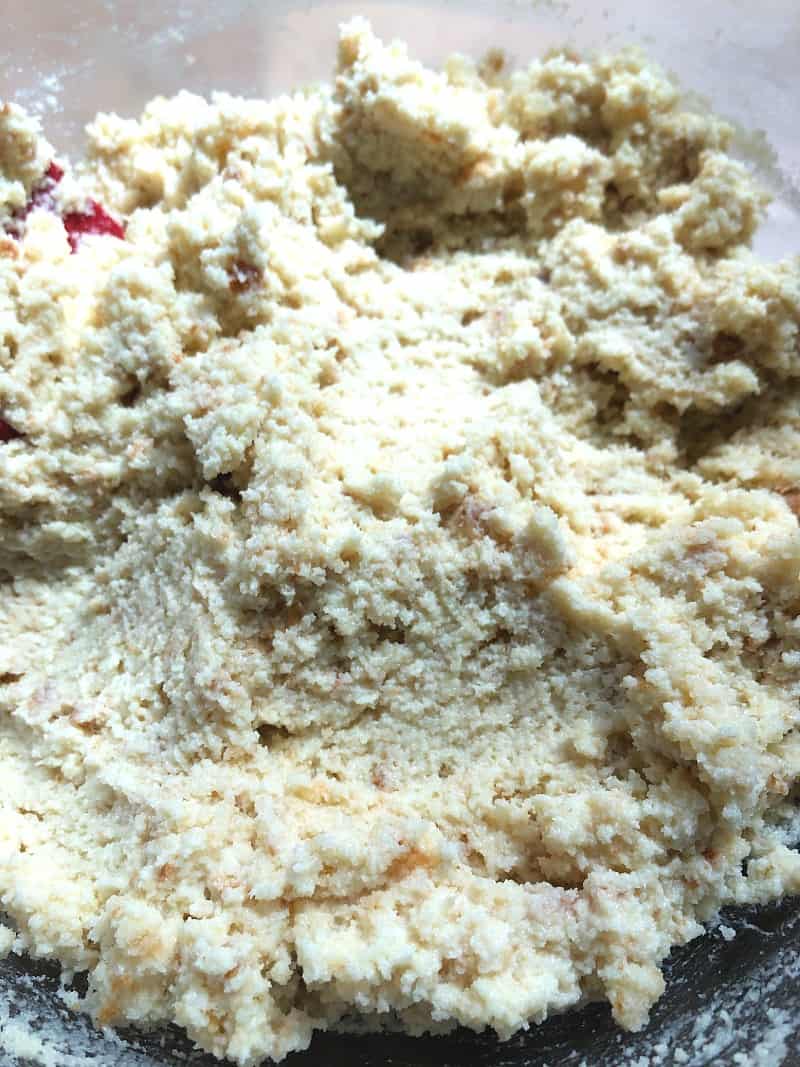
Step 3: Once combined you will get a dough-like consistency.
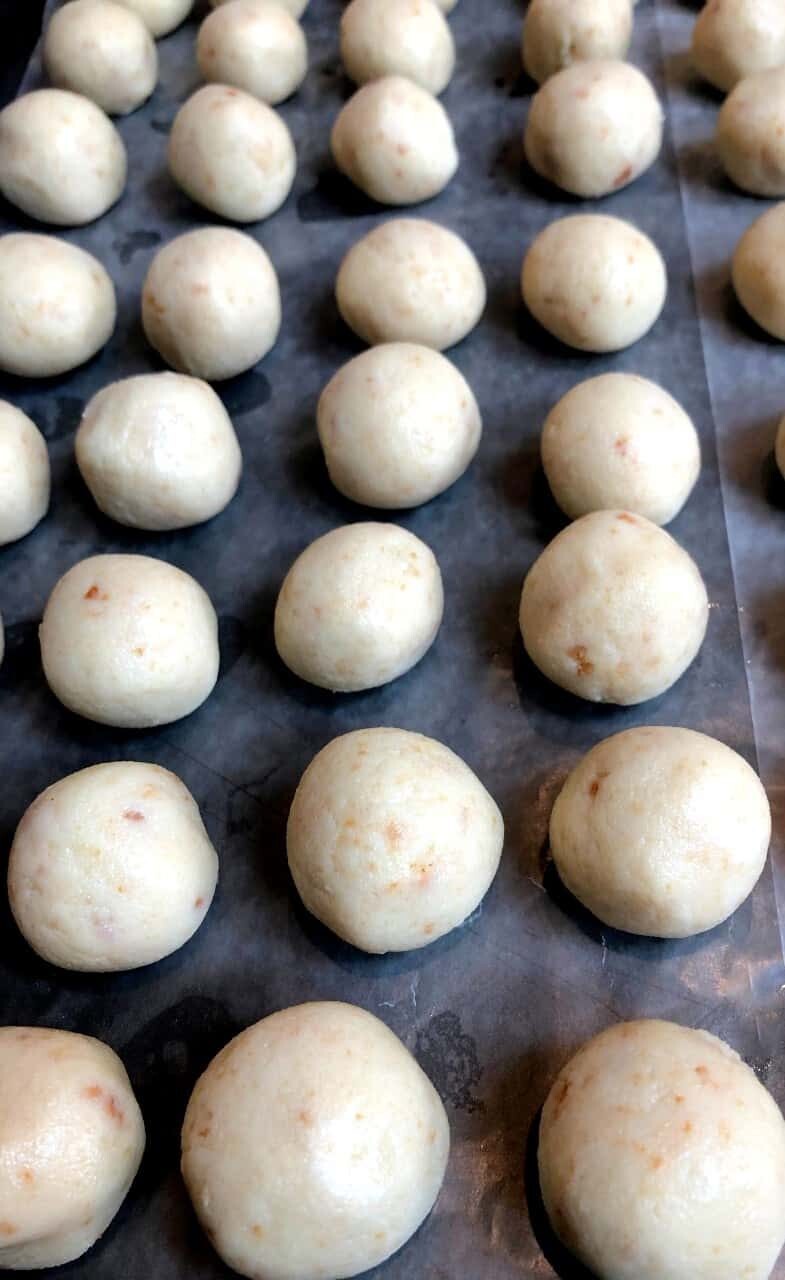
Step 4: Prepare a baking sheet with wax paper. With clean hands, scoop out about 1 tablespoon of batter and roll it into a ball between your hands, and place it on the wax paper. Repeat with the rest of the cake mixture.
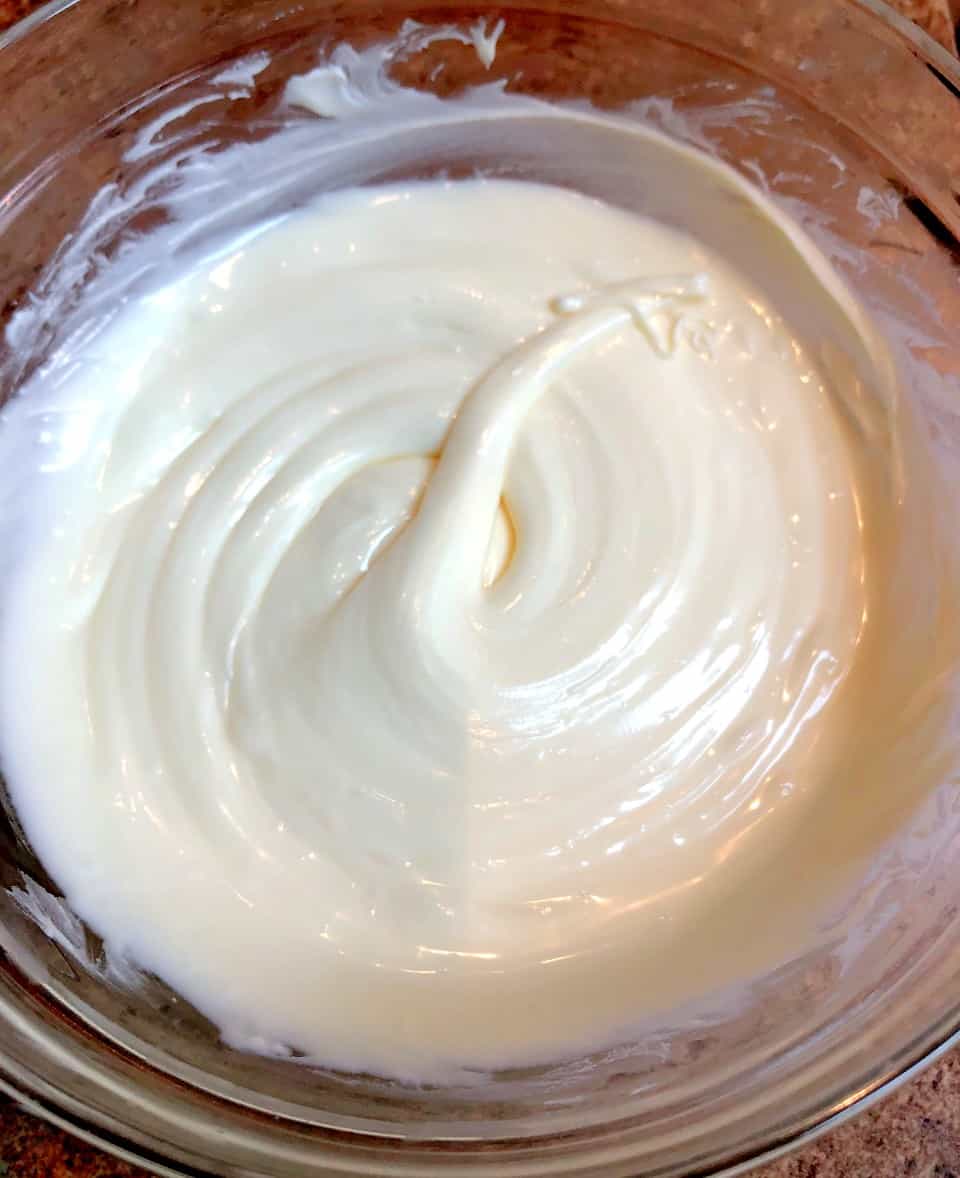
Step 5: Melt the candy coating in a microwave-safe bowl for 45 seconds. Stir and continue to melt at 20-second intervals until fully melted and smooth.
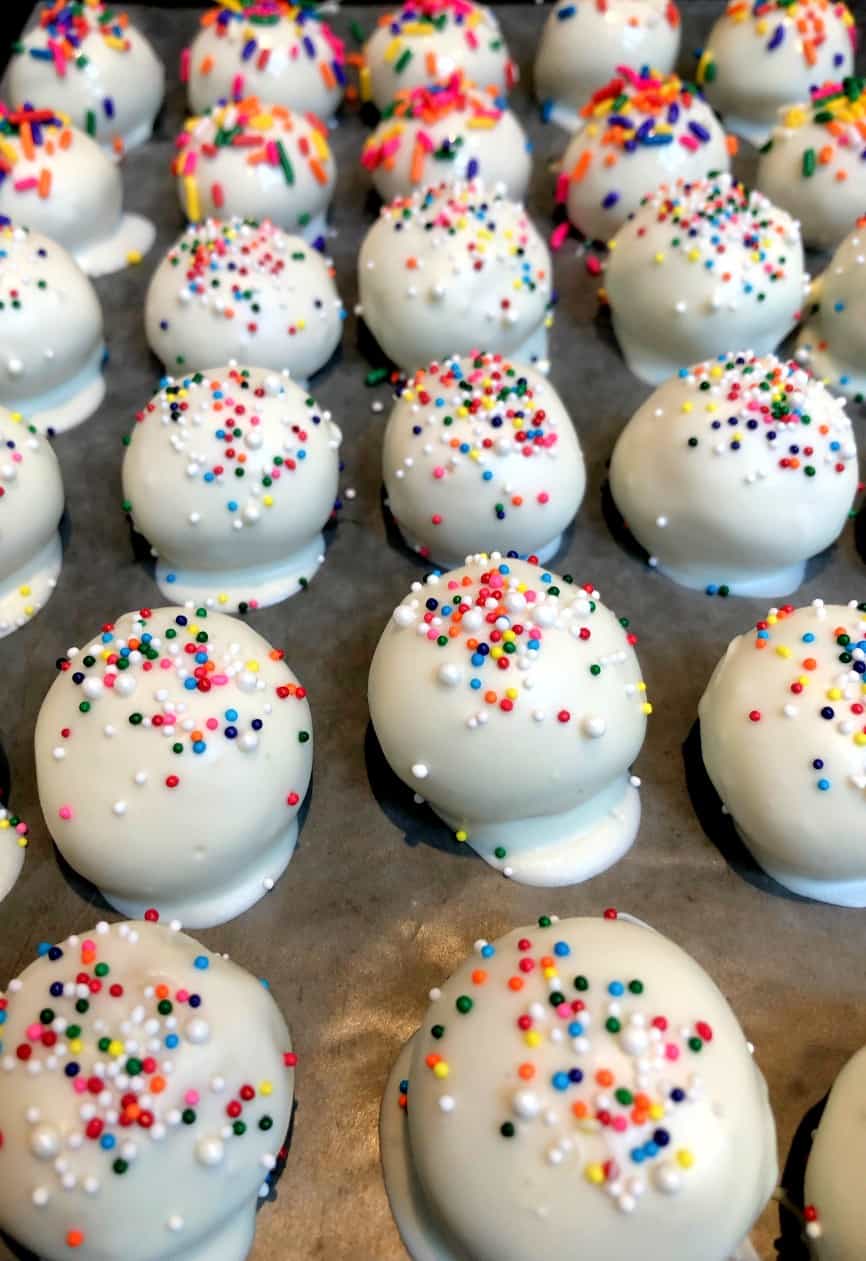
Step 6: Dip each ball in the melted coating and ensure the entire ball is coated. Place it on the wax paper, add sprinkles immediately, and let set.
Expert Tips to Make the Best Cake Balls
- If you don't want to use your hands to break up the cake, you can also place small pieces in a food processor or blender and blend them into a crumble.
- When rolling the balls with your hands, lightly spray each hand with non-stick cooking spray to keep the dough from sticking.
- Gently tap the spoon on the side of the bowl after dipping each ball in the candy coating to get off the excess. Otherwise, you will have a puddle of coating at the bottom of your ball.
- Be careful not to get any water in your melted candy coating or it will seize and you will have to start over. Trust me, I've been there and it is not fun.
- You can speed up the cake's cooling time by placing it in the refrigerator, just be careful of the hot pan.
- You can coat about 5 or 6 balls at a time before topping with sprinkles before the coating starts to set too much.
- Cake balls will last a few days in the fridge in an airtight container and can also be frozen for several weeks.
If you get a chance to make these Easy Cake Balls tag me on Instagram or Facebook and show me! You can also follow me on Pinterest and sign up for my e-mail list to receive more fun and delicious recipes right in your inbox.

Easy Cake Balls
Equipment
- 9x13 sheet cake pan (or any pan to make a cake)
Ingredients
- 1 box cake mix (I used white)
- vegetable oil (to make cake)
- eggs (to make cake)
- 24 ounces vanilla candy coating (1 package almond bark)
- 1 can frosting (I used cream cheese)
- colored sprinkles of your choice
Instructions
- Make a boxed cake as directed and allow the cake to cool completely.
- Once the cake has cooled, cut into small pieces and place them in a large mixing bowl. Break up the pieces by hand or with a hard spoon to get small crumbles.
- Take the container of frosting and mix it into the crumble mixture. This takes a little elbow grease to get it all mixed in. The mixture will be between a batter and a dough.
- Prepare a cookie sheet with wax paper. Scoop out about 1 tablespoon of cake mixture and roll it into a ball between your hands. Place each ball on the wax paper and continue to make balls with the rest of the mixture.
- Melt the candy coating in a microwave-safe bowl for 45 seconds. Stir the coating and continue to melt at 20-second intervals until fully melted. You can also use a double boiler on the stove.
- Dip each ball into the melted coating and cover it completely. Tap off the excess coating and place the ball back on the wax paper. Immediately top the ball with sprinkles so they stick before coating sets.
- Allow the balls to set completely before enjoying. You can speed up the process in the fridge, or if it's a really warm day, you should put them in the fridge so they set.
Notes
- If you don't want to use your hands to break up the cake, you can also place small pieces in a food processor or blender and blend them into a crumble.
- When rolling the balls with your hands, lightly spray each hand with non-stick cooking spray to keep the dough from sticking.
- Gently tap the spoon on the side of the bowl after dipping each ball in the candy coating to get off the excess. Otherwise, you will have a puddle of coating at the bottom of your ball.
- Be careful not to get any water in your melted candy coating or it will seize and you will have to start over. Trust me, I've been there and it is not fun.
- You can speed up the cake cooling time by placing it in the refrigerator, just be careful of the hot pan.
- You can coat about 5 or 6 balls at a time before topping with sprinkles before the coating starts to set too much.
- Cake balls will last a few days in the fridge in an airtight container and can also be frozen for several weeks.
Nutrition
Any nutrition calculations are only estimates using online calculators. Please verify using your own data.




Jules says
This recipe might be an oldie but it SURE IS A GOODIE!
Emily says
Thanks, Jules! It's one of my go-to recipes for all events!
Saif says
These cake bites looks gorgeous. Can't wait to make one for my family.
nancy says
my dd loves making these with me! its so fun and tasty
Emily says
That's awesome. Thanks, Nancy!
Sue says
I love how super-easy these are, and so tasty! Everyone went crazy for them the first time I made them, now I'm going to try a different flavor combination. So fun!
Emily says
Thanks for giving them a try, Sue! I'm glad they were a hit.
Leslie says
Great cake balls recipe!
Lara says
These are so simple, fun and delicious! My son loved them!
Emily says
So glad to hear it!
Pam says
Perfect for my granddaughter's birthday party!
Emily says
Yes, she will love them, have fun!
Amy says
These are so fun!! I will definitely pin it for our next birthday party!
Emily says
Thanks, Amy, these will be perfect for a birthday party!
Tracey says
My kids love these cake pops!
Emily says
They are a kid-pleaser for sure!
Angela says
Cake bites are so fun for a party or as an afternoon treat. Thanks for the great recipe.
Emily says
You are welcome! Enjoy!
Lara says
So simple and amazing! Can’t wait to try these tomorrow!
Emily says
You are going to love them, it's easy to eat them all!
Will says
These cake bites are my weakness. I am not a dessert making expert, but these look easy enough I can do it! Definitely going to try the chocolate cake with chocolate frosting, I LOVE chocolate. Thanks so much!
Emily says
I can safely say they are amazing with chocolate😂! And they really are easy to make, enjoy!
Audrey says
My kids loved these!
Emily says
They are perfect for kids, I'm so glad they liked them!