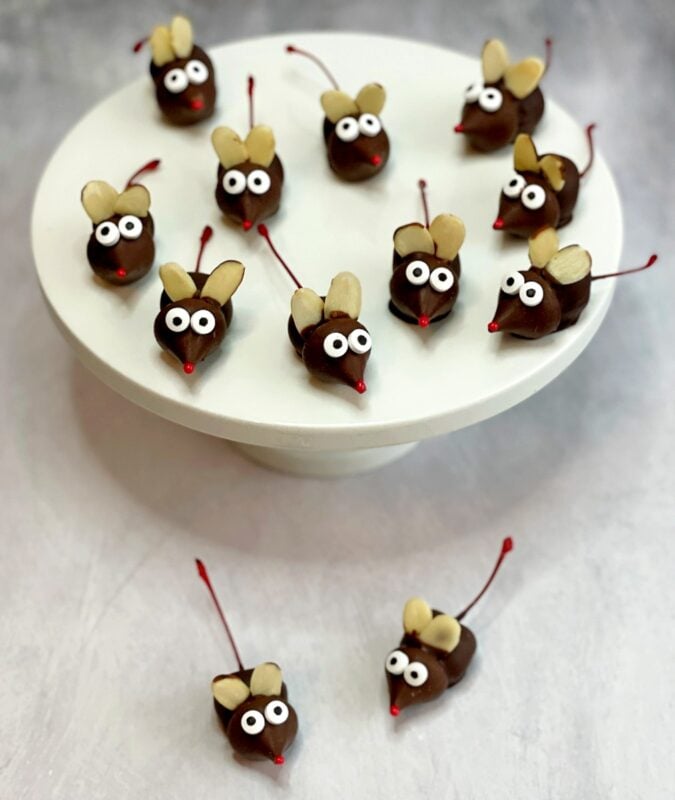
These Chocolate Covered Cherry Mice are one of the cutest and easiest treats to make! You only need a few ingredients and a little creativity and you can make this fun character treat that is perfect for the holidays, as a school treat, or just for fun!
Jump to:
Why I Love These Chocolate-Covered Cherry Mice
I love these Chocolate Covered Cherry Mice because they remind me of my Mom at Christmas time. She used to make these for her work gifts every year. As kids, we loved it because we got to eat a few too.
They are also just stinkin' cute and so fun and easy to put together like my Reindeer Cake Pops. My son and I had fun making these as a fun treat and they don't just have to be for Christmas. You can make these for a holiday, a party, or just because.
Ingredients Needed to Make Chocolate Cherry Mice
You only need 6 ingredients to make these fun little treats. They are also no-bake and can be made with kids!
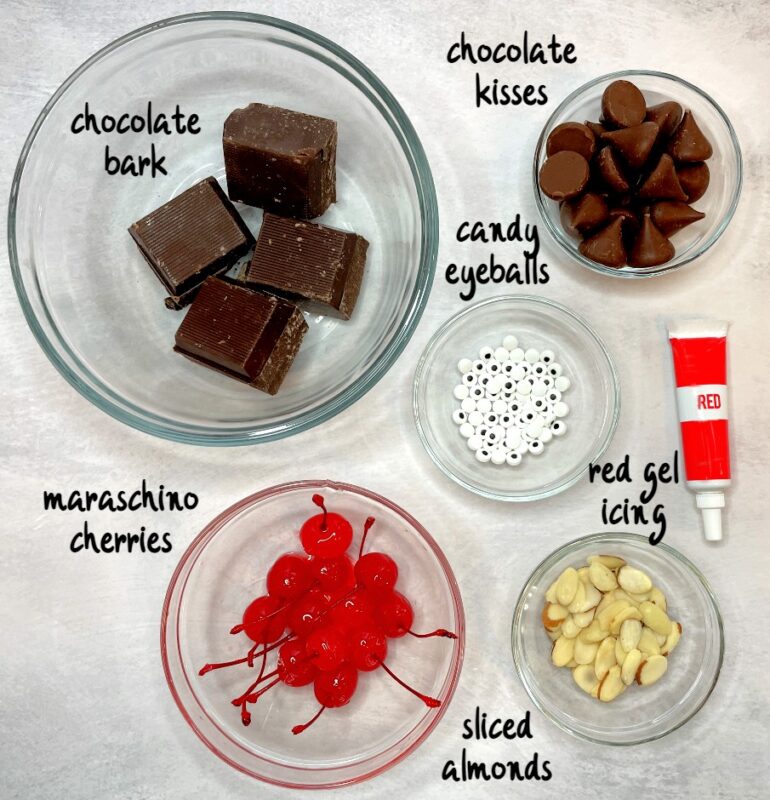
- chocolate candy kisses (like Hershey's)- you know, the foil-wrapped ones? I think you can get generic ones as well but might as well stick with what we all know and love, right?
- chocolate almond bark or chocolate chips for melting- I like to use almond bark when making coated treats because I like the consistency and it is easy to melt in the microwave. If you don't have/can't find almond bark, just use chocolate chips and melt them in the microwave instead.
- maraschino cherries with the stem attached- don't forget to make sure the stems are there!! That's one of the best parts of these mice, the tail! These are easy to find in the dessert aisle at the grocery store or on Amazon.
- sliced almonds- These are also easy to find in the baking aisle and make a great snack if you have any leftovers.
- candy eyeballs are my absolute favorite decorating item. I use these candy eyeballs all the time and they never get old. Trust me, you will love them too.
- red decorating gel- make sure you get the gel, it forms into a small ball easily and dries perfectly for these cute little mouse noses.
*See the recipe card for the complete list of ingredients and quantities.
How to Make Chocolate Kiss and Cherry Mice
Here are the steps to make these cute little chocolate cherry mice. There is also a video in the recipe card so you can see the steps in action.
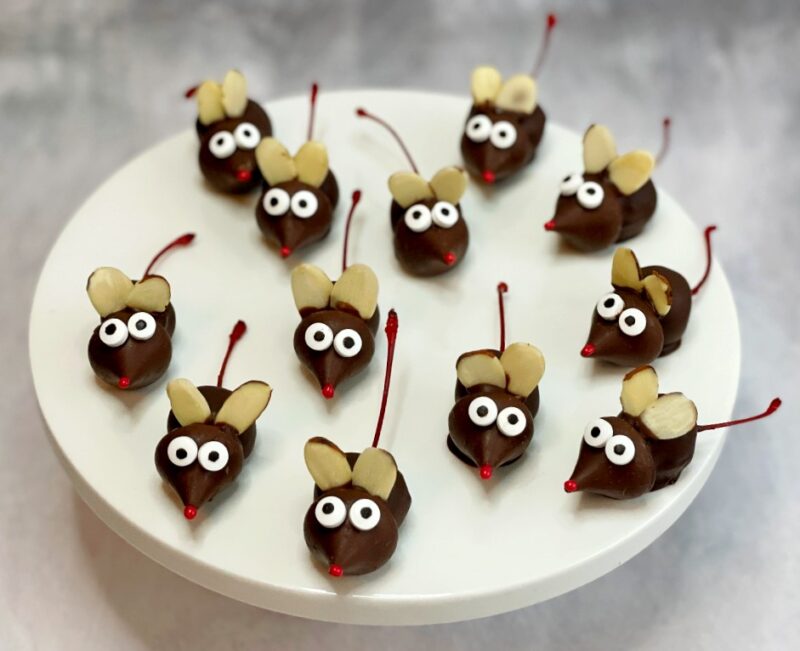
I make my mice in steps, adding the heads on all of the cherries, then the ears, the eyes, and finally the nose. You can also make each one all at once, but I find an assembly line works best for me.
Assemble all of the ingredients first
Make sure all of the ingredients are ready for assembly before you begin. I like to place all of the separate ingredients in small bowls so they are easily accessible for each step.
Melt the chocolate
Place the almond bark or chocolate chips in a medium microwave-safe bowl and microwave for 60 seconds. Remove the bowl from the microwave and stir the chocolate. Repeat in 30-second intervals, stirring in between, until the chocolate is fully melted.
First is the Cherry and the Head
Dip a cherry in the melted chocolate and allow the excess chocolate to drip off. Carefully place a chocolate kiss at the end of the cherry opposite the stem to create the head. Place the cherry with the kiss on the wax paper to start setting.
Add the Ears and then the Eyes
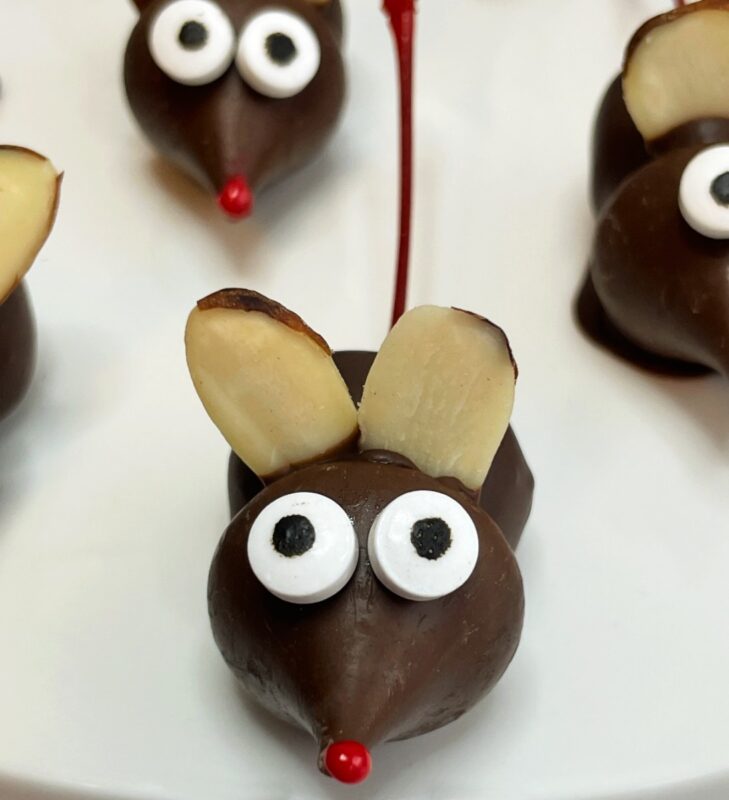
Dip the end of a sliced almond in the melted chocolate and then place it at the top of the head to make an ear. Repeat with another almond for the second ear. Do this step on all of the mice.
To get the eyes to stick, you can use a toothpick or the tip of your finger to place a small amount of melted chocolate on the back of a candy eyeball and then place it on the chocolate kiss. Repeat with a second eye and then with all of the mice.
Finally, the Nose
Make a very small ball at the end of each kiss to make a small red nose on each mouse. Just a small dollop will do.
Expert Tips For This Recipe
- A toothpick can help you get the melted chocolate on some of the smaller ingredients like the candy eyeballs.
- Keep a wet paper towel next to your assembly line to wipe your hands so you don't get chocolate all over.
- If the chocolate gets too stiff before you are done making all of the mice, simply place the bowl back in the microwave and zap for an additional 30 seconds making sure you stir it all back to a smooth consistency.
- Allow the mice to set before enjoying. You can also speed up this process in the fridge.
- Store any leftover mice covered on the counter or in the fridge for 3-4 days.
If you get a chance to make this recipe, tag me on Instagram or Facebook and show me, or leave a review below! You can also follow me on Pinterest and sign up for my e-mail list to receive more fun and delicious recipes right in your inbox.

Chocolate Covered Cherry Mice
Equipment
- 1 medium microwave-safe bowl
- 1 spoon
- toothpicks (to get chocolate on small pieces)
Ingredients
Instructions
- Set up a workstation so that you have all of your ingredients ready to go. I like to use small bowls to separate everything out and for easy access while assembling the mice. You also need. apiece of wax paper to place the mice on to dry. It's also helpful to place this on a baking sheet so that you can move it around if needed.
- Place the almond bark or chocolate chips in a medium microwave-safe bowl and microwave for 60 seconds. Remove the bowl from the microwave and stir the chocolate. Repeat in 30-second intervals, stirring in between, until the chocolate is fully melted.
- Dip a cherry in the melted chocolate and allow the excess chocolate to drip off. Carefully place a chocolate kiss at the end of the cherry opposite the stem to create the head. Place the cherry with the kiss on the wax paper to start setting.
- After you have dipped all of the cherries and added the heads, next are the ears. Dip the end of a sliced almond in the melted chocolate and then place it at the top of the head to make an ear. Repeat with another almond for the second ear. Do this step on all of the mice.
- Now it's time for the eyes. To get the eyes to stick, you can use a toothpick or the tip of your finger to place a small amount of melted chocolate on the back of a candy eyeball and then place it on the chocolate kiss. Repeat with a second eye and then with all of the mice.
- Last is the red nose. Make a very small ball at the end of each kiss to make a small red nose on each mouse.
- Allow the mice to set before enjoying. You can also speed up this process in the fridge.
Video
Notes
- A toothpick can help you get the melted chocolate on some of the smaller ingredients like the candy eyeballs.
- Keep a wet paper towel next to your assembly line to wipe your hands so you don't get chocolate all over.
- If the chocolate gets too stiff before you are done making all of the mice, simply place the bowl back in the microwave and zap for an additional 30 seconds and stir well.
- Allow the mice to set before enjoying. You can also speed up this process in the fridge.
- Store any leftover mice covered on the counter or in the fridge for 3-4 days.
Nutrition
Any nutrition calculations are only estimates using online calculators. Please verify using your own data.




Hughlene Dunn says
I made these from a magazine over 30 years ago. The ones I made had red eyes and no red nose. I would purchase my cherries with the stems from my local Sonic diner. I made dozens of them and sonics cherries were cheaper. I could never eat one after they were made. My younger brother said "These are the best mice I've ever eaten "
they have been one of the best ideas I've ever copied. They are so cute!!
Emily says
Thanks for sharing, Hughlene! I agree, such a fun recipe that's been around for a long time. Gotta love it!