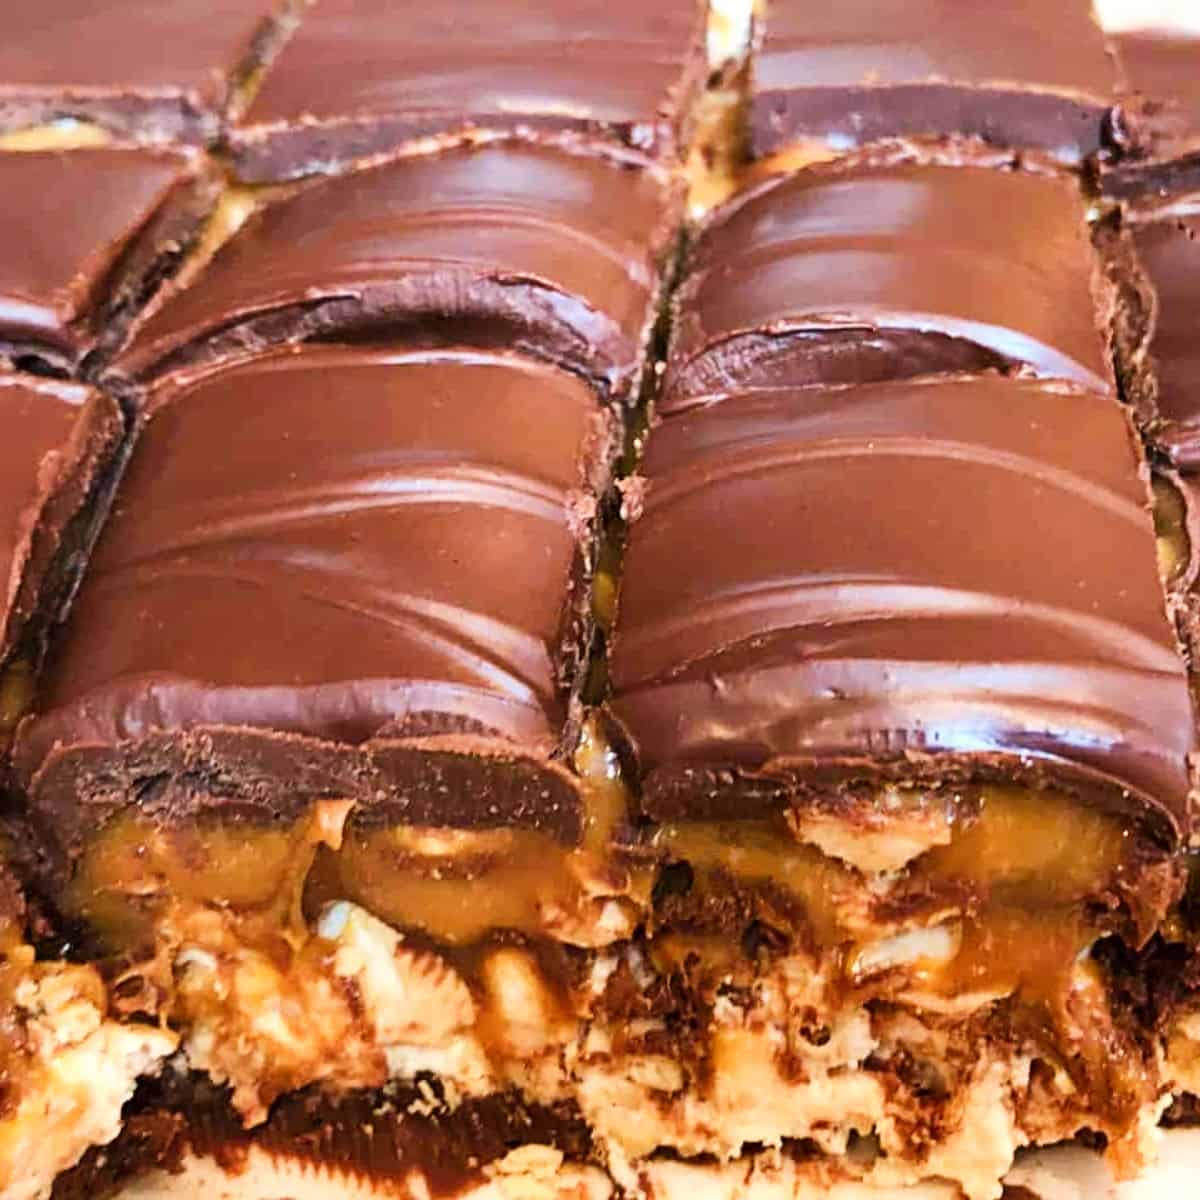
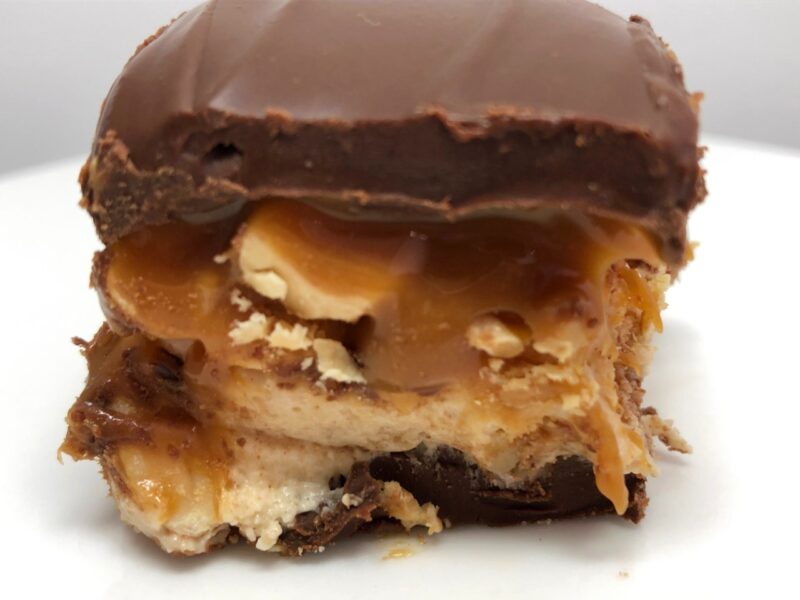
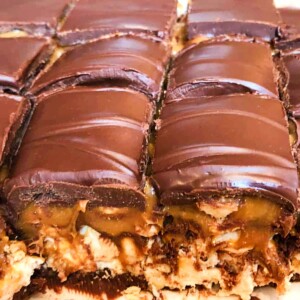
This recipe for Homemade No-Bake Snickers Bars is rich, decadent, and delicious. It's easy to make and tastes just like the candy bar! Oh, and your house will smell like a chocolate candy store, which has to be a good thing, right?
Jump to:
Why I Love These No-Bake Snickers
These No-Bake Snickers Bars are pretty easy to make, there are just a few steps. Kids and adults will love these, and they are perfect for any celebration or just for when you need a sweet treat!
Since no-bake desserts are a no-brainer anyway and I love making copycat recipes, this recipe has quickly become a favorite in my house. No one has been able to resist these little chocolaty gooey squares of deliciousness.
If you are looking for more decadent and Delicious Dessert Recipes, check out my Crumbl Cookie Copycat Recipe and my Air Fryer Pop-Tarts.
Tips for Making Snickers at Home
- There are quite a few steps because of the different layers. Read through the entire recipe at least once before starting so you can make sure you have all of your ingredients and measurements ready to go.
- If you don't want to microwave the chocolate and caramel layer you can use a double boiler for the chocolate and a small saucepan for the caramel. Use low heat for the caramel so it doesn't burn.
- Once you are ready to serve, use a warm knife that has been run under hot water to slice the candy into cubes.
- Store any leftover candy covered in the fridge.
How to Make Homemade Snickers Bars
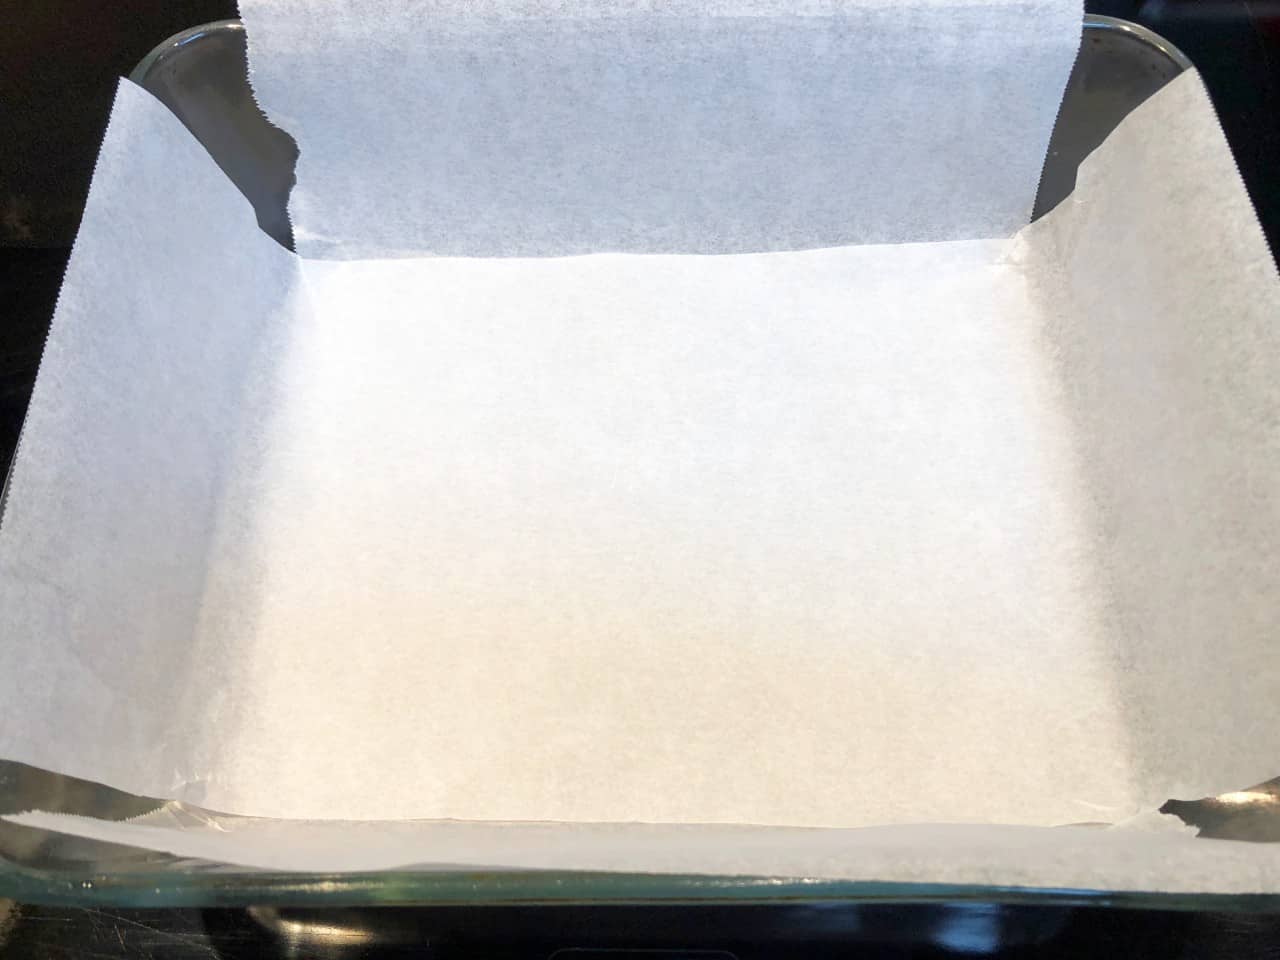
Step 1: Line a deep pan with parchment paper leaving extra on the sides to be able to lift the final bar out of the pan.
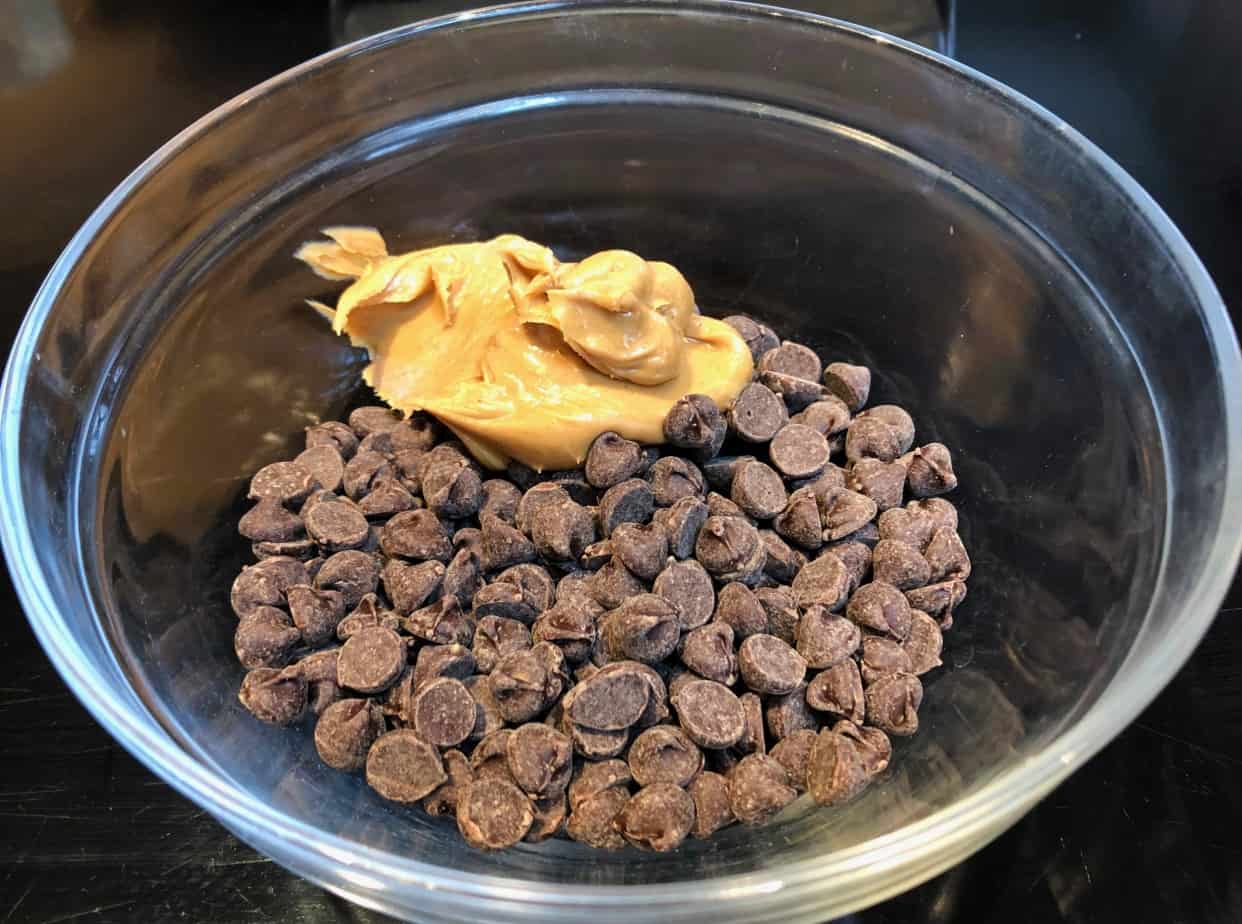
Step 2: Place 1 cup of the chocolate chips and ¼ cup of the peanut butter into a microwave-safe bowl. Microwave for 90 seconds. Stir the mixture until smooth.
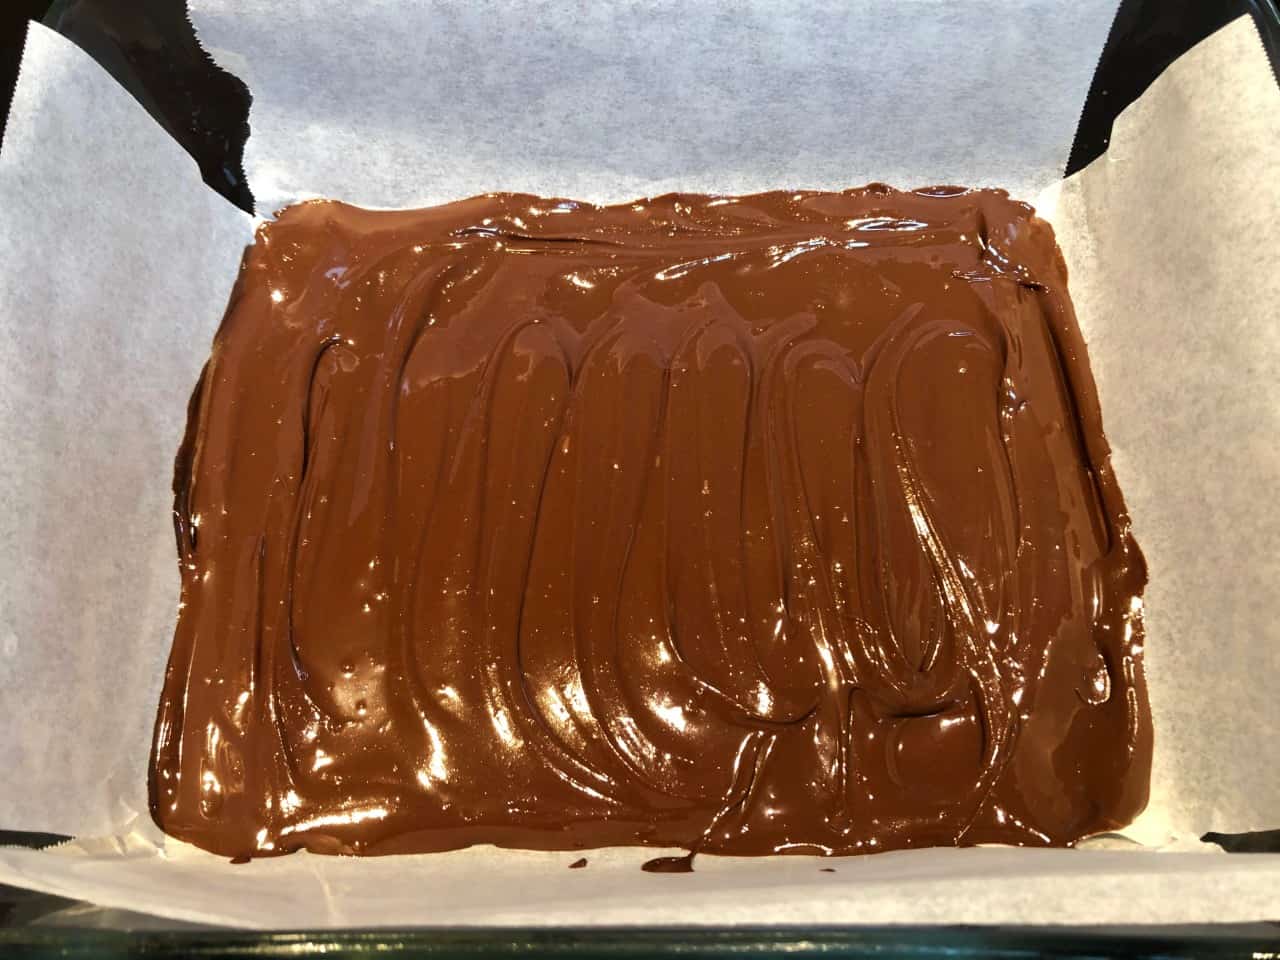
Step 3: pour evenly into the bottom of the prepared pan. Place the pan in the freezer.
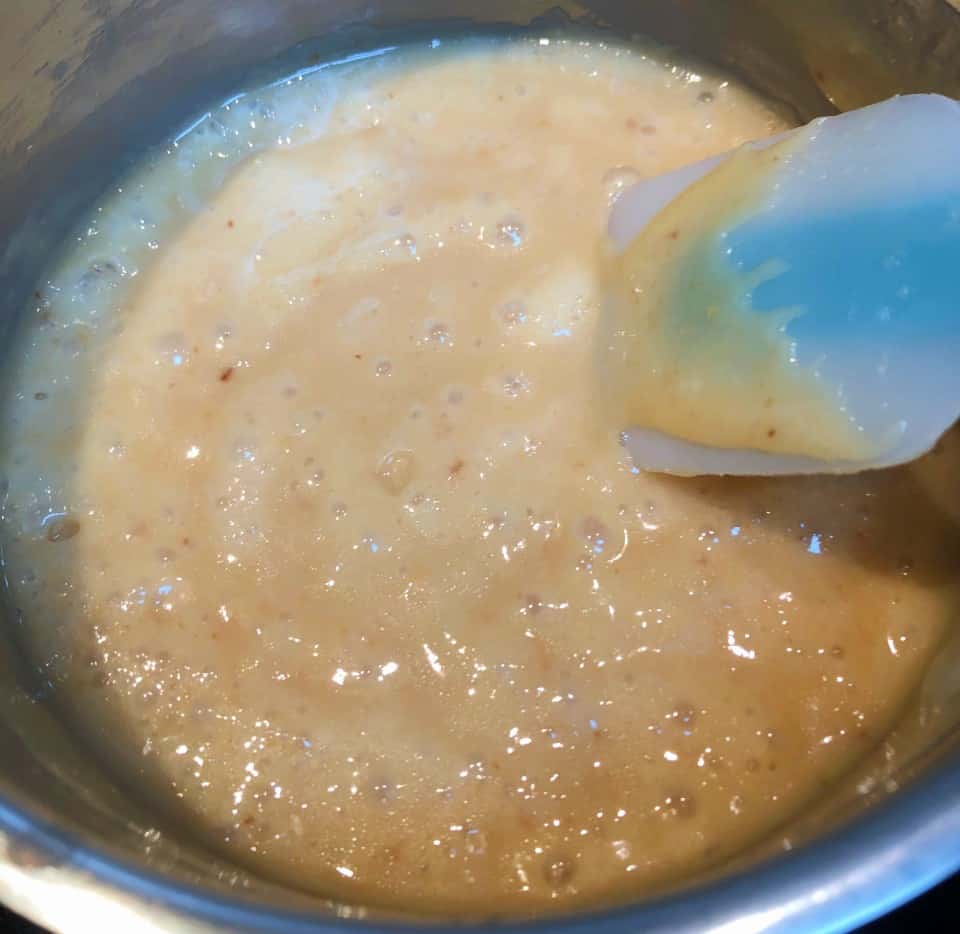
Step 4: Set aside ¼ cup peanut butter. Heat butter, sugar, and ¼ cup evaporated milk over medium, stirring as butter melts. Boil for 5-6 minutes, stirring constantly, then remove from heat and mix in peanut butter, vanilla, and marshmallow cream.
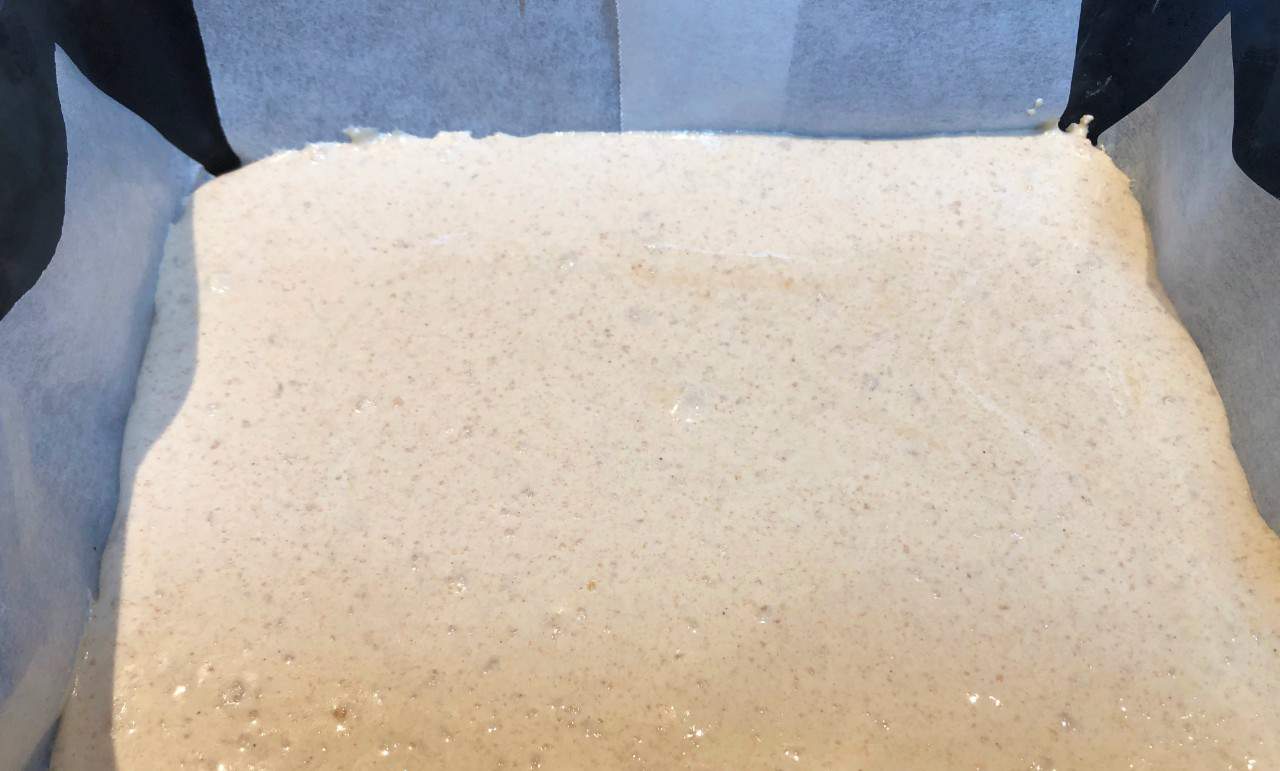
Step 5: Remove the pan from the freezer and gently spread the nougat layer over the chocolate. Place the pan back in the freezer.
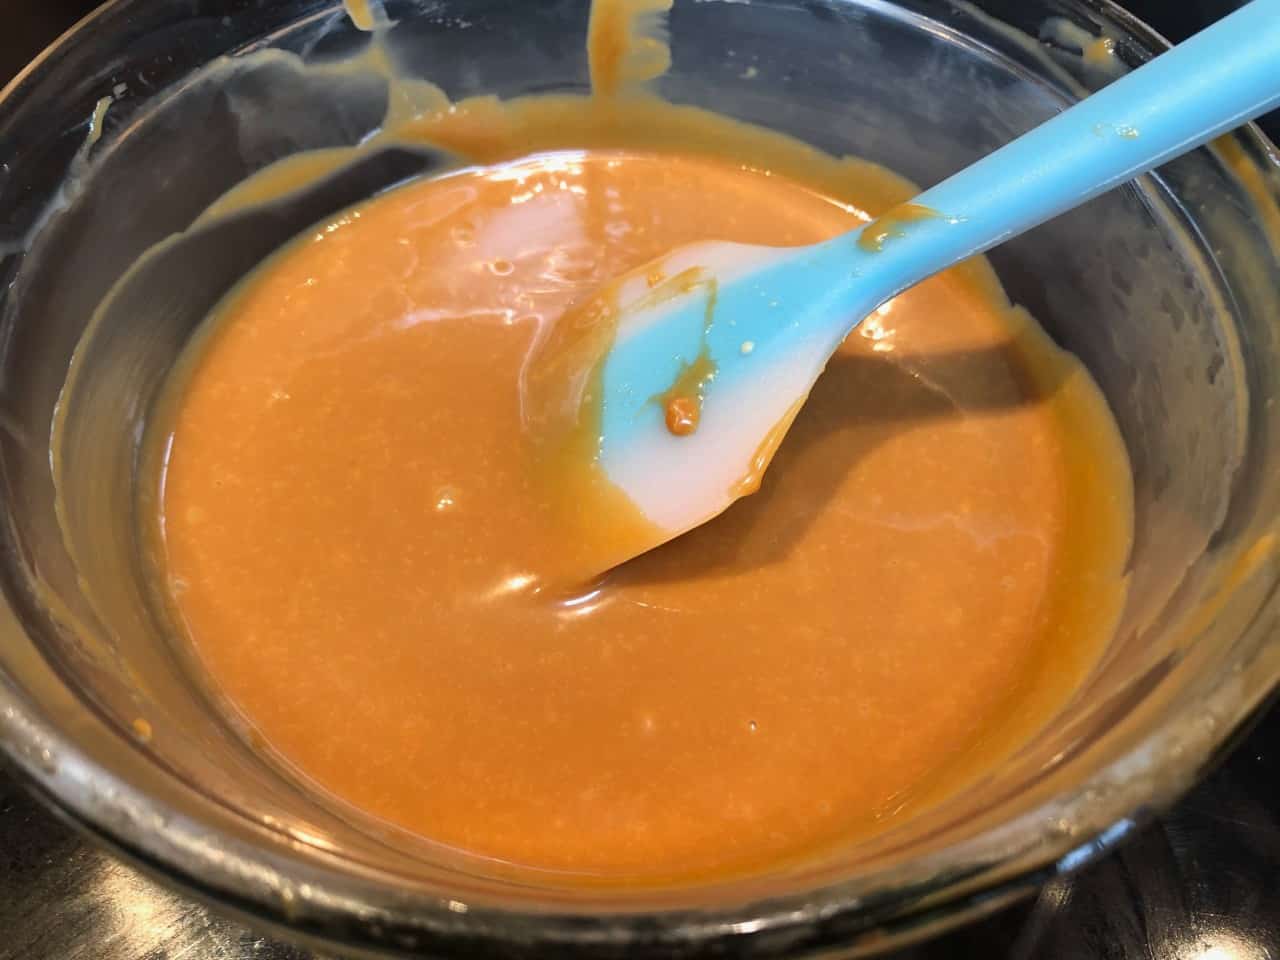
Step 6: In another microwave-safe bowl, add the caramels and ¼ cup of evaporated milk. Microwave for 60 seconds, remove and stir. Microwave again at 30-second intervals until the mixture is nice and smooth.
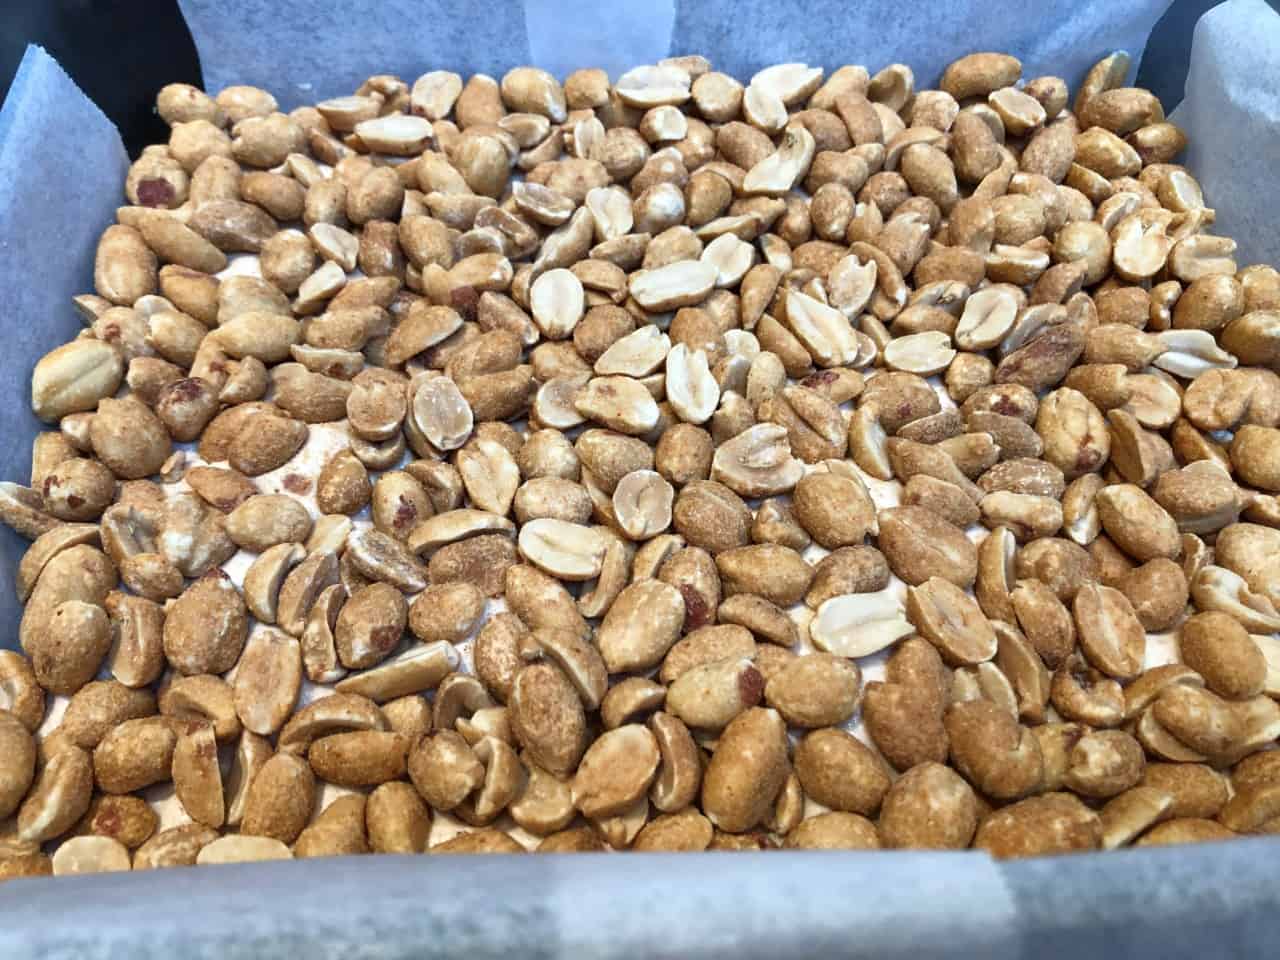
Step 7: Remove the pan from the freezer and top the nougat layer with peanuts. Use your hands to gently press the peanuts into the nougat. Pour the melted caramel mixture over the top of the peanuts, spread it out, and return the pan to the freezer.
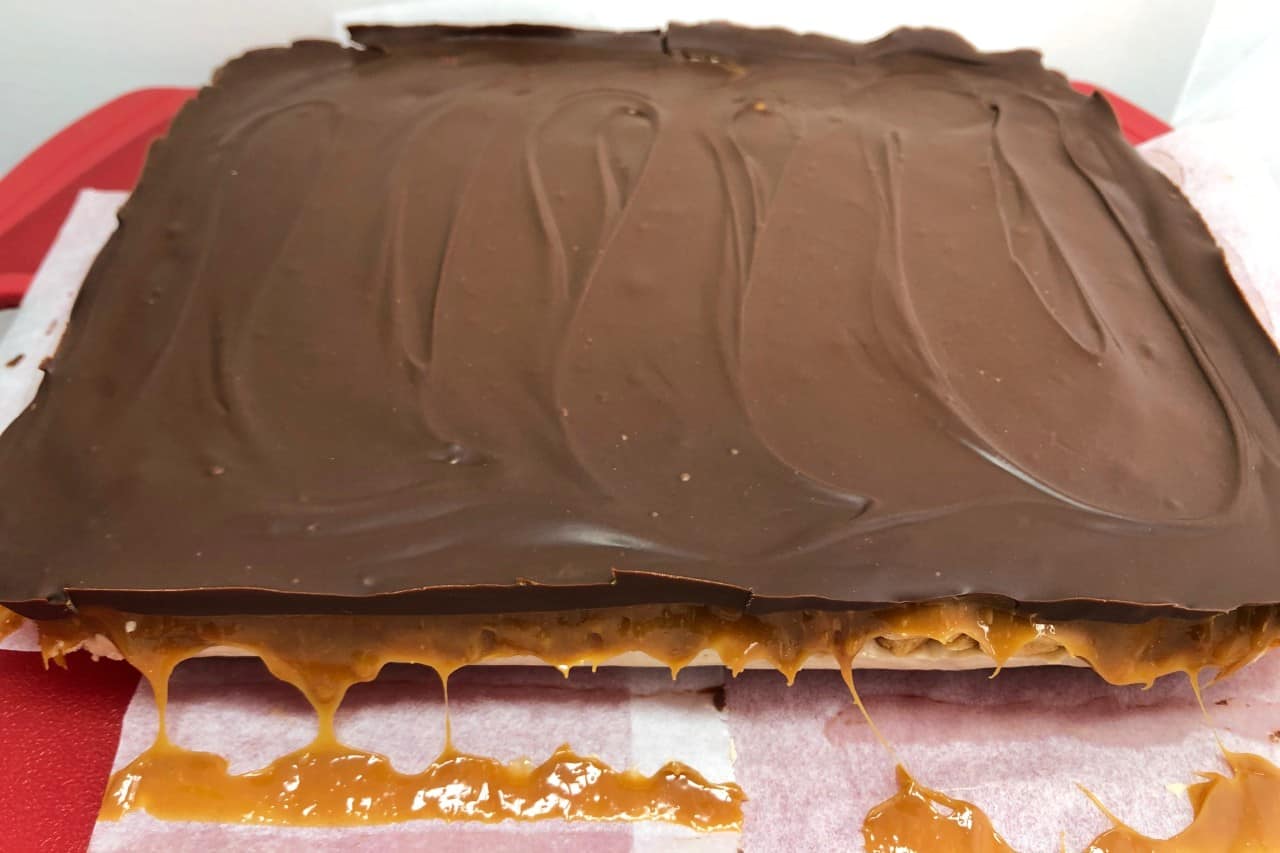
Step 8: Microwave the remaining chocolate chips and ¼ cup peanut butter for 90 seconds, then stir until smooth. Pour over the caramel layer, smooth it out, and refrigerate for at least 2 hours.
Expert Tips
- There are quite a few steps because of the different layers. Read through the entire recipe at least once before starting so you can make sure you have all of your ingredients and measurements ready to go.
- If you don't want to microwave the chocolate and caramel layer you can use a double boiler for the chocolate and a small saucepan for the caramel. Use low heat for the caramel so it doesn't burn.
- Once you are ready to serve, use a warm knife that has been run under hot water to slice the candy into cubes.
Recipe FAQs
Yes, you can use dark or even white chocolate instead. Milk chocolate will result in the closest flavor to the candy bar.
Keep them in an airtight container in the fridge for up to two weeks or freeze for longer storage.
Of course! Swap the peanuts for almonds, cashews, or a nut-free option like sunflower seeds.
To make a vegan version, use dairy-free chocolate and coconut condensed milk for the caramel.
Try letting the bars sit at room temperature for a few minutes before cutting with a warm, sharp knife.
If you get a chance to make these Homemade Snickers Bars, tag me on Instagram or Facebook and show me, or leave a review below! You can also follow me on Pinterest and sign up for my e-mail list to receive more fun and delicious recipes in your inbox.
No-Bake Snickers Bars
Equipment
- 9x13 or 8x10 deep pan/dish
- 2 microwave-safe bowls
Ingredients
- 2 cups milk chocolate chips (can sub semi-sweet)
- ¾ cup peanut butter
- ¼ cup butter
- 1 cup sugar
- ½ cup evaporated milk
- 1 teaspoon vanilla
- 7 ounces marshmallow cream
- 1½ cups salted peanuts
- 1 bag caramels
Instructions
- Line a pan with parchment paper leaving extra on the sides to be able to lift the final bar out of the pan (I used 8x10 so the layers were a little thicker). Also, make sure you have space in your freezer for the pan because it will be going in and out a few times throughout the process.
Bottom Chocolate Layer
- Place 1 cup of the chocolate chips and ¼ cup of the peanut butter into a microwave-safe bowl. Microwave for 90 seconds (this should be enough, if not reheat at 20-second intervals). Stir the mixture until smooth and pour evenly into the bottom of the prepared pan. Place the pan in the freezer. Set the bowl aside as you will use it again for the top chocolate layer.
Nougat Layer
- Prepare ¼ cup of peanut butter and set aside. Place the butter, sugar, and ¼ cup of the evaporated milk in a small saucepan on the stove over medium heat. Stir occasionally as the butter melts. Once the mixture is boiling, stir constantly for 5-6 minutes.
- Immediately remove the pan from the heat and stir in the measured peanut butter, vanilla, and marshmallow cream until smooth. This mixture gets really thick and a little chunky, don't worry, it's fine. Just stir as much as you can. Remove the pan from the freezer, spread out the nougat layer, and then place the pan back in the freezer.
Peanut and Caramel Layer
- In another microwave-safe bowl, add the caramels and ¼ cup of evaporated milk. Microwave for 60 seconds, remove and stir. Microwave again at 30-second intervals until the mixture is nice and smooth.
- Remove the pan from the freezer and top the nougat layer with peanuts. Use your hands to gently press the peanuts into the nougat. Pour the melted caramel mixture over the top of the peanuts, spread out, and return the pan to the freezer.
Top Chocolate Peanut Butter Layer
- In the same microwave-safe bowl you used for the bottom chocolate layer, add the remaining cup of chocolate chips and the last ¼ cup of peanut butter to the bowl. Microwave for 90 seconds. Remove the mixture from the microwave and stir until smooth. Take the pan out of the freezer and pour and smooth the last chocolate layer over the caramel.
- Put the pan in the refrigerator for at least 2 hours to let everything set. Once you are ready to serve, use a warm knife that has been run under hot water to slice the candy into cubes.
Notes
- There are quite a few steps because of the different layers. Read through the entire recipe at least once before starting so you can make sure you have all of your ingredients and measurements ready to go.
- If you don't want to microwave the chocolate and caramel layer you can use a double boiler for the chocolate and a small saucepan for the caramel. Use low heat for the caramel so it doesn't burn.
- Once you are ready to serve, use a warm knife that has been run under hot water to slice the candy into cubes.
- Store any leftover candy covered in the fridge.
Nutrition
Any nutrition calculations are only estimates using online calculators. Please verify using your own data.





Brianna says
My kids absolutely loved making and eating these!
Emily says
So glad these were kiddo approved! Thanks for trying them.
Lindsay says
Oh WOW yum. New favorite recipe!!
Emily says
Yay! It’s a good one!! Thanks for trying it.
Sondra Barker says
Very delicious! These homemade Snickers are so much better than the regular ones. My family went crazy over them!
Emily says
I’m so glad your family loved these!!
Angela says
I love your step by step pics. So easy to follow. These are wonderful.
Emily says
Thanks, Angela!
Jeri says
These were so easy to make and super delicious!
Emily says
Thanks for trying them out!
Leslie says
These homemade snickers bars are heavenly!
Emily says
Thanks, Leslie! I always tell people they are a little dangerous because they are so delicious 😆.
Debra says
I made this for my mom...since snickers is her all time favorite...and she ADORED it. Thank you so much for the recipe.
Emily says
That makes me so happy, I’m glad your mom loved these!
Sue says
Must try - Snickers are my guy's favorite!
Emily says
He is going to be one happy guy!!
Jennifer | @kitjen_ says
Oh.My.Goodness. You have recreated my all-time favorite chocolate in the entire world!!!! I’m definitely making these not once but infinite amount of times, THANK YOU!
Emily says
Oh, Jennifer, you are in for quite a treat. enjoy!!
Katrina says
I haven't had Snickers in a long time, but they are one of my all time favorite candy bars. I would absolutely love to make my own - but that could also be a little dangerous to have full access to! Ha! I'm definitely saving this delicious recipe. Thank you!
Emily says
Katrina, it's more than a little dangerous....but TOTALLY worth it. LOL!
Arica says
OMG I need these, like now! What a great recipe!
Emily says
Be careful, they are addicting!
Amy says
My boys would love these!
Emily says
They would totally love them, but make sure to save some for yourself!
Naomi Andres says
This recipe sounds amazing!
Emily says
Thanks, Naomi, they are dangerously good!