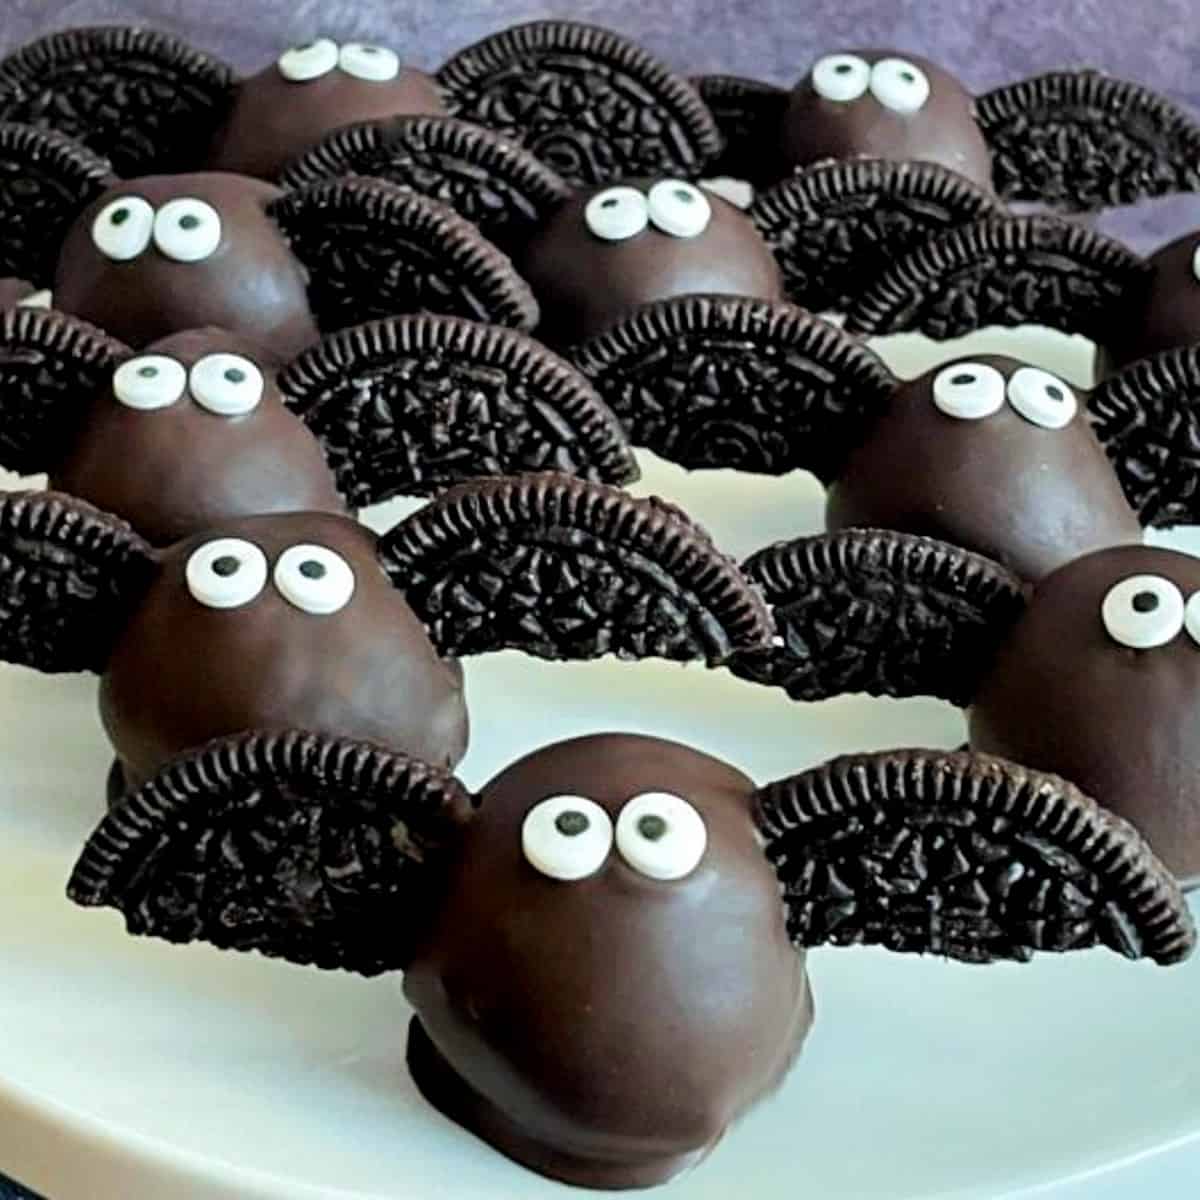
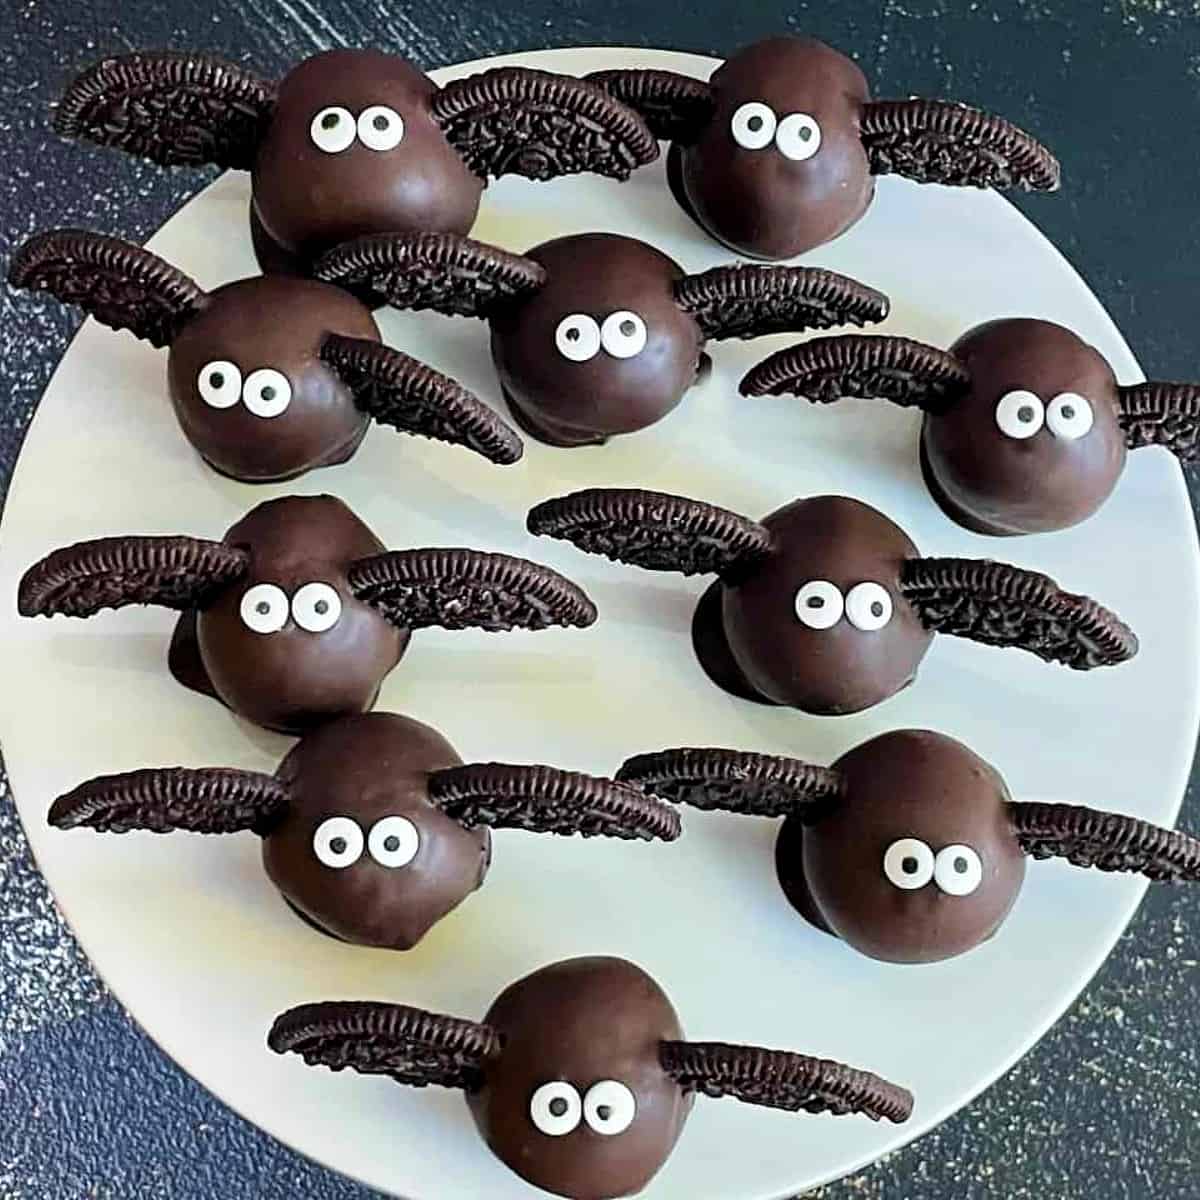
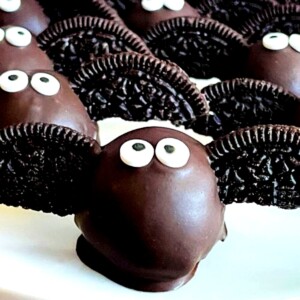
These Halloween Bat Cake Pops are easy to make and will be a hit at any Halloween party or celebration. You only need a handful of ingredients and a little imagination to make these fun little Halloween treats!
Jump to:
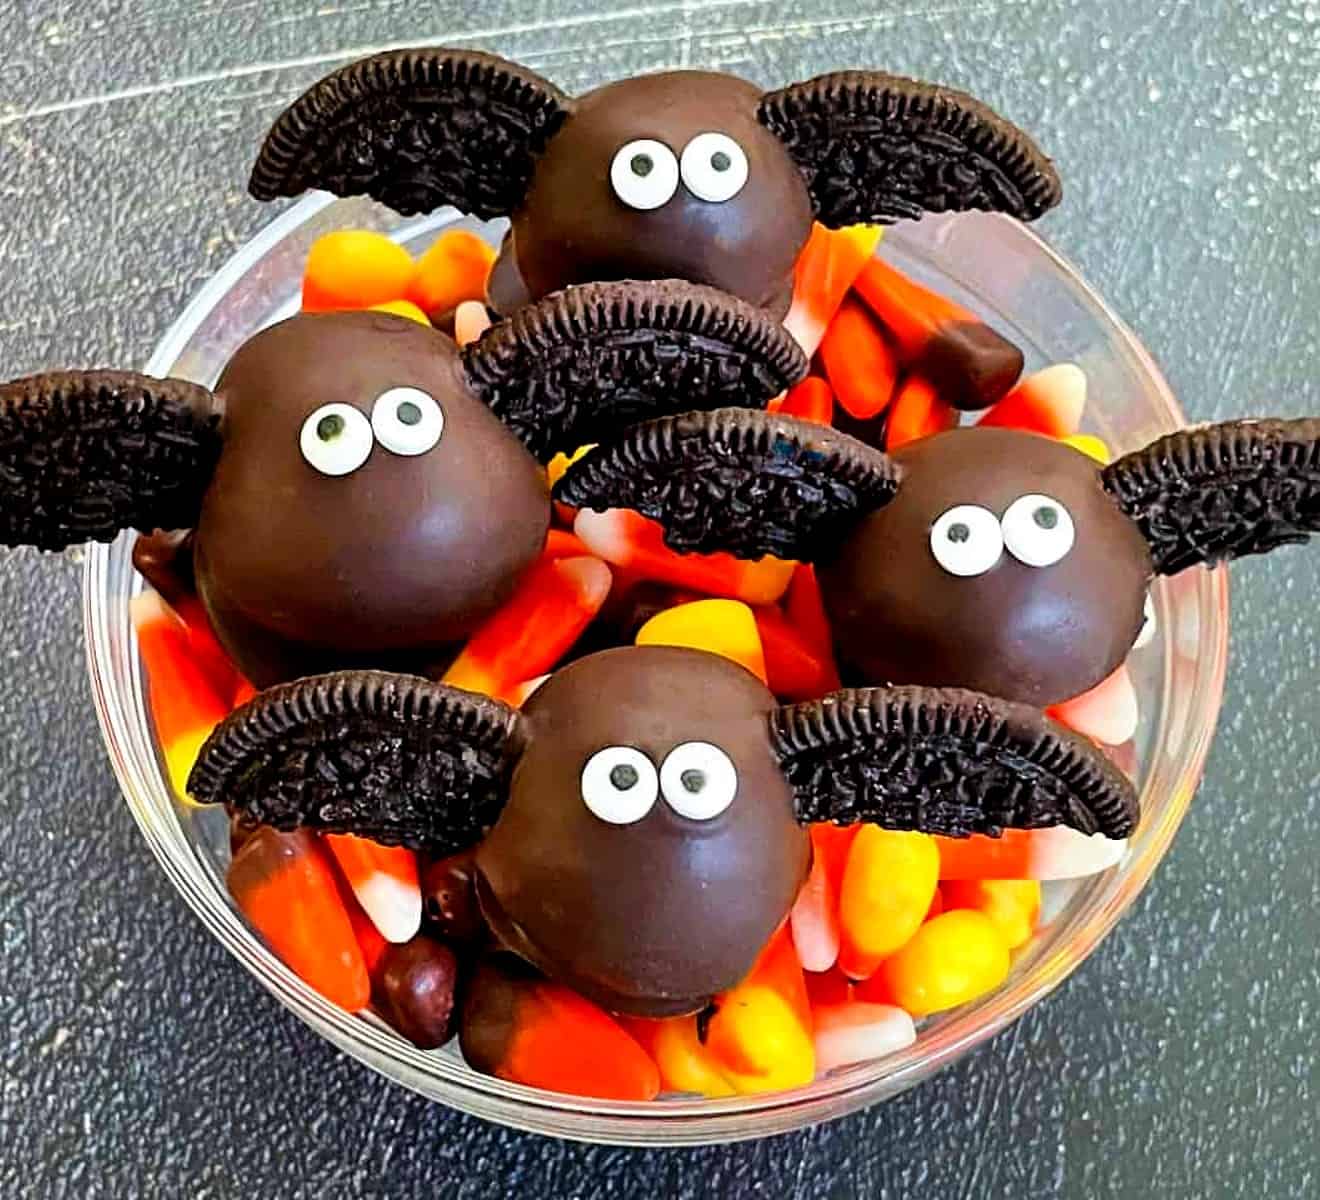
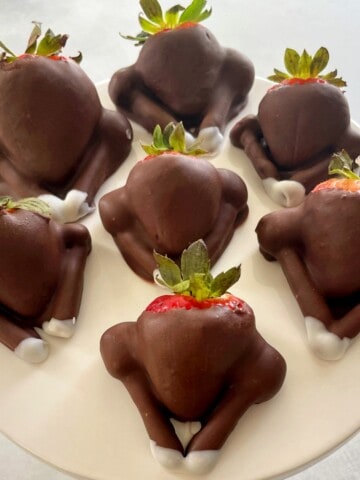
How cute are these Halloween Bat Cake Pops? These are the perfect little bite-sized treats for any Halloween celebration just like my Ghost Cake Pops. They are so easy to make and a lot of fun for all ages like my Chocolate Covered Strawberry Turkeys.
My version of these cake pops does not have a lollipop stick on the bottom. I find it easier to make, store, and serve them. Of course, you can add sticks if you want to, just make sure to do it before dipping them in the chocolate.
And if you are looking for more Cake Pop Recipes, take a look at my Easy Cake Bites, Turkey Cake Pops, and Reindeer Cake Pops!
Key Ingredients Needed to Make Bat Cake Bites
- Boxed Cake - I use vanilla for my cake bites but you can choose any flavor you like.
- Canned Frosting - Canned frosting is used to bind the baked cake into a batter to make the balls. As with the cake mix, you can choose any flavor you like.
- Chocolate Candy Coating (Chocolate Bark) - Chocolate candy coating can be found at most grocery stores in the baking aisle or at craft stores with baking supplies. You can also use candy melts or chocolate chips.
- Candy Eye Sprinkles - Candy eyeballs have become easier to find at most grocery stores or online.
- Cream-Filled Chocolate Cookies (like Oreos)- The chocolate cookies will be broken into pieces for the wings.
How to Make Halloween Cake Pops
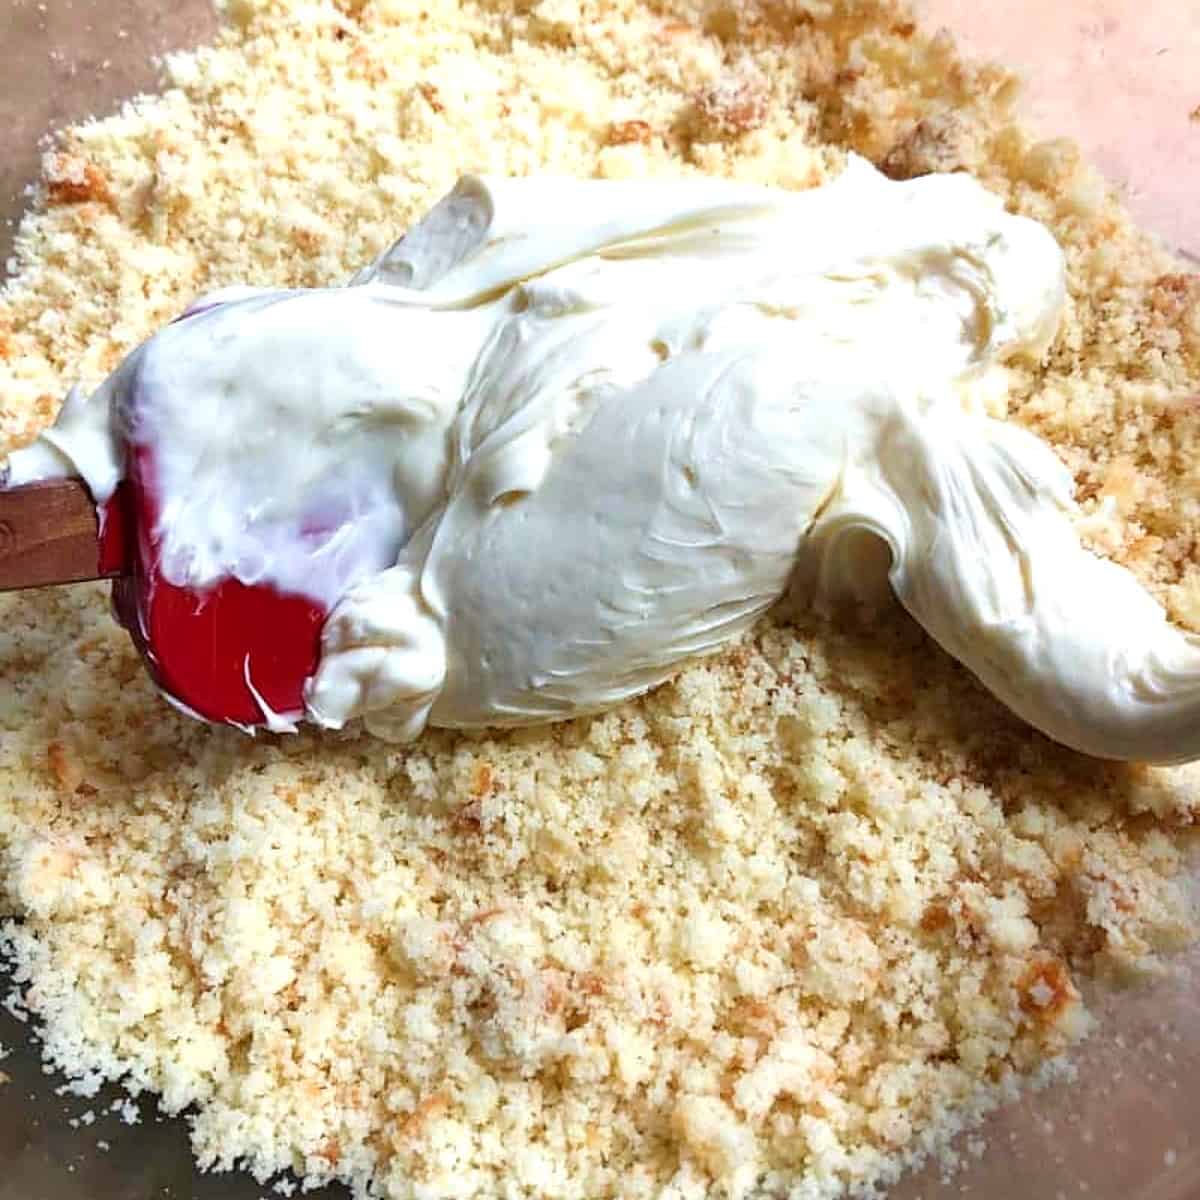
Step 1: Make a boxed cake as directed and allow the cake to cool completely. Once the cake has cooled, cut it into small pieces and place them in a large mixing bowl.
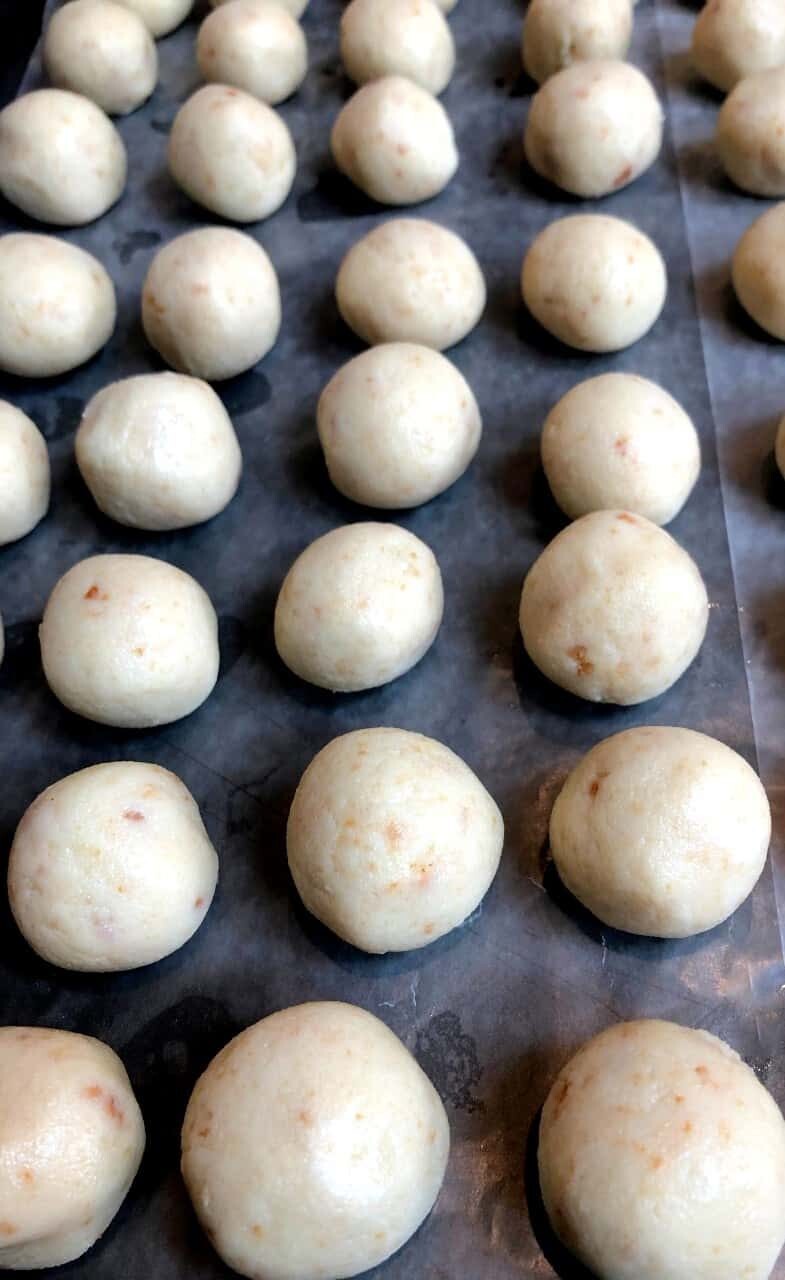
Step 2: Crumble the cake pieces, add the container of frosting, and mix to combine in a dough. Roll the dough into balls and place them on a parchment-lined baking sheet.
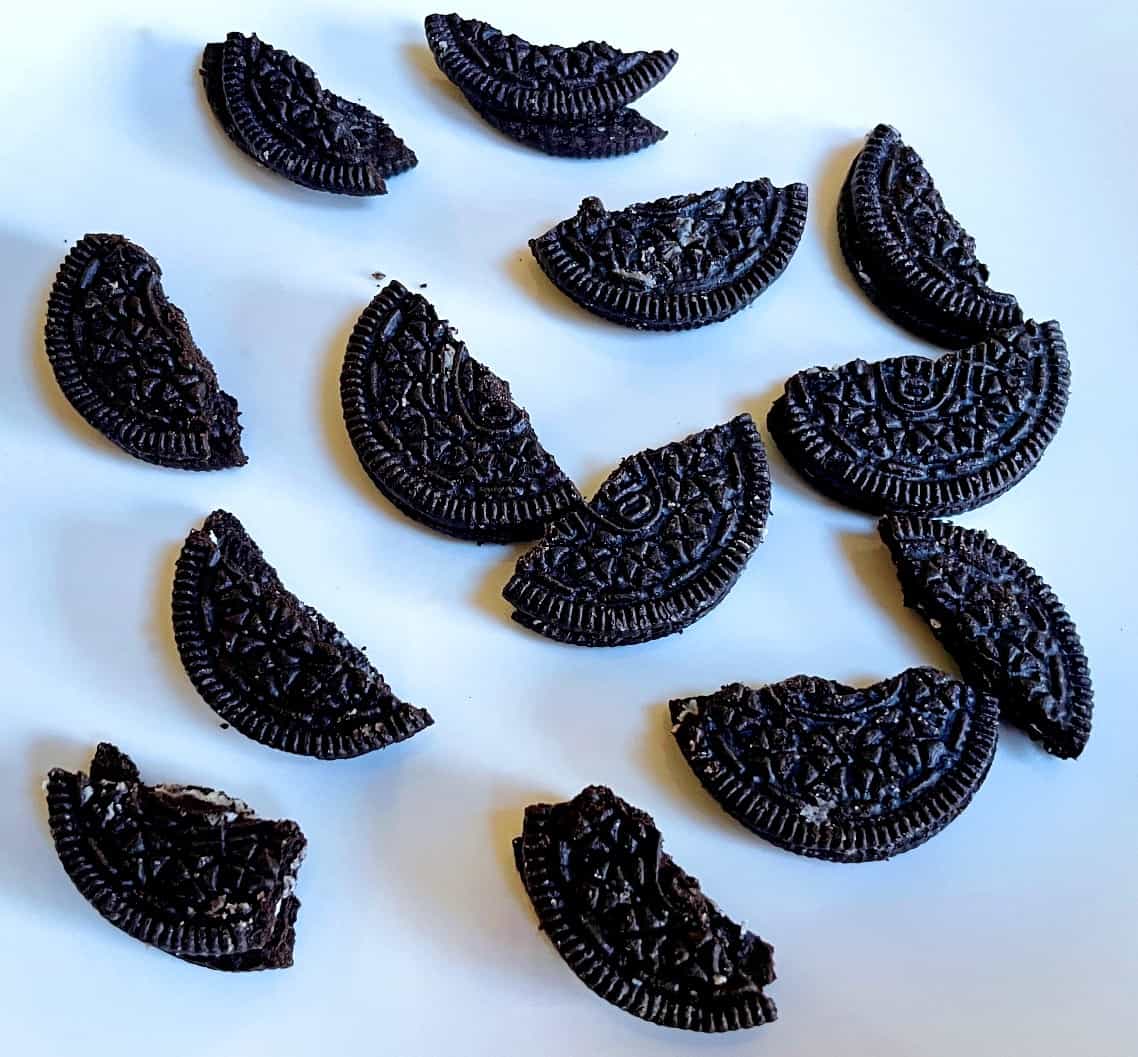
Step 3: Open each of the cookies and remove the cream filling. Break each chocolate round in half to make the wings. Add the cream to the cake mixture if desired.
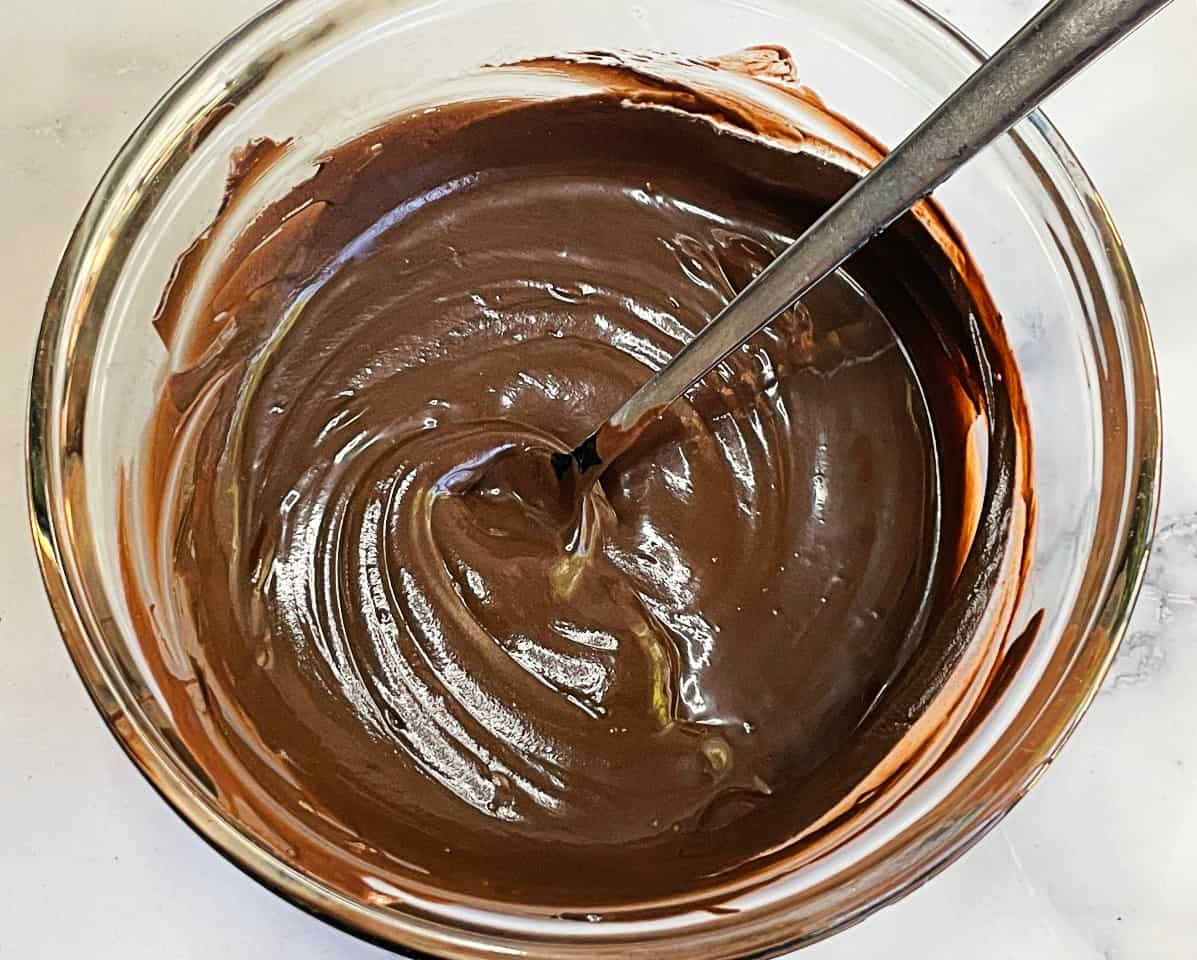
Step 4: Melt the chocolate candy coating in a microwave-safe bowl for 45 seconds. Stir the coating and continue to melt at 20-second intervals until fully melted.
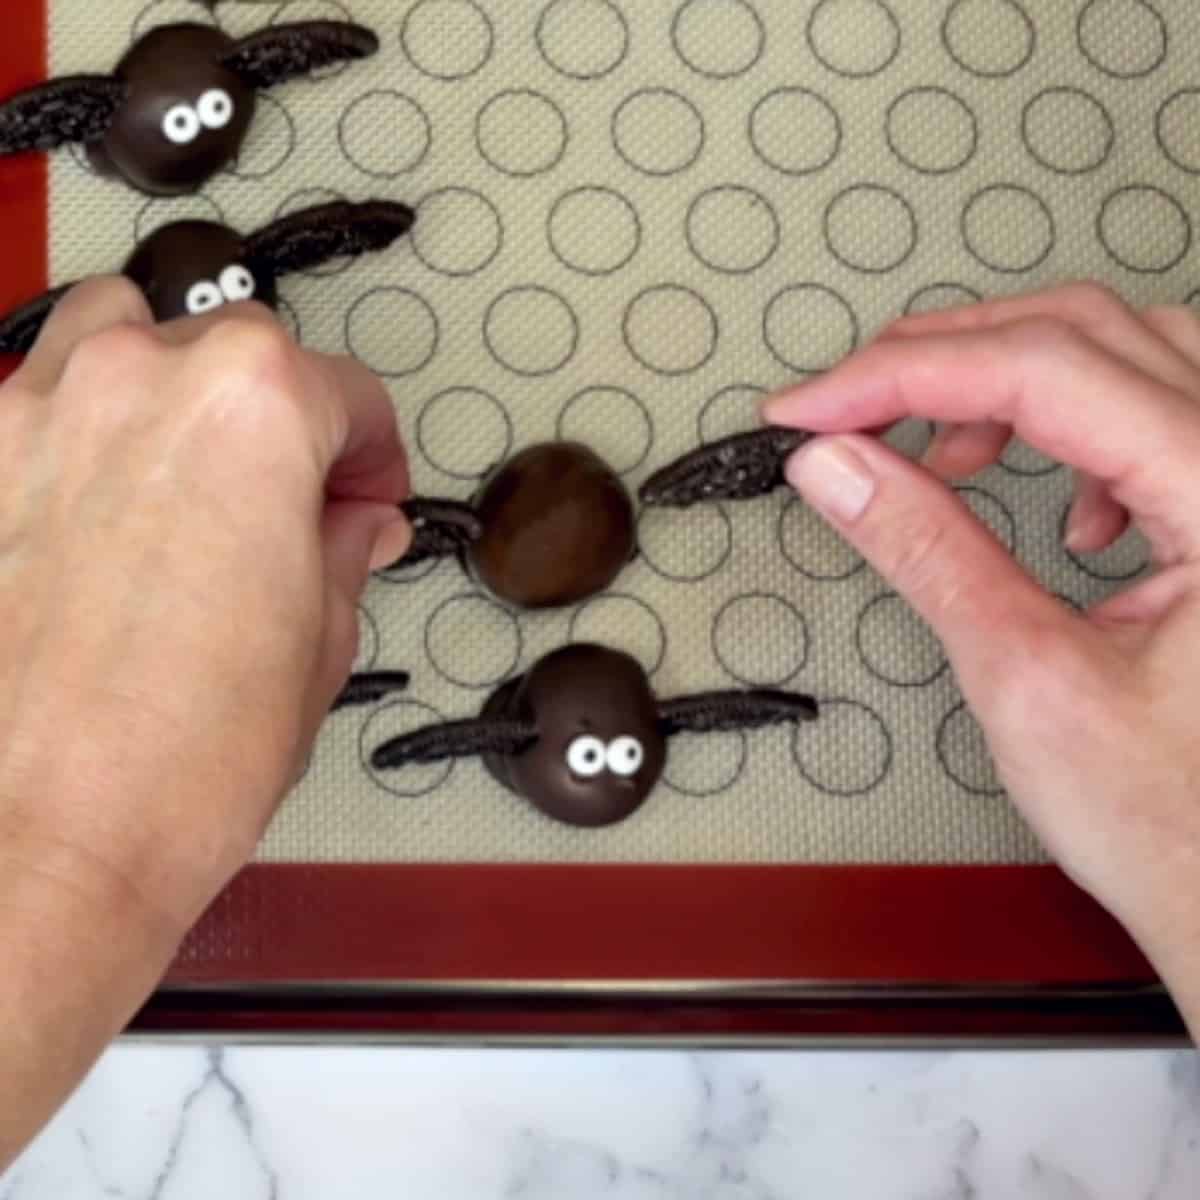
Step 5: Dip each ball into the melted chocolate and place it on wax paper. Immediately place broken cookie wings on either side of the ball and place 2 eyeballs on top.
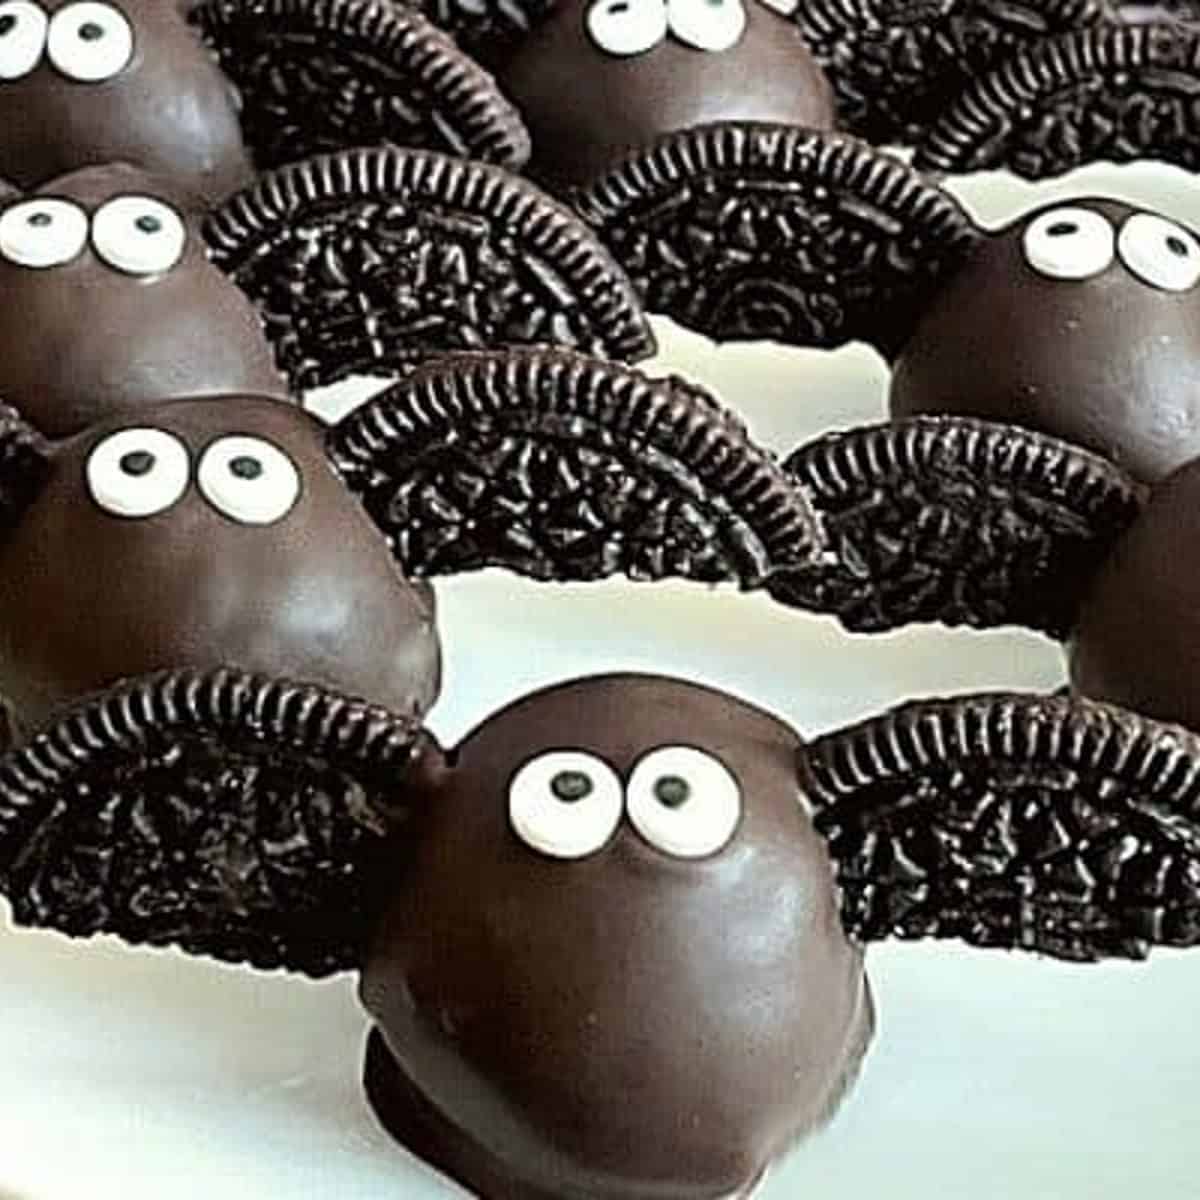
Step 6: Repeat with all of the balls. Allow the bats to set completely before enjoying them (you can speed up the process in the fridge).
Recipe FAQs
Yes, you can make these Halloween cake bites in advance. Store them in the fridge until you are ready to set them out for the event.
I used a white cake mix for these cake balls and a vanilla frosting. You can use any flavor combination that you like including chocolate, spice, and yellow cake to name a few.
Store these Halloween cake pops in an airtight container at room temperature for 1-2 days, or in the fridge for up to a week.
Absolutely! You can bake a homemade cake and follow the directions below after it cools.
Expert Tips and Tricks for Making Cake Balls
- Adding a few drops of black food coloring makes the chocolate coating the perfect shade for these Halloween treats.
- To keep the mixture from sticking to your hands while forming the balls, spray them with non-stick spray or place a little vegetable oil on your hands.
- If you want to add sticks to the bottom of these cake pops, use them as a dipping stick in the chocolate and have a holder ready for quick decorating.
More Halloween Recipes to Check Out
If you get a chance to make these Halloween Bat Cake Pops tag me on Instagram or Facebook and show me! You can also follow me on Pinterest and sign up for my e-mail list to receive more fun and delicious recipes right in your inbox.
Halloween Bat Cake Pops
Equipment
- 9x13 sheet cake pan (or any pan to make a cake)
Ingredients
- 1 box cake mix (I used white)
- vegetable oil (to make cake)
- eggs (to make cake)
- 1 can frosting (I used vanilla)
- 1 package chocolate candy coating (bark)
- black gel food coloring (optional)
- candy eye sprinkles
- 25 cream-filled chocolate cookies (I used Oreos)
Instructions
- Make a boxed cake as directed on the box and allow the cake to cool completely. Once the cake has cooled, cut it into small pieces and place them in a large mixing bowl. Break up the pieces by hand or with a spoon to get small crumbles.
- Take the container of frosting and mix it into the crumble mixture. This takes a little elbow grease to get it all mixed in. The mixture will be similar to dough.
- Open each of the cookies and remove the cream filling. Break each chocolate round in half. Don't worry about being perfect, they will look more realistic with broken edges and varying sizes. If desired, mix the cream from the cookies into the cake mixture.
- Prepare a cookie sheet with wax paper. Scoop out 1 tablespoon of cake mixture and roll it into a ball between your hands (this is easier if you spray your hands with non-stick spray). Place each ball on the wax paper and continue to make balls with the rest of the mixture.
- Melt the chocolate candy coating in a microwave-safe bowl for 45 seconds. Stir the coating and continue to melt at 20-second intervals until fully melted. You can also use a double boiler on the stove. If desired, add a few drops of black food coloring to darken the chocolate.
- Using a long-handled spoon or dipping stick, dip each ball into the melted chocolate and coat it completely. Tap off the excess coating and place the ball back on the wax paper. Immediately place a broken cookie wing on either side of the ball and place 2 eyeballs on top. Repeat with all of the balls. If your candy coating starts to thicken, place it back in the microwave for 20 seconds to soften it again.
- Allow the bats to set completely before enjoying them (you can speed up the process in the fridge).
Video
Notes
- My version does not have a lollipop stick on the bottom. I find it easier to make, store and serve. Of course, you can add sticks if you want to, just make sure to do it before dipping in the chocolate.
- I used a white cake mix for these cake balls and a vanilla frosting. You can use any flavor combination that you like including chocolate, spice, and yellow cake to name a few.
- To keep the mixture from sticking to your hands while forming the balls, spray them with non-stick spray or place a little vegetable oil on your hands.
- These Bat Cake Bites will last in the fridge in a covered container for 3-4 days.
Nutrition
Any nutrition calculations are only estimates using online calculators. Please verify using your own data.


Sue says
Adorable and so easy!
Natalie says
This is such a fun treat for Halloween. Love the idea. Looks really amazing. I'm putting this on my list to make. Thanks!
Emily says
Thanks, Natalie! I hope you get a chance to make these, they are so fun!
Cindy Mom, the Lunch Lady says
These bats are so stinkin cute! I am a huge fan of Halloween themed desserts. So much fun!
Emily says
Thanks, Cindy! Halloween is so fun, especially when you can make cute treats 😃
Gabriela Herrera says
Emily these are so freaking creative what a treat.
Emily says
Thank you 🥰
Tatiana says
Making these on Halloween. they look so much fun!
Emily says
Yay! Have so much fun and Happy Halloween!
Dawn Conklin says
These are so cute, delicious and fun to make! Perfect to make with kids of all ages, even my teen had a great time making them and of course eating them.
Emily says
That makes me so happy, Dawn. These are definitely meant for all ages... I certainly ate my fair share.😂
Sue says
These are the cutest Halloween treats ever!!!
Emily says
Thank you!!
Shilpa says
These are just perfect for Halloween
Kayla DiMaggio says
These bat cakepops were so delicious! I loved all the flavors and the kids loved them!
Emily says
So glad to hear it! Thanks for trying them out!
Linda says
Very clever and super cute. My kiddo is an oreo fanatic, so I know he's going to be all over these! Do you have any suggestions for using the cream filling from the oreos? Could I mix that into the cake/frosting, too? Thanks!
Emily says
I think you are the clever one, Linda, what a great idea! I will be honest the cream became a separate treat when I made these last but putting back in the filling is even better. Enjoy! 😃
Mary says
I make Oreo pops instead of cake pops for these treats so the cream filling went into the Oreo pop.
Emily says
That's so smart, Mary! Another reader had a similar suggestion. Next time I'll make use of that cream.😁