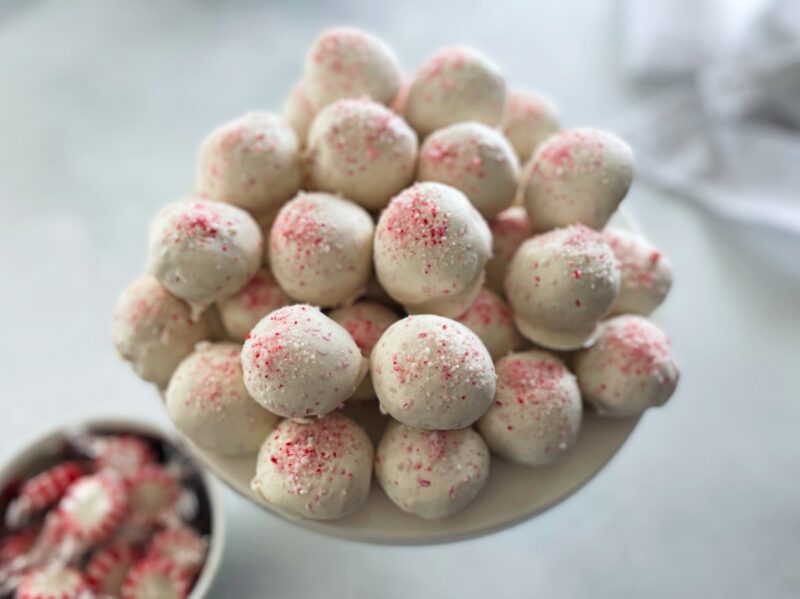
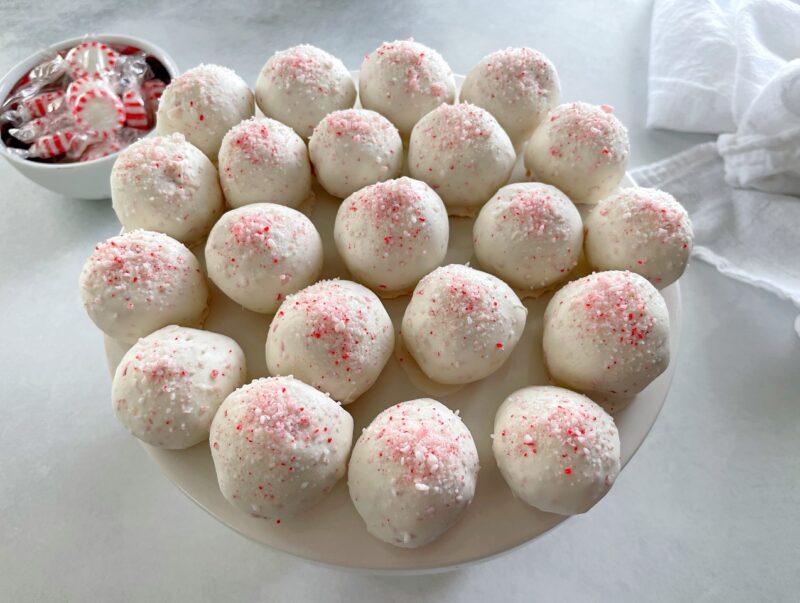
Peppermint Cake Pops are an easy yet elegant dessert anyone can make for their holiday celebrations. Made from a boxed cake mix, canned frosting, and candy coating, these minty truffle-like treats will be a hit!
Jump to:
- Why You'll Love This Recipe
- Ingredients Needed to Make Peppermint Cake Pops
- Use Candy Canes or Hard Peppermint Candies
- How to Make Peppermint Cake Truffles
- Other Variations of This Recipe to Try
- Expert Tips for Candy Coating
- How to Store Peppermint Cake Pops
- Expert Tips for Making Cake Bites
- Other Holiday Recipes to Check Out
- Peppermint Cake Pops
- Did you Make These Peppermint Cake Pops?
If you have been following me for a while, you already know I have a love for cake pops, cake bites, cake balls, cake truffles, or any other name they go by. I love them because they are one of the easiest desserts to make and I always receive compliments when I bring them to a party.
I also love cake pops because you can make them in so many different flavor variations. Cake pops work for any holiday and can be creatively decorated for a little fun.
Check out my Chick Cake Pops, Bunny Carrot Cake Bites, Turkey Cake Pops, and Halloween Bat Cake Pops for some more Cake Pop inspiration!
Why You'll Love This Recipe
- These Peppermint Cake Pops are bite-sized mini treats that are easy to make.
- If you love candy canes, these cake bites are a treat you must try, just like my Candy Cane Sugar Cookies.
- Not only are these easy to make, they are easy to transport to any holiday celebration.
- Cake pops are the perfect holiday dessert and also make a special homemade gift.
Ingredients Needed to Make Peppermint Cake Pops
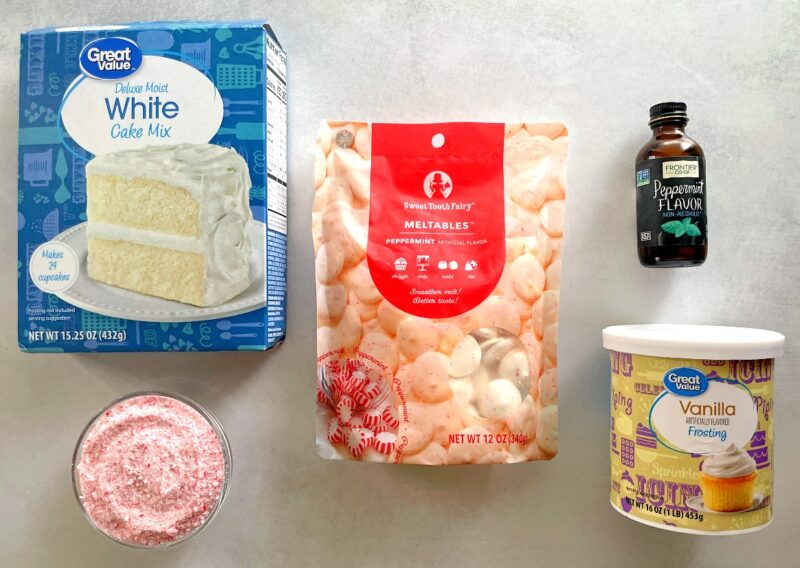
- 1 box cake mix (I used white)
- vegetable oil (to make the cake and add to candy coating)
- eggs (to make cake)
- ¼ cup crushed peppermint candy (plus more for topping)
- ⅓ teaspoon peppermint extract
- 1 can frosting (I used vanilla)
- 24 ounces peppermint candy coating
Use Candy Canes or Hard Peppermint Candies
You can use candy canes or hard peppermint candies for this recipe. Either candy will need to be crushed into small pieces. You can also purchase pre-crushed peppermint candy.
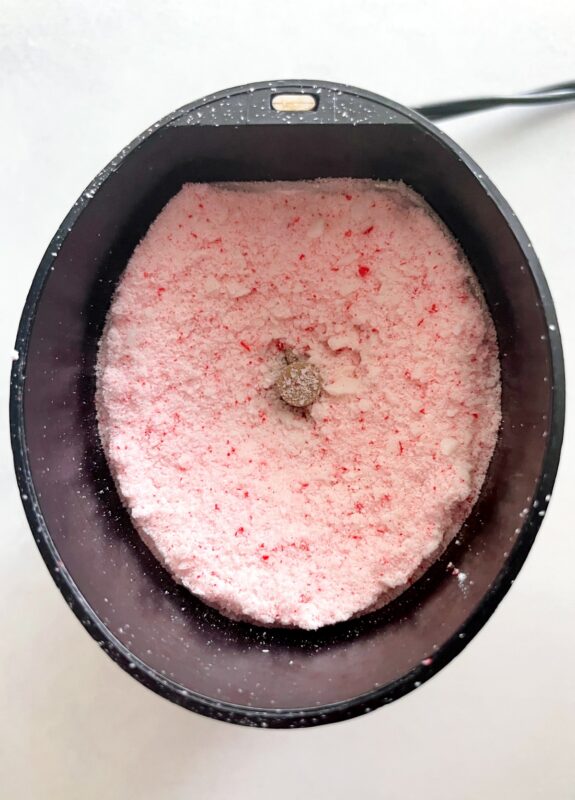
I wanted small pieces to sprinkle on top so I used my coffee/spice grinder to pulse the candy pieces. Note that peppermint candy is sticky and will harden after crushing so place the pieces in a plastic bag until you are ready to use them.
How to Make Peppermint Cake Truffles
Make A Boxed Cake with Peppermint and Combine it with Frosting
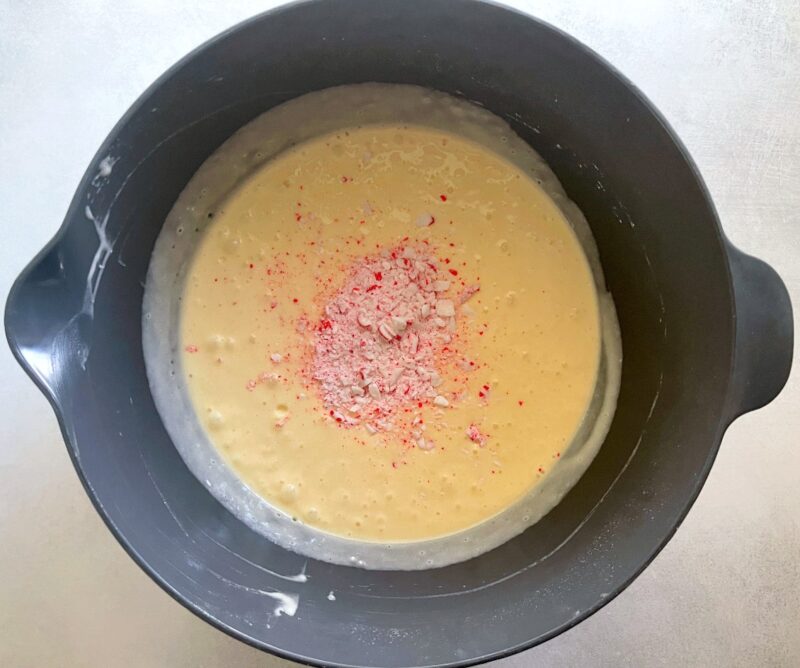
Make a boxed cake batter and add in the peppermint extract and peppermint candy. Bake the cake and allow it cake to cool completely.
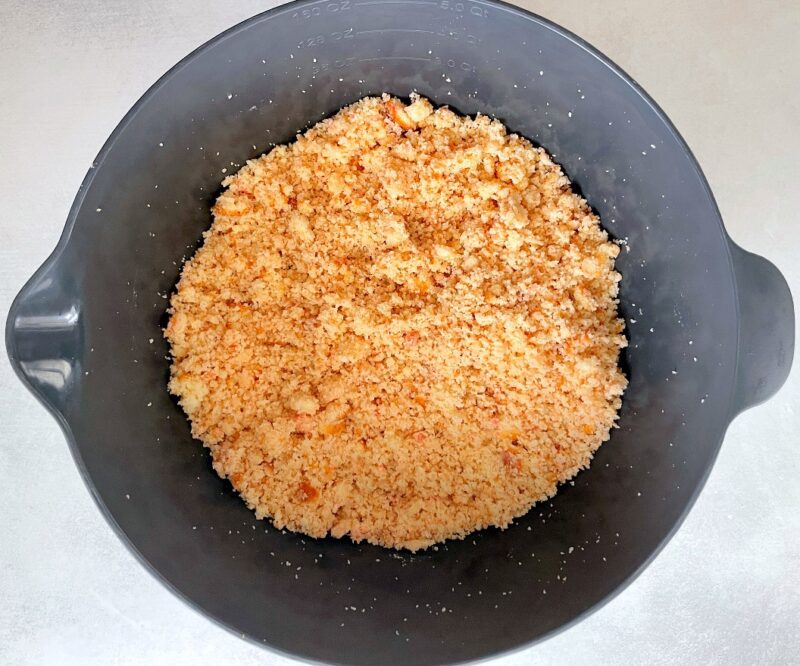
Once the cake has cooled, break it into pieces and place them into a large mixing bowl. Break up the pieces with a spatula or spoon to get small crumbles (you can also use your hands if needed).
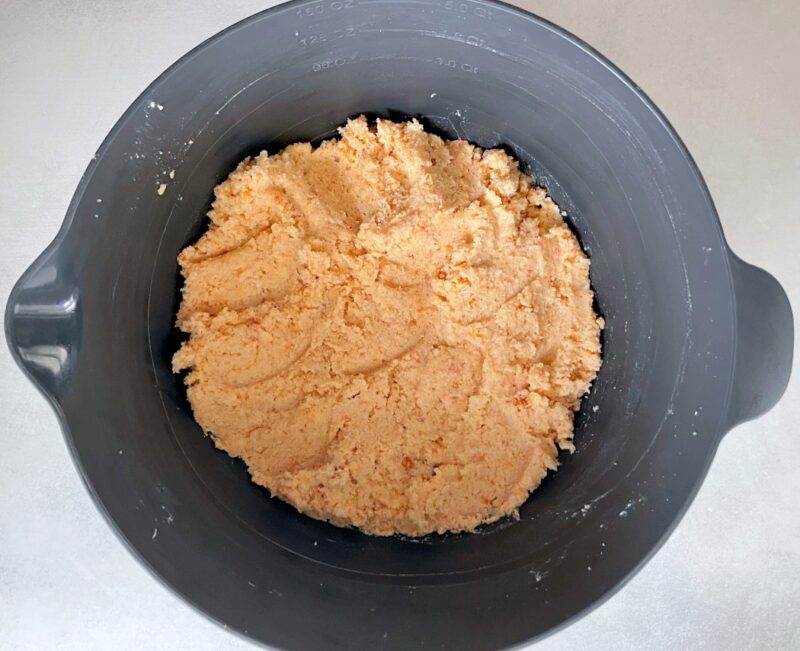
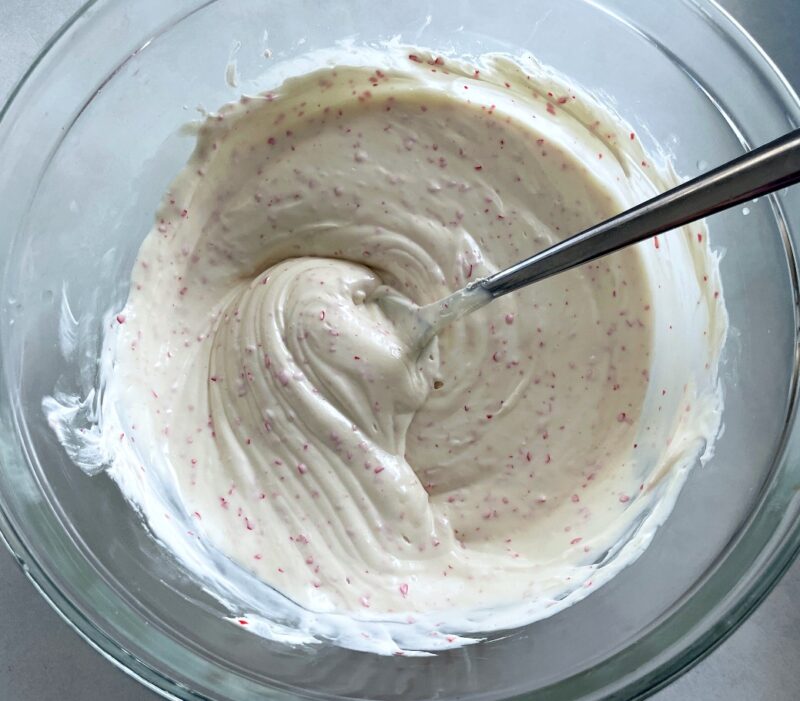
Take the container of frosting and mix about ¾ of it into the crumble mixture (you can use the whole can, but it's not necessary). The mixture will be between a batter and a dough.
Roll Out Cake Balls
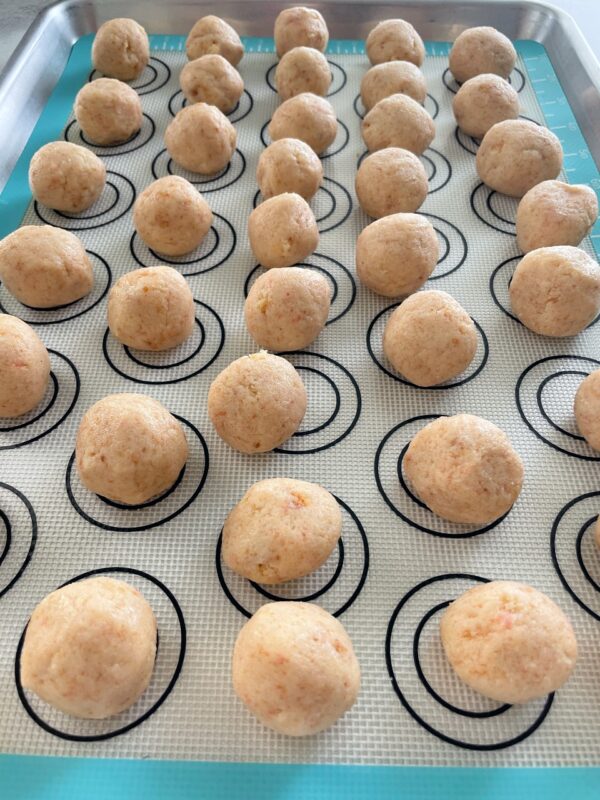
Prepare a cookie sheet with a silicone mat or wax paper. Roll balls with the mixture using your hands and place each one on the cookie sheet.
Place the cookie sheet in the freezer while preparing the candy coating (this step is optional but I feel like it makes the dipping process a little easier).
Melt the Peppermint Candy Coating
Melt the candy coating in a microwave-safe bowl in the microwave according to the directions on the package. This will take about 2 minutes. Do not overcook the coating or it will burn.
Add 2-3 tablespoons of vegetable oil (or coconut oil) to the candy coating to thin it out for dipping.
Dip the Balls in the Coating
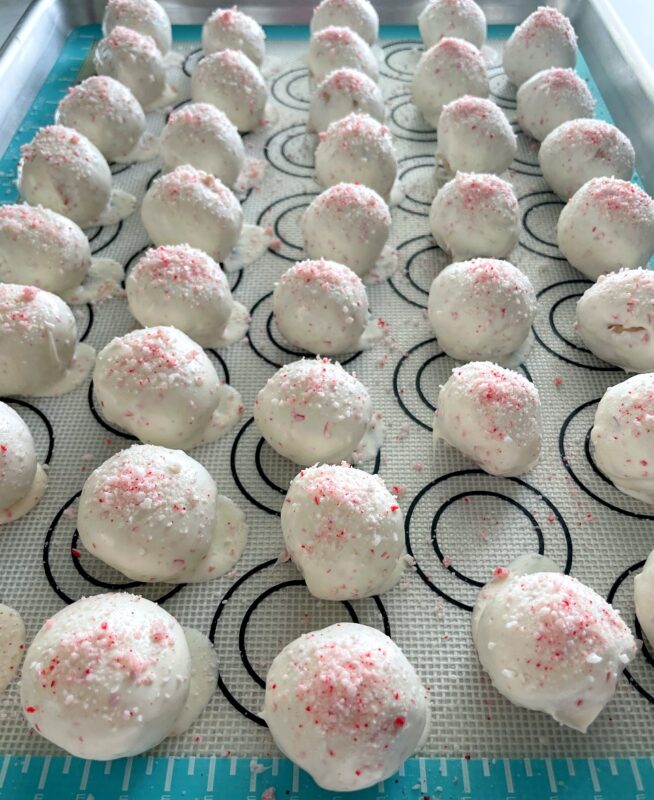
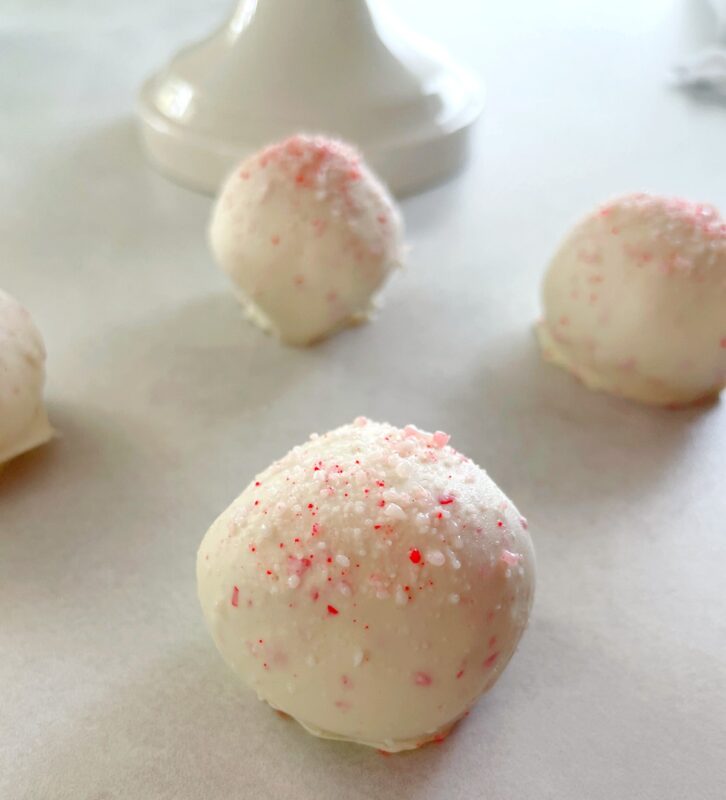
Dip each ball into the melted coating, tap off the excess coating, and place the ball back on the wax paper. Immediately top the ball with crushed peppermint candy pieces so they stick before coating sets.
Other Variations of This Recipe to Try
Some people probably think these should be made with chocolate cake. I love vanilla cake and I'm sticking to it, but if you want a chocolate-peppermint combination, go for it!
You could also use Christmas funfetti cake mix or yellow cake mix. The frosting can also be changed to a chocolate or cream cheese flavor.
Expert Tips for Candy Coating
All candy coating is different and I found that the Sweet Tooth Fairy brand from Michaels was a bit thicker than I wanted. So I added some vegetable oil to thin out the mixture.
If your mixture becomes too thick or starts to harden before you coat all of the cake pops, you can microwave it again for 30 seconds to warm it back up and/or add some more vegetable oil.
Be careful not to get any water in your melted candy coating or it will seize and you will have to start over. And, to ensure you do not burn the coating in the microwave, use 30-second intervals to melt the coating.
How to Store Peppermint Cake Pops
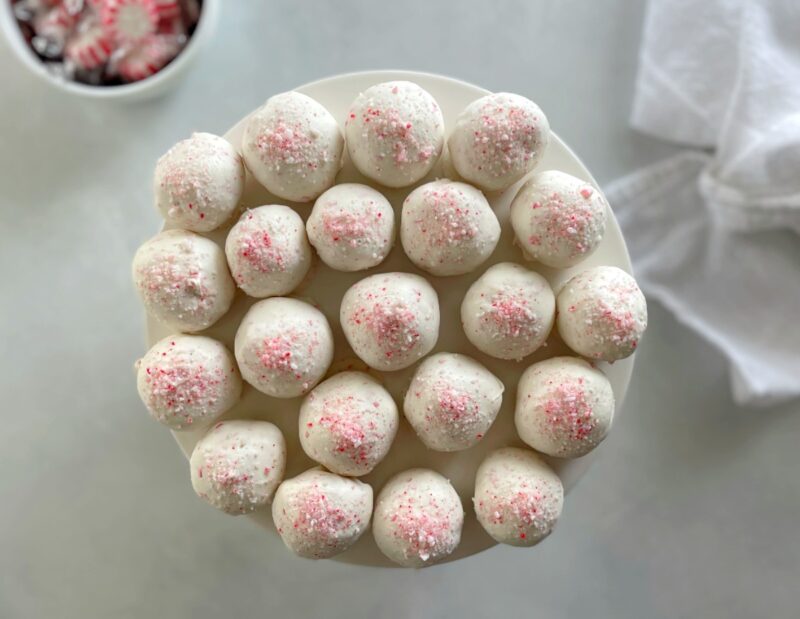
Cake bites will last 3-4 days in the fridge in an airtight container. You can also freeze cake pops for several weeks in a freezer bag or container.
Expert Tips for Making Cake Bites
- When rolling the balls with your hands, lightly spray each hand with non-stick cooking spray to keep the mixture from sticking.
- Gently tap the spoon on the side of the bowl after dipping each ball in the candy coating to get off the excess. Otherwise, you will have a puddle of coating at the bottom of your ball.
- My recipe does not use sticks, but you can use them if desired. You will need a foam block or something to stick the pops into and allow them to cool.
- You can speed up the cake's cooling time by placing it in the refrigerator, but be careful of the hot pan and use a trivet or hot pad.
Other Holiday Recipes to Check Out
- Candy Cane Cupcakes
- Reindeer Rice Krispie Treats
- Gingerbread Donuts
- Santa Hat Rice Krispie Treats
- No-Bake Bailey’s Mini Cheesecakes
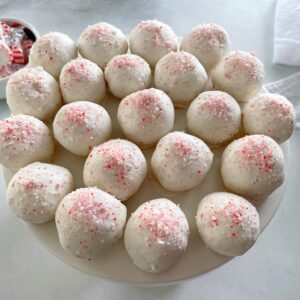
Peppermint Cake Pops
Equipment
- 1-2 baking sheets
- 1-2 silicone mats (or wax paper)
Ingredients
- 1 box cake mix (I used white)
- water (to make the cake)
- eggs (to make cake)
- vegetable oil (to make the cake and add to candy coating)
- ¼ cup crushed peppermint candy (plus more for topping)
- ⅓ teaspoon peppermint extract
- 1 can frosting (I used vanilla)
- 12 ounces peppermint candy coating
Instructions
- If you are using candy canes or peppermint candies, place them in a bag and crush them with something heavy like a rolling pin. To get smaller pieces, you can also grind the candy in a small grinder or food processor (see notes).
- Make a boxed cake batter as directed adding in the peppermint extract as well. Fold in the peppermint candy. Bake the cake and allow it cake to cool completely.
- Once the cake has cooled, break it into pieces and place them into a large mixing bowl. Break up the pieces with a spatula or spoon to get small crumbles.
- Take the container of frosting and mix ¾ of it into the crumble mixture (you can use the whole can, but it's not necessary). The mixture will be between a batter and a dough.
- Prepare a cookie sheet with a silicone mat or wax paper. Scoop out about 1 tablespoon of cake mixture and roll it into a ball between your hands. Place each ball on the wax paper and continue to make balls with the rest of the mixture.
- Place the cookie sheet in the freezer while preparing the candy coating (this step is optional but I feel like it makes the dipping process a little easier).
- Melt the candy coating in a microwave-safe bowl in the microwave according to the directions on the package. This will take about 2 minutes. Do not overcook the coating or it will burn.
- Add 2-3 tablespoons of vegetable oil (or coconut oil) to the candy coating to thin it out for dipping.
- Dip each ball into the melted coating and cover it completely. Tap off the excess coating and place the ball back on the wax paper. Immediately top the ball with crushed peppermint candy pieces so they stick before coating sets.
- Allow the balls to set completely before enjoying them. You can speed up the process in the fridge, or if it's a really warm day, you should put them in the fridge so they are set.
Notes
Use Candy Canes or Hard Peppermint Candies
You can use candy canes or hard peppermint candies for this recipe. Either candy will need to be crushed into small pieces. You can also purchase pre-crushed peppermint candy. I wanted small pieces to sprinkle on top so I used my coffee/spice grinder to pulse the candy pieces. Note that peppermint candy is sticky and will harden after crushing so place the pieces in a plastic bag until you are ready to use them.- When rolling the balls with your hands, lightly spray each hand with non-stick cooking spray to keep the dough from sticking.
- Gently tap the spoon on the side of the bowl after dipping each ball in the candy coating to get off the excess. Otherwise, you will have a puddle of coating at the bottom of your ball.
- Be careful not to get any water in your melted candy coating or it will seize and you will have to start over. Trust me, I've been there and it is not fun.
- You can speed up the cake's cooling time by placing it in the refrigerator, be careful of the hot pan.
- You can coat about 3 or 4 balls at a time before topping them with candy before the coating sets too much.
- Cake bites will last 3-4 days in the fridge in an airtight container and can also be frozen for several weeks.
Nutrition
Any nutrition calculations are only estimates using online calculators. Please verify using your own data.
Did you Make These Peppermint Cake Pops?
If you make this Christmas Cake Pop Recipe, I would love it if you would leave a comment and rating below. And if you snap a picture, tag me on Instagram or Facebook and show me!
You can also follow me on Pinterest and sign up for my email list so you never miss a recipe!




Dee Broughton says
These are so cute. Can't wait to give this recipe a try.
Jess says
So delish and perfect for the holidays
Nancy says
Wow these
Peppermint cake pops are perfect for the holidays and my
Kids Christmas bake sale
Emily says
Yes! These are a great bake sale item. Have fun!
Giangi Townsend says
Those look amazing and printed your recipe to make it during the holiday season. Perfect for my cookie exchange.
Thank you.
Emily says
Thanks, Giangi, I hope you love them!
Jere Cassidy says
I made these cake pops for my kids' slumber party and they were the hit of the party. Keeping this recipe to serve for our Christmas party.
Emily says
Cake pops are always a good idea when kids are around. I'm so glad they were a hit!
Judith says
These sound a great idea to make over Christmas. Looking forward to trying them.